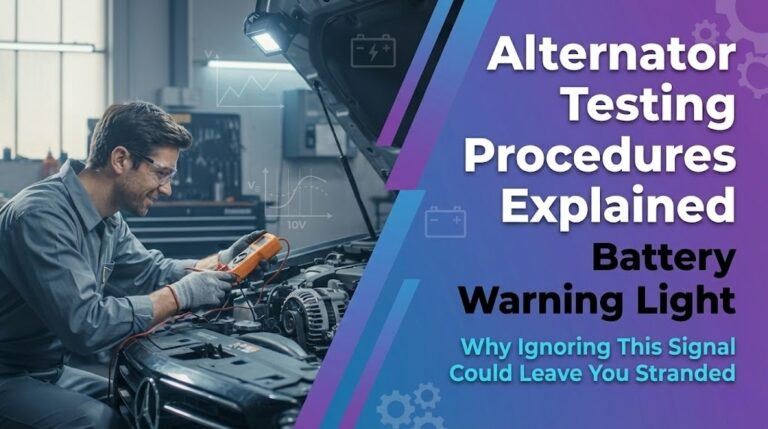
When the Battery Warning Light Alternator Testing Procedures message flashes on your dashboard, it’s not a minor inconvenience. A failing alternator or faulty sensor can drain your battery in minutes, leaving you stuck on the road with no power.
Follow proper alternator testing procedures before replacing parts. Accurate testing separates mechanical failures from sensor errors, saving money and preventing sudden breakdowns.
This article will walk through the most common causes of the battery warning light, step-by-step methods for alternator testing, and how to distinguish sensor faults from mechanical failures. It also highlights repair costs, safety risks, and trusted references for deeper technical guidance.
Battery Warning Light: Alternator Testing Procedures Explained: How Proper Diagnosis Prevents Costly Mistakes

The battery warning light is one of the most misunderstood dashboard signals. Many drivers assume it means the battery itself is failing, but in reality, the issue often lies in the alternator or its supporting circuits. By following structured testing procedures, you can distinguish between mechanical faults and sensor errors, ensuring accurate diagnosis and avoiding unnecessary repairs.
Common Battery Warning Light Causes Drivers to Miss
Most drivers overlook the subtle triggers behind the battery warning light. Recognizing these causes helps prevent misdiagnosis.
- Loose or corroded connections interrupt the alternator output.
- Worn alternator belts reduce charging efficiency.
- Faulty voltage regulators cause unstable current flow.
- Sensor misreads can mimic mechanical failure.
Older vehicles often show these issues differently. For example, the 2006–2011 Chevrolet HHR Workshop Service Repair Manual highlights how simple wiring faults can trigger persistent warning lights.
Alternator Testing Procedures Using a Multimeter
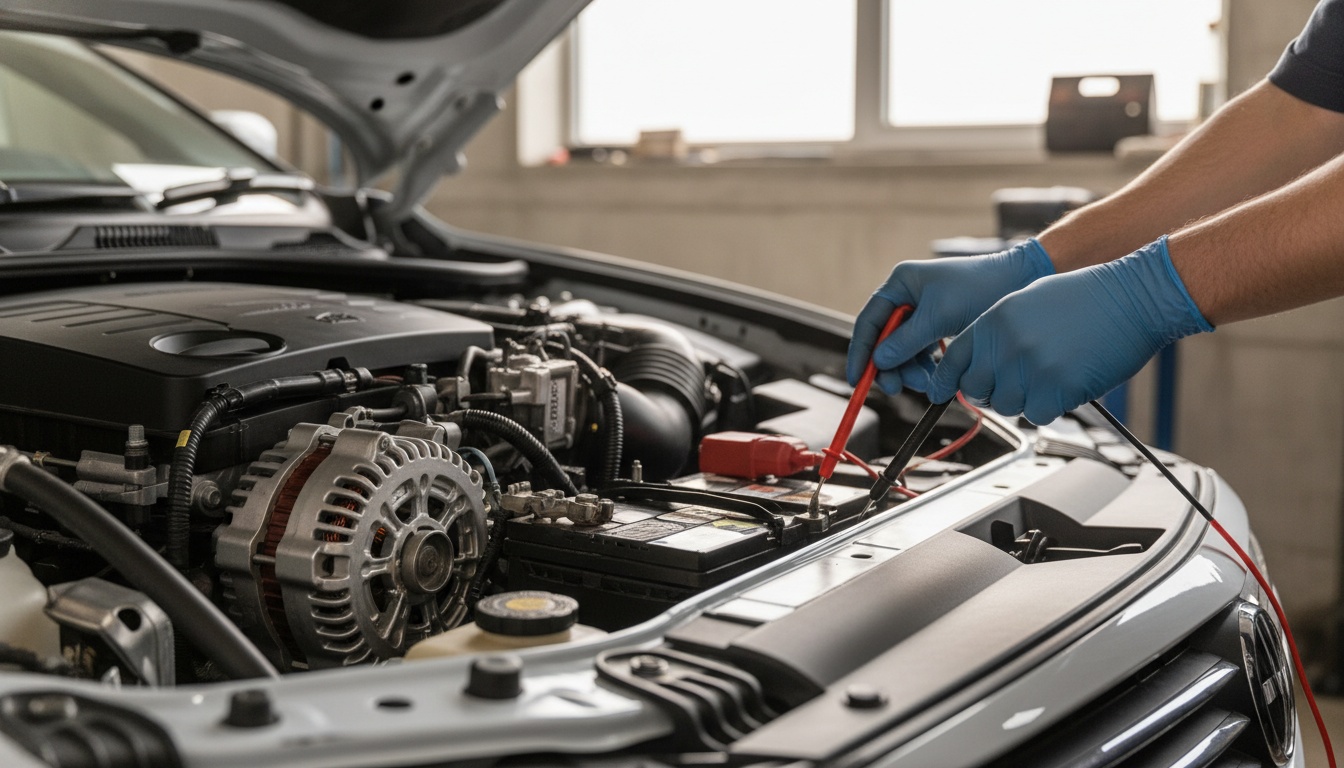
Accurate alternator testing procedures begin with basic voltage checks. A multimeter provides quick insights into system health.
- Step 1: Measure the battery voltage with the engine off (it should read 12.4–12.7 volts).
- Step 2: Start the engine and check again (should rise to 13.8–14.4 volts).
- Step 3: Turn on accessories; voltage should remain stable.
- Step 4: Inspect alternator output directly at the terminals.
Hybrid systems require additional checks. The 2011 Chevrolet Volt Workshop Service Repair Manual explains how regenerative charging alters standard testing values.
Sensor Faults vs Mechanical Alternator Failures
Distinguishing between sensor faults and mechanical alternator failures is critical. Misdiagnosis leads to wasted money and unresolved warning lights.
- Sensor faults: Often intermittent, triggered by heat or vibration.
- Mechanical failures: Consistent, worsening over time, often accompanied by noise.
- Diagnostic tip: Compare sensor readings with direct alternator output.
Smaller-displacement engines, such as the 1.4L engine in the 2011 Chevrolet Volt 1.4L Workshop Service Repair Manual, exhibit unique alternator load behaviors that complicate diagnosis.
DIY Alternator Testing Steps You Can Try Safely

Some testing procedures can be performed at home with minimal tools.
- Inspect belts and pulleys for wear.
- Check battery terminals for corrosion.
- Use a handheld OBD-II scanner to read charging system codes.
- Perform a voltage drop test across significant connections.
For newer hybrid systems, the 2016–2018 Chevrolet Volt Workshop Service Repair Manual provides step-by-step alternator testing adapted to advanced battery monitoring systems.
Cost of Alternator Repairs Compared to Replacement
Understanding repair costs helps drivers make informed decisions.
| Repair Type | Typical Cost Range | Pros | Cons |
|---|---|---|---|
| Belt replacement | $50–$150 | Affordable, quick | Limited scope |
| Voltage regulator repair | $150–$300 | Restores stability | May mask deeper faults |
| Alternator rebuild | $200–$500 | Cheaper than new | Shorter lifespan |
| Alternator replacement | $600–$1000+ | Reliable, long-term | Expensive upfront |
Performance vehicles, like the Corvette, often demand higher repair precision. The 2020–2022 Chevrolet Corvette C8 6.2L LT2 Workshop Service Repair Manual outlines advanced alternator testing for high-output engines.
Safety Risks of Ignoring the Battery Warning Light
Driving with the battery warning light illuminated is dangerous.
- Sudden power loss: Alternator failure can drain the battery mid-drive.
- Loss of critical systems: Steering and braking assistance may fail.
- Stranded risk: Vehicles may stall without warning.
Ignoring these risks can lead to costly emergencies. Manuals like the 2011 Chevrolet Volt Complete Workshop Service and Repair Manual emphasize immediate testing when the warning light appears.
Conclusion
The battery warning light: alternator testing procedures explained approach ensures drivers don’t waste money on unnecessary part replacements or risk safety by ignoring critical signals. Mechanical failures, sensor faults, and hybrid-specific behaviors each demand unique diagnostic steps. By following structured testing and consulting trusted manuals across Chevrolet models, you can protect your vehicle and avoid sudden breakdowns.
Practical takeaway: Always align alternator testing with the battery warning light’s behavior. Proper procedures reveal the real fault, ensuring accurate repairs and safe driving.
Frequently Asked Questions
Yes, alternators with worn brushes or unstable voltage regulators often show faults under heavy load conditions.
Most experts recommend testing alternator output every 12 months or at 15,000–20,000 km intervals.
No, sensor faults or corroded wiring can trigger the light even when the alternator is healthy.
Absolutely. Hybrids rely on regenerative charging, while performance cars demand higher current stability, requiring different diagnostic approaches.
Not entirely. Scanners provide fault codes, but voltage and load testing with a multimeter remain essential.