Using non-OEM drive belt tension specifications can cause engine damage by overloading bearings and seals. Precise factory values are essential to prevent component failure.
Technicians must use OEM-sourced tension values for reliable repairs. Standards vary, utilizing gauges or deflection ratios to achieve the minimum tension required to stop slippage.
This article covers how OEM manuals present belt tension specs, which measurement methods apply to which vehicles, and where experienced technicians still make costly errors.
Drive Belt Tension Specs in OEM Manuals: The Data Most Guides Quietly Skip
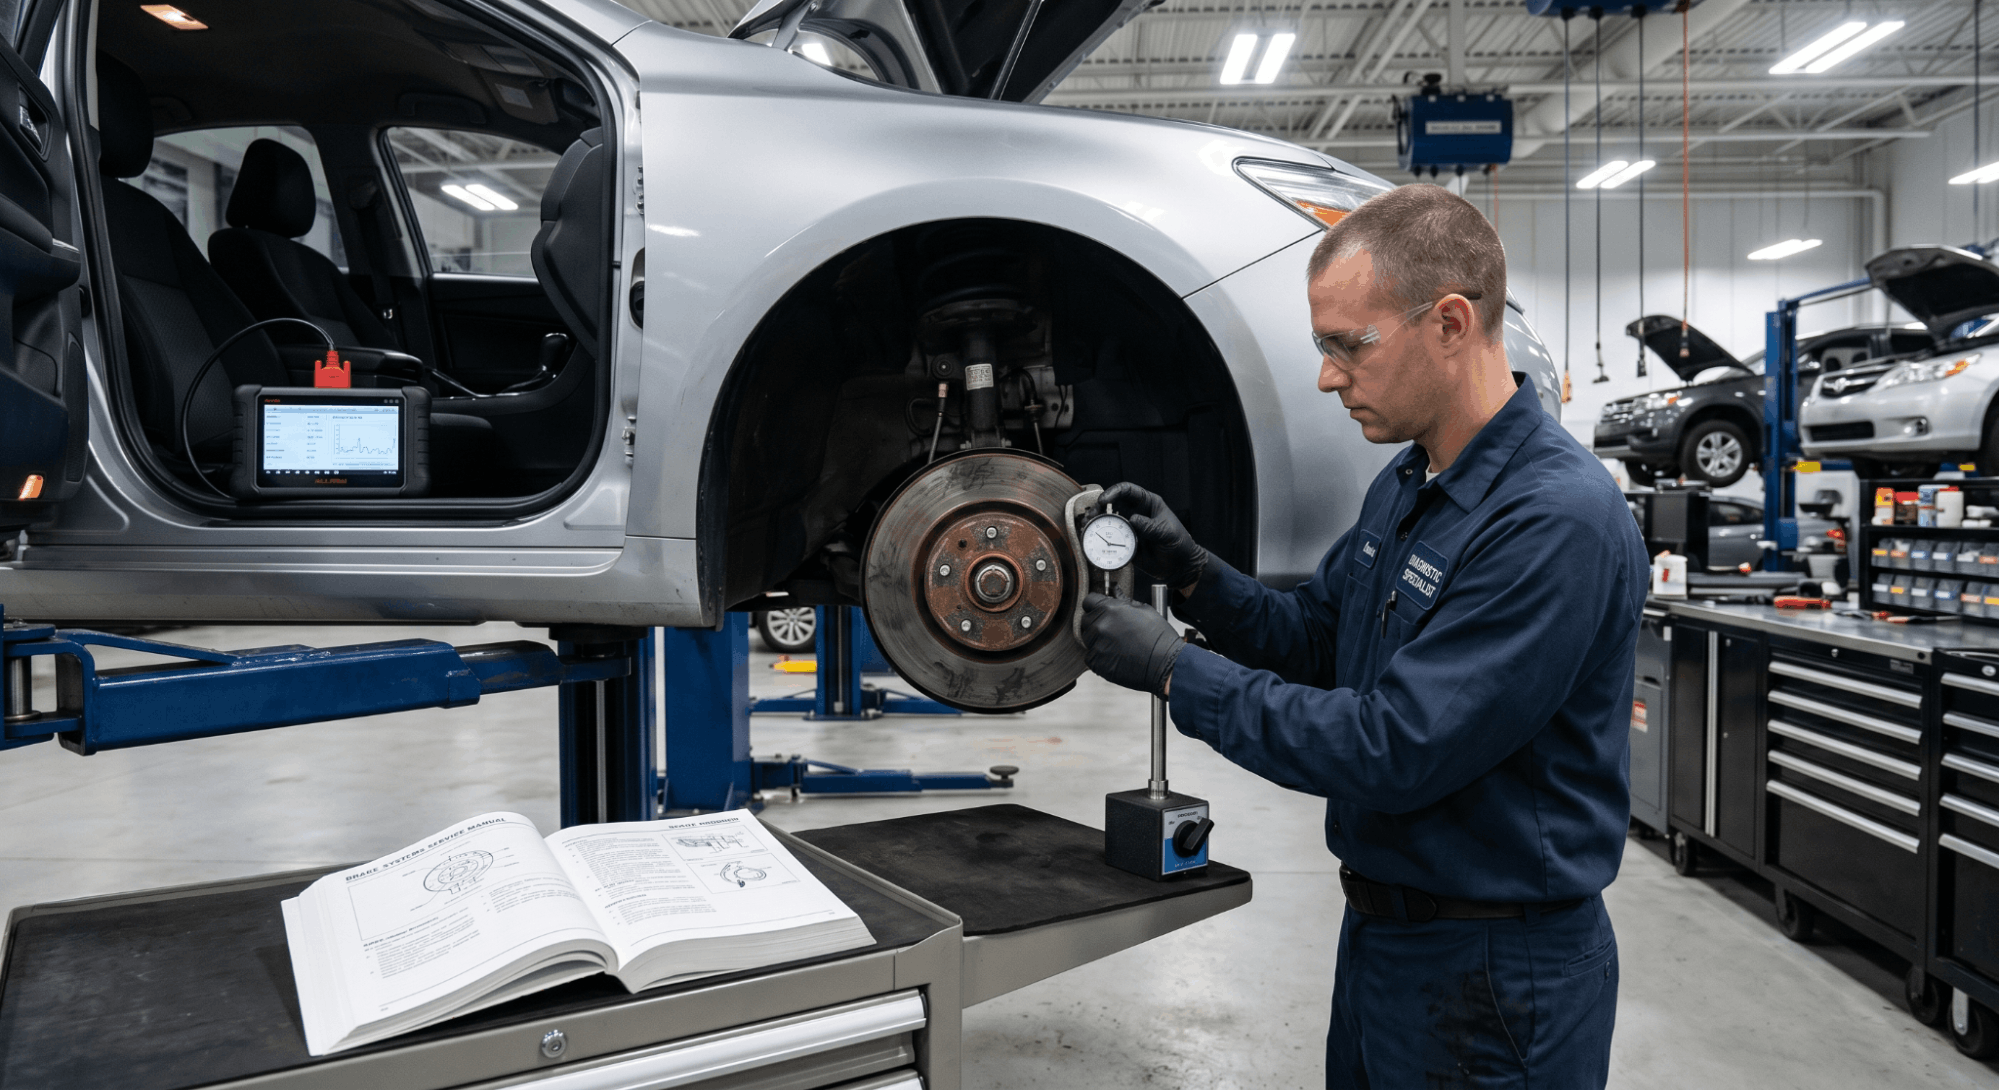
OEM manuals list engine-specific belt-tension values that no aftermarket guide can replicate with full accuracy. Each manufacturer calibrates these specs based on belt composition, pulley diameter ratios, accessory load, and operating temperature range.
Pulling values from a generic chart, even one that looks detailed, almost always means using data mapped to a different configuration. Understanding how factory documentation formats this data is what separates a correct repair from one that fails quietly over the next 10,000 miles.
Why OEM Tension Specs Differ Across Engine Families
Not every engine uses the same belt routing or accessory load, which is why specs vary even across trims of the same model year.
The drive system on a 2.0L inline-four behaves entirely differently from a 3.5L V6, even on the same platform. OEM manuals define tension values based on controlled testing under specific load conditions that no third party replicates. That is data that no aftermarket repair guide can carry with real accuracy.
Key variables that OEM engineers account for individually include:
- Belt width and rib count (4PK vs. 6PK configurations)
- Number of driven accessories (A/C compressor, power steering pump, water pump)
- Pulley diameter and wrap angle at each contact point
- Operating temperature range within the engine bay
- Belt material composition (EPDM compounds vs. older neoprene)
If sourcing documentation, a genuine OEM workshop manual will carry these values listed with part-specific precision that generic charts simply cannot match.
How OEM Manuals Present Belt Tension Data
Factory documentation does not always present belt tension specs in the same format, and misreading that format is among the most common errors in drive belt service.
Some OEM manuals list tension in Newtons (N) for new belts and a separate lower range for used belts. Others list deflection in millimeters at a specific midpoint load, and a growing number have shifted to frequency-based measurement in Hertz using a sonic tension meter.
Knowing which method the manual specifies changes the tool you reach for before anything else.
|
Format Type |
Unit Used |
Measurement Method |
|
Load-Deflection |
mm at specified kg force |
Push at the belt midpoint |
|
Tension Force |
Newtons (N) |
Tension gauge on the belt |
|
Frequency (Sonic) |
Hertz (Hz) |
Sonic tension meter |
|
Auto-Tensioner |
Visual indicator |
Tensioner window mark |
Reading the wrong column, such as using new-belt specs on a used belt, results in overtightening that damages bearing races. Always check if the manual separates initial installation values from re-tensioning values after break-in.
Deflection vs. Frequency: Which OEM Spec Method Applies
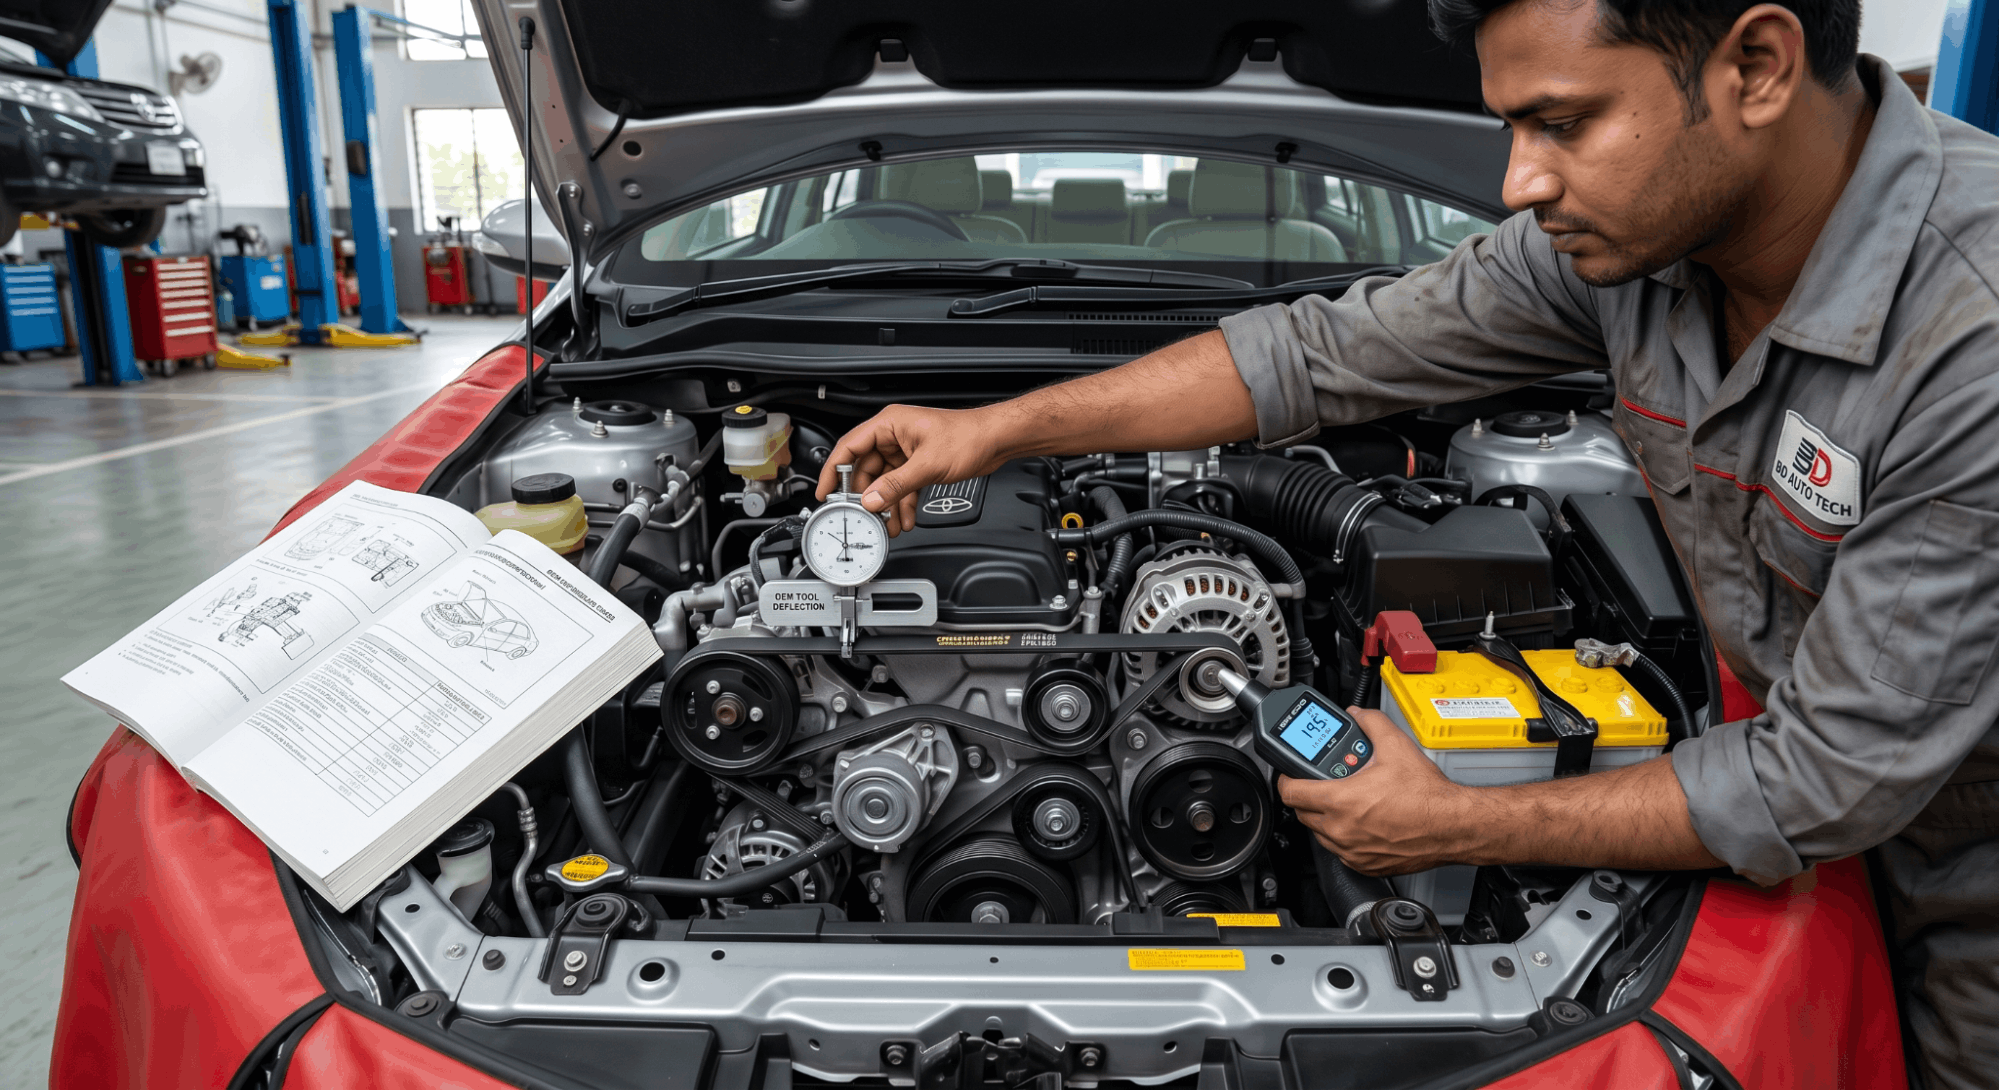
The method your OEM manual specifies determines the tool required and the accuracy of the final result.
Deflection-based specs require applying a known load at the belt’s longest free span and measuring the resulting inward deflection.
Frequency-based specs use a sonic tension meter placed near the belt to detect vibration frequency, which directly correlates with the actual tension in the system. Both are valid methods. They are not interchangeable under any circumstances.
Confirm the right approach before measuring:
- Check the spec table header in the OEM manual for the unit listed
- Confirm the free-span length referenced, as the measurement point directly affects the result
- Note if values differ for new vs. used belt condition
- Verify if the manual requires the engine to be running or cold during measurement
- Match your tool (deflection gauge vs. sonic meter) to the format listed in the manual
Incorrect method selection is one of the most frequently overlooked errors in drive belt service, and it is entirely avoidable with one careful read of the factory documentation.
Reading OEM Tension Tables Without Making Costly Errors

OEM tension spec tables contain multiple data points, and missing even one of them creates a downstream problem.
Most technicians scan only for the tension value and miss the measurement conditions printed directly above or beside it. The engine temperature at the time of measurement, the specific belt span to test, and the belt condition all affect which number applies.
If the vehicle’s manual is not on hand, a factory service manual PDF by VIN provides the exact documentation for that specific engine code.
Common errors when reading belt tension tables:
- Using the spec for a different engine variant listed on the same page
- Confusing the measurement span with the total belt length
- Applying new-belt tension values to a belt with over 20,000 miles of use
- Ignoring the ambient temperature note printed in the manual footnote
- Misidentifying which belt the table references (serpentine vs. accessory vs. timing)
An overtightened belt causes bearing failure in the alternator or A/C compressor over time. An under-tensioned belt slips under load, generates significant heat, and wears through faster than most expect.
OEM Spec Formats by Manufacturer: A Practical Reference
|
Manufacturer Group |
Preferred Spec Method |
Typical Tension Range |
Key Note |
|
Japanese OEMs (Toyota, Honda) |
Deflection (mm) |
7-12 mm at 10 kg force |
Separate new/used values in the table |
|
German OEMs (BMW, VW) |
Frequency (Hz) |
100-180 Hz |
Sonic meter required |
|
American OEMs (Ford, GM) |
Auto-tensioner indicator |
Visual window mark |
No manual measurement needed |
|
Korean OEMs (Hyundai, Kia) |
Deflection or force (N) |
400-700 N |
Varies by engine family |
This table reflects general patterns across manufacturer groups. Always verify with your specific OEM manual for your exact engine code before proceeding. General patterns do not replace model-specific data.
When Incorrect Belt Tension Triggers Bigger System Failures
A belt running outside its specified tension range does not just wear faster. It stresses every component it drives.
Bearings in the alternator and power steering pump are designed for a precise side-load. When belt tension exceeds that limit, those bearings fail ahead of schedule, often taking the housing with them. On cooling-dependent systems, a slipping belt can reduce water pump output enough to contribute to car overheating under sustained load.
Other precision values, such as valve clearance tolerances in factory manuals, follow the same format sensitivity as belt tension specs. The engine is a system. Each spec supports the ones around it. Pulling one value incorrectly creates a chain of problems that only appear later.
Conclusion
Drive belt tension specs from OEM manuals are engineered limits, not loose guidelines. The format, the measurement method, and the condition-specific values all carry equal weight in the outcome.
Matching the right tool to the right method and pulling data from the right source keeps the entire drive system within design limits.
Frequently Asked Questions
No, and this distinction is one that OEM manuals address with a dedicated column in the spec table. A new belt stretches slightly during its first hours of operation, which is exactly why manufacturers publish separate tension values for initial installation and re-tensioning after break-in.
Applying new-belt specs to a belt with significant mileage results in overtightening, which adds damaging side-load to the accessory bearings. The difference in values can reach 100 N or 2-3 mm of deflection, depending on the manufacturer.
That gap is not negligible in service, and it is the reason OEM documentation separates the two conditions.
It depends entirely on the manufacturer group. Japanese and Korean OEM manuals typically use millimeter deflection or Newtons of force as the primary spec unit. German manufacturers often specify frequency in Hertz, which requires a sonic tension meter to measure accurately.
American OEMs increasingly rely on automatic tensioners with visual indicator windows, removing manual measurement from the process entirely. The unit listed at the top of the spec table in your factory documentation tells you exactly which measurement tool applies to that job.
Using a deflection gauge against a frequency-based spec produces a result that looks valid but is not.
A factory service manual PDF by VIN is the most direct path to your exact OEM documentation. Manufacturer and dealer portals also host these files, though subscription access may be required for full document retrieval. Avoid pulling specs from general repair databases unless you can confirm the data source is the original manufacturer file.
Third-party aggregators sometimes carry outdated or misattributed values from older revisions. Your engine code, not just the vehicle model name, must match the spec table you reference. A mismatch at that level produces an incorrect result regardless of how carefully the measurement is taken.
Yes, in cases where the OEM manual includes a temperature condition for measurement. Some manufacturers specify that tension measurements must be taken with the engine completely cold. Others require measurement after the engine has reached full operating temperature.
Belt material expands slightly with heat, and effective tension at operating temperature differs from a cold reading. Ignoring the temperature condition listed in the spec footnote produces a reading that does not reflect real-world operating tension.
Always identify and replicate those conditions before testing. This detail is printed alongside the spec table in most factory documentation and is easy to miss when scanning quickly.
Most manufacturers recommend verifying belt tension at every major service interval, typically every 30,000 to 60,000 miles, depending on the platform. Any service involving tensioner replacement, accessory removal, or belt replacement resets that interval, and tension must be confirmed immediately after reinstallation using the new-belt values from the OEM manual.
Some factory documentation also specifies a follow-up check after the first 500 to 1,000 miles following a new belt installation, as initial stretch during break-in can drop tension below the acceptable minimum. Confirming both the installation value and the break-in follow-up is the correct two-step process.