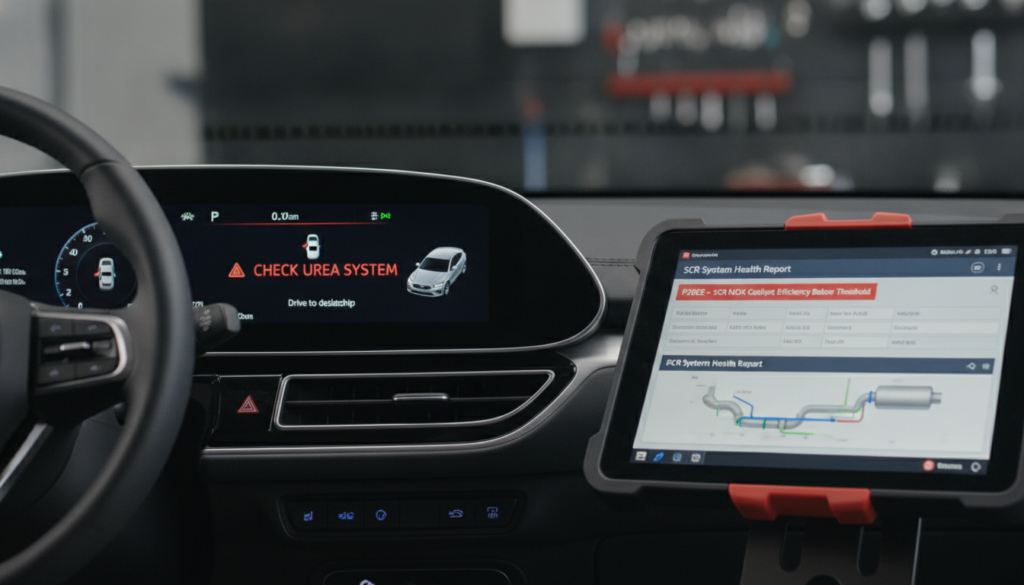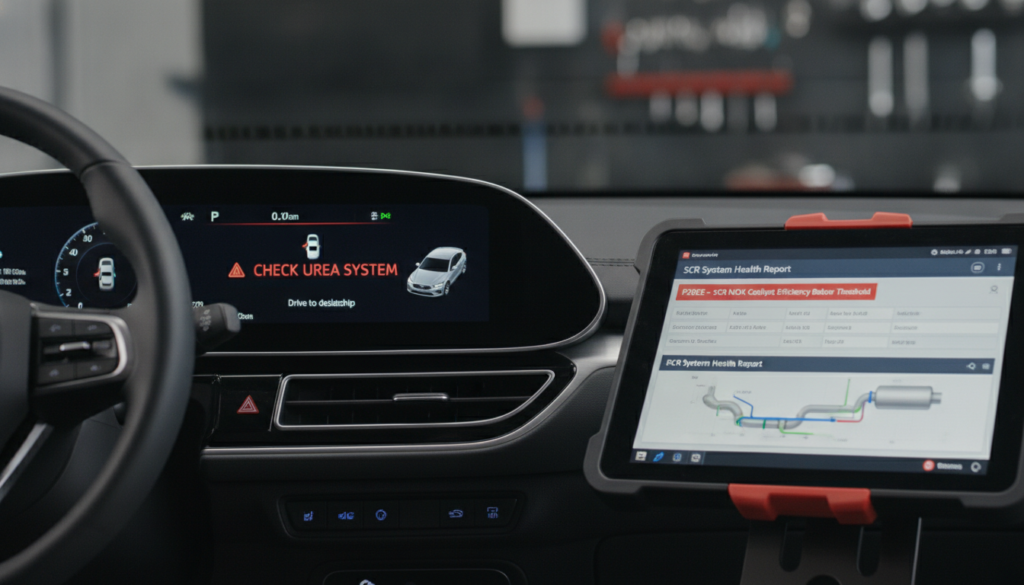
Your Hyundai suddenly feels weak, slow, or stuck in reduced power. That can make highway driving stressful fast. It also means the car may be protecting itself.
Restarting might temporarily clear limp mode, but it doesn’t fix the underlying issue. This mode protects your Hyundai from damage by capping speeds at 30-45 mph and reducing power. To troubleshoot, cycle the key, then use an OBD-II scanner to capture fault codes and address the root cause before evidence is lost.
This guide shows a practical Hyundai limp mode troubleshooting path. You’ll learn what to scan, inspect, test, and confirm. You’ll also see where a factory service manual prevents expensive guessing.
Hyundai Limp Mode Troubleshooting: The Fast Path From Warning To Cause
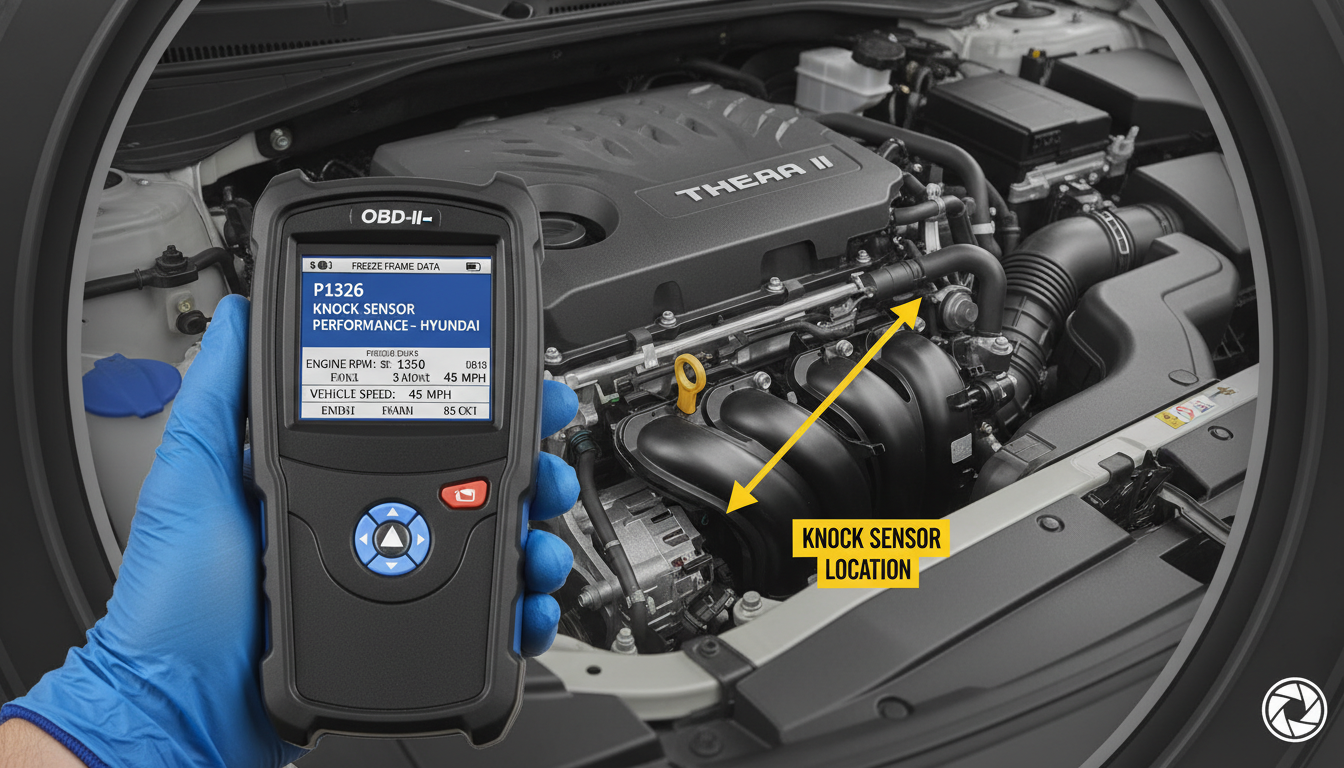
Alter Tag: Professional OBD-II scanner displaying Hyundai P1326 fault code during a limp mode diagnostic test.
Hyundai limp mode troubleshooting should start with evidence, not parts. The main goal is to identify the system that commanded Engine Protection Mode or reduced acceleration. Use the table below to choose the next test before clearing codes or driving farther.
|
Symptom |
Likely System |
First Check |
Smart Action |
|
Flashing check engine light |
Engine misfire or P1326 |
Scan ECM immediately |
Stop driving hard |
|
No acceleration after restart |
Sensor, throttle, or software fault |
Check pending codes |
Save freeze-frame data |
|
Won’t shift normally |
Transmission or TCU |
Scan transmission module |
Check fluid and speed data |
|
Limp mode after rain |
Harness or connector issue |
Inspect moisture points |
Test before replacing parts |
|
Overheating warning |
Cooling system |
Check coolant level |
Tow if temperature rises |
|
Low oil warning |
Lubrication system |
Check oil level and pressure |
Do not continue driving |
|
Turbo underboost code |
Intake or boost control |
Smoke test intake path |
Verify boost sensor data |
Scan first, don’t guess
The first useful step is a full-system scan. A generic code reader may only show engine codes. Many Hyundai limp events involve stored, pending, or history data in another module.
Use an OBD-II scanner that can read the ECM, TCM, ABS, and body modules. Record freeze-frame data, mileage, RPM, coolant temperature, throttle position, and vehicle speed. This protects you from losing clues when the battery gets disconnected or the vehicle restarts normally.
Do not clear codes before writing them down. A cleared P1326, throttle code, or transmission speed code may not return until the exact load condition repeats. That delay can make the repair look random.
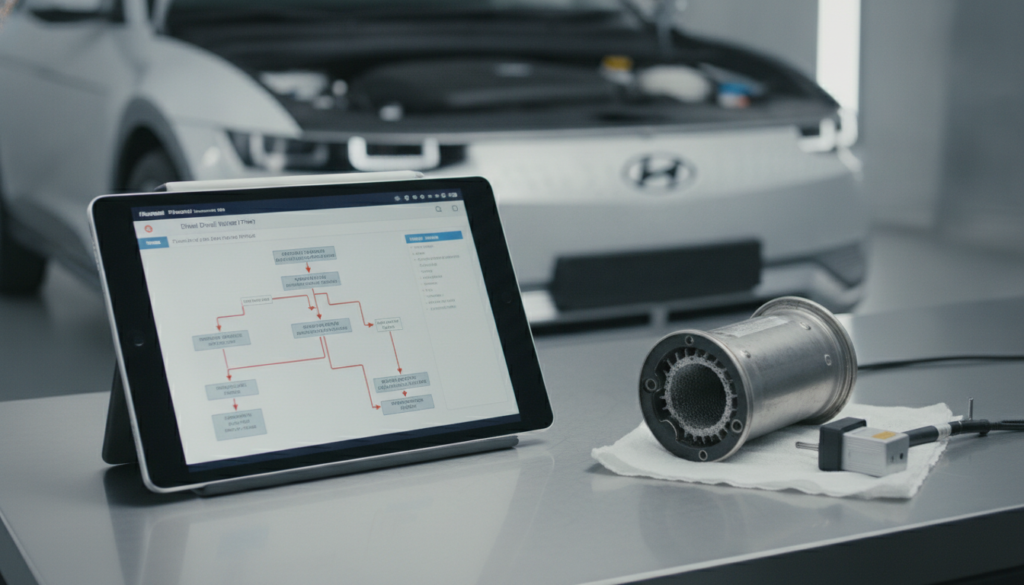
For deeper code logic, pair the scan with OBD-II manual flowcharts. Those flowcharts help you avoid replacing a sensor when the manual says to test voltage, ground, resistance, or connector tension first. You can also start from the Hyundai manual index when you need the correct year and model data.
Stop sooner when lights flash
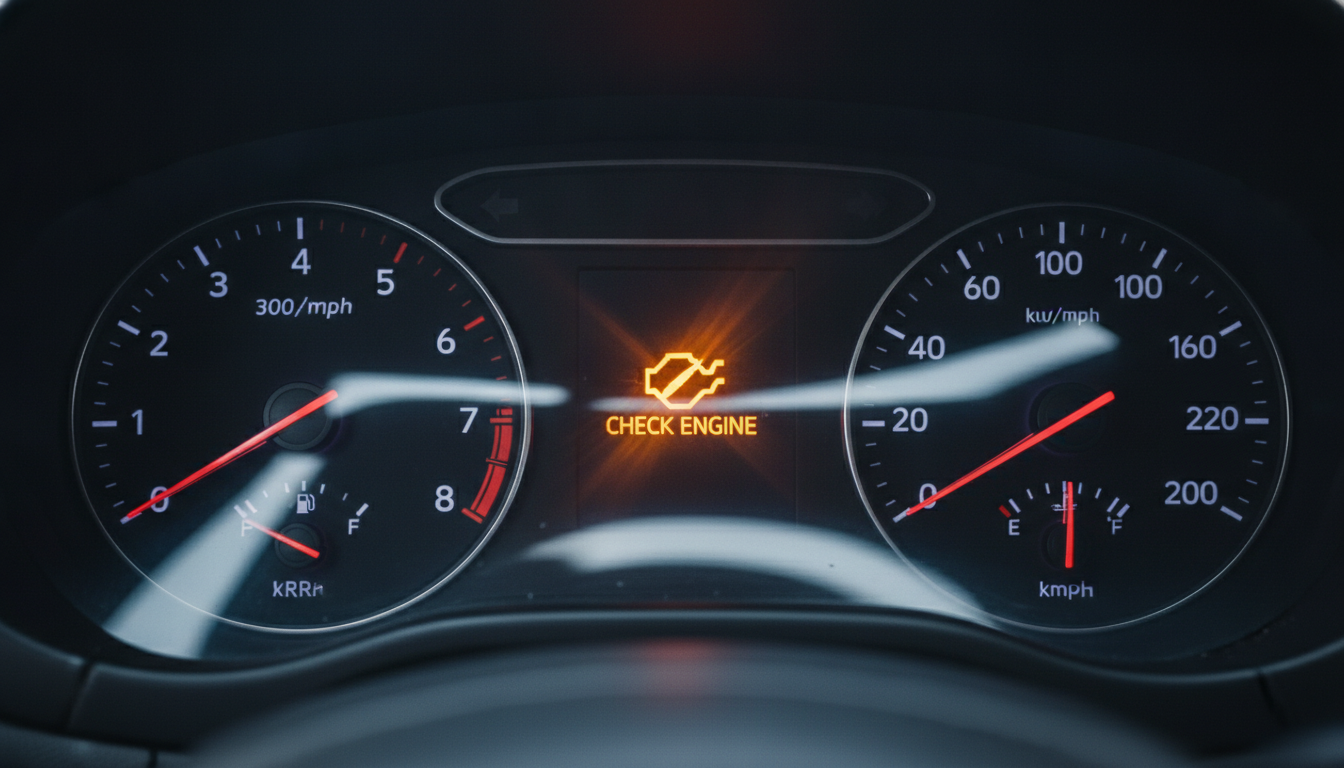
Alter Tag: Visual representation of a flashing check engine light on a Hyundai gauge cluster indicating engine protection mode.
A flashing check engine light deserves a different response than a steady light. It can point to misfire activity, catalyst risk, or an engine protection event. In Hyundai research, owners often described a loss of sudden acceleration and warning lights before asking whether they could keep driving.
Pull over safely when the car loses power, shakes, overheats, or limits RPM. Check for oil pressure warnings, coolant temperature warnings, fuel smell, or knocking sounds. Those signs move the decision from “scan soon” to “stop and tow.”
A restart may restore throttle response for a short time. That can happen because the module resets its strategy until the fault appears again. It does not prove the engine, transmission, or wiring is healthy.
Use a simple rule when troubleshooting Hyundai limp mode. If power loss happens on a fast road, in traffic, uphill, or with warning lights flashing, do not test-drive it aggressively. Get the codes and inspect the basics before the next drive.
Map codes to the right system
The code family matters more than the code alone. P1326 points toward Hyundai’s knock-sensor-related protection strategy on many models. Throttle, airflow, temperature, oxygen, boost, and transmission codes send you down different diagnostic paths.
Build a short code map before touching parts. Group engine protection codes, air metering codes, throttle correlation codes, misfire codes, transmission ratio codes, and wheel-speed or brake codes. Then follow the diagnostic order in the manual for that group.
A P1326 code needs special care because it may involve knock sensor data, wiring, software, or bearing-wear detection logic. Some N models also have known moisture-related issues with the knock sensor connector. That makes inspection history and weather conditions useful clues.
Use ECU pinout diagnostics when the manual asks for circuit testing. Pinouts help confirm the ECU sees the same signal the sensor produces. That prevents the common mistake of blaming the sensor when the fault sits in the harness.
Check fluids before sensors
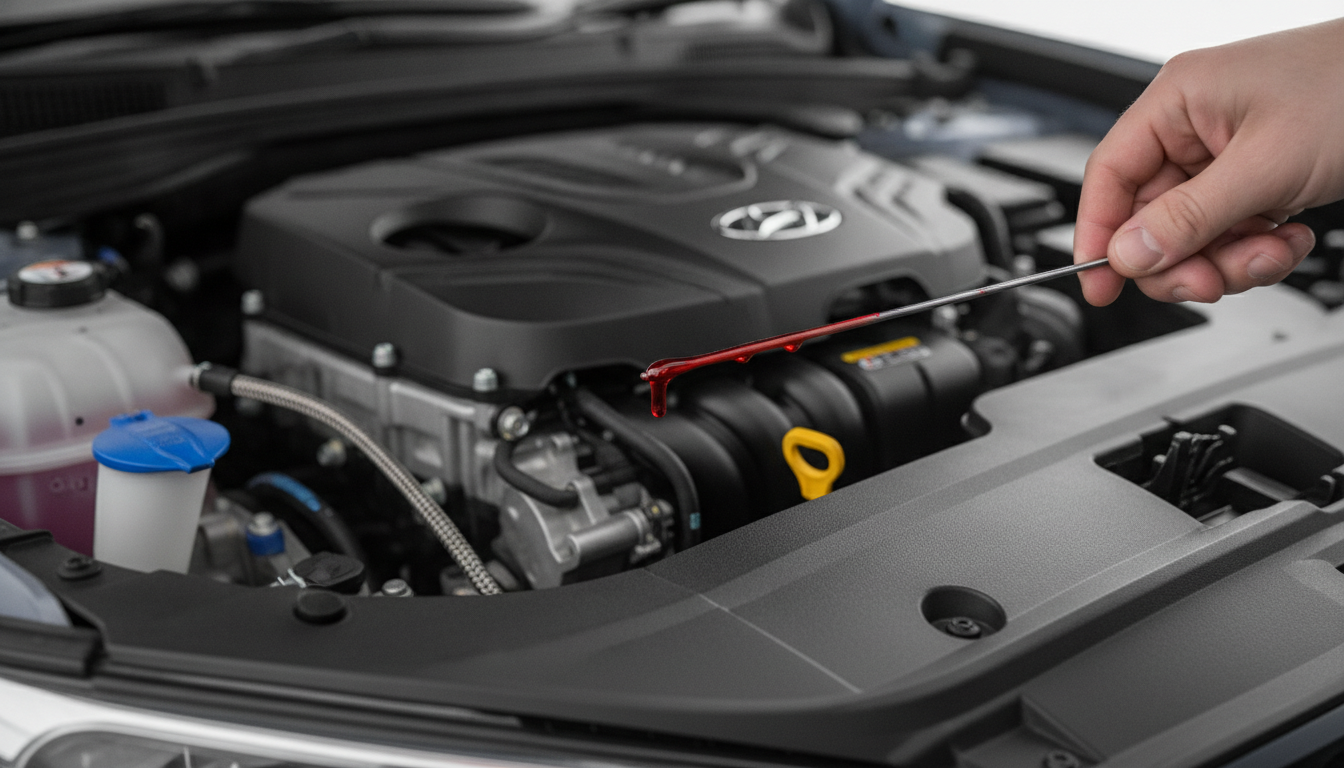
Alter Tag: A technician performing a precision transmission fluid level check on a Hyundai to troubleshoot limp mode.
Low or contaminated fluids can trigger limp behavior without appearing to be an electronic problem. Start with engine oil level, oil condition, coolant level, and obvious leaks. Then check the exact service information for transmission fluid inspection rules.
Never assume a Hyundai automatic has a simple dipstick process. Many models need a temperature-based fill check or a specified inspection sequence. The wrong fluid level can create shift problems, overheating, ratio errors, and protective transmission behavior.
Coolant matters because overheating can force reduced power. Look for low coolant, trapped air, radiator fan problems, thermostat faults, and coolant temperature sensor readings that do not match actual engine temperature. A manual gives the temperature thresholds and test points that generic advice misses.
Oil matters even more when limp mode appears with noise, P1326, or a flashing lamp. Stop if the engine knocks, rattles, or displays an oil pressure warning. A manual-based inspection protects the engine and supports better repair decisions.
Test air, throttle, and boost
Modern Hyundai engines depend on a clean interaction among the MAF sensor, MAP sensor, throttle body, accelerator pedal, and oxygen feedback. When those signals disagree, the ECU may reduce torque. The car may feel like the pedal stopped working.
Start with intake leaks, loose clamps, damaged ducts, dirty sensor elements, and unplugged connectors. Then watch live data for throttle angle, pedal position, calculated load, fuel trims, and airflow. Values that jump, freeze, or disagree with pedal movement deserve circuit testing.
Turbocharged models add boost control to the limp-mode path. Underboost, overboost, wastegate control, bypass valve issues, or cracked charge pipes can all create power limits. Do not replace a turbo before checking pressure data and intake sealing.
Use multimeter sensor checks when live data points to a sensor circuit. A good manual shows the expected voltage range, connector terminal, and test condition. That turns Hyundai limp-mode troubleshooting into a measured process rather than a parts swap.
Inspect connectors and grounds
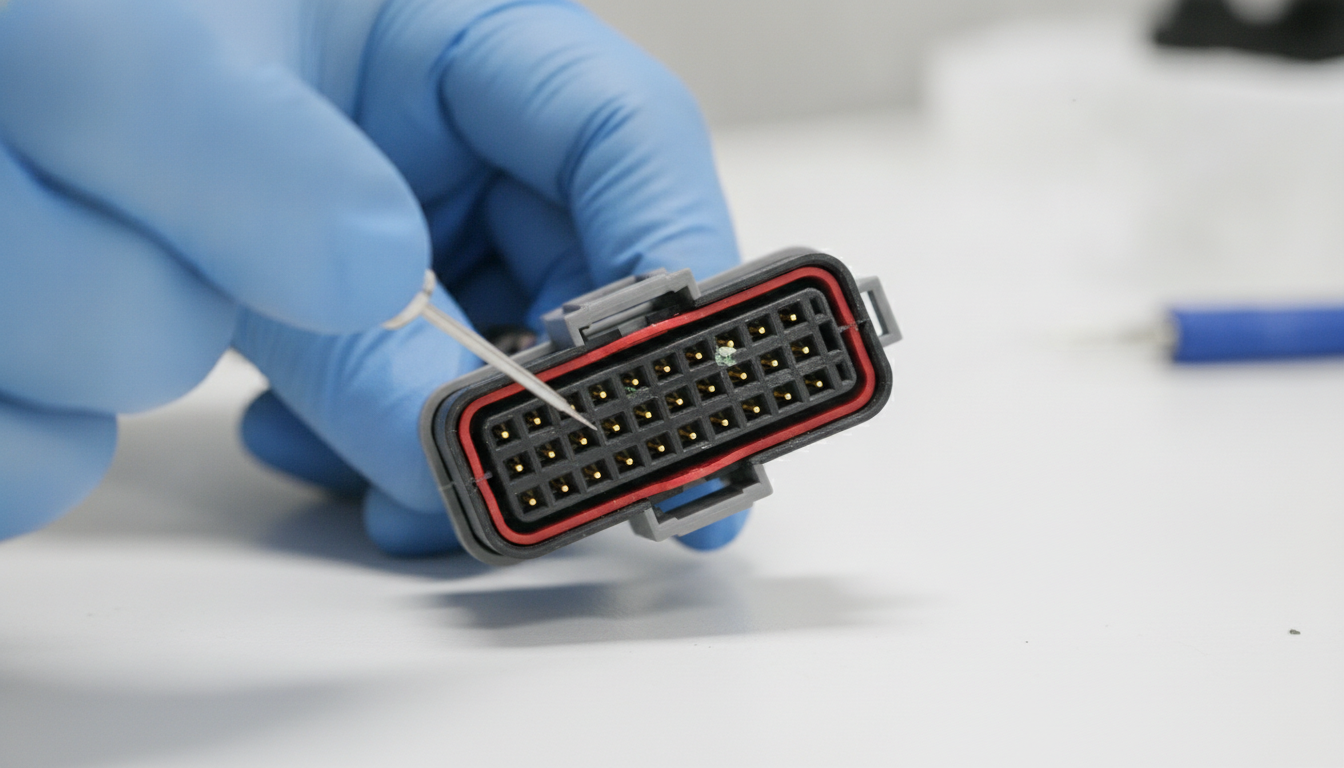
Alter Tag: Close-up inspection of a Hyundai wiring harness connector for corrosion and pin tension during troubleshooting.
Electrical faults can create the most frustrating limp-mode complaints. Drivers often report no code, random recovery after restart, or limp mode after rain. Those patterns make connectors, grounds, and harness routing important.
Inspect battery terminals, engine grounds, sensor connectors, fuse boxes, and harness sections near heat or water. Look for green corrosion, loose pins, oil intrusion, rubbed insulation, and poor aftermarket repairs. A connector that looks attached can still have weak terminal tension.
Moisture matters on performance and turbo models with dense engine bays. Rain, washing, and splash exposure can disturb low-voltage sensor signals. Record weather conditions when the fault appears because that detail can shorten the diagnostic path.
For electrical tracing, use wiring diagram short tracing and factory ground point lookup. Those resources help you test the circuit Hyundai designed, not the circuit you hope exists. The Hyundai troubleshooting manuals can also guide connector locations and model-specific ground paths.
Separate gearbox from engine
A Hyundai may feel like the engine is weak when the transmission is the limiting factor. Harsh shifts, stuck gears, delayed engagement, ratio codes, or speed sensor faults point toward the TCM. That path differs from P1326, misfire, or throttle limp mode.
Scan the transmission module before draining fluid or replacing solenoids. Check input speed, output speed, commanded gear, achieved gear, fluid temperature, and pressure control data. Compare those readings to the service manual before deciding on internal transmission work.
Some limp events happen because the transmission protects itself from heat or incorrect ratio data. Low fluid, wrong fluid, failed solenoids, wiring faults, or speed sensor errors can cause that behavior. A road test should only happen after confirming fluid level and safety.
Use the transmission solenoid testing guide when the scan points to shift control. Pair it with relay pinout testing if power-supply faults occur. This keeps engine and gearbox diagnosis from getting mixed together.
Match the manual to your model
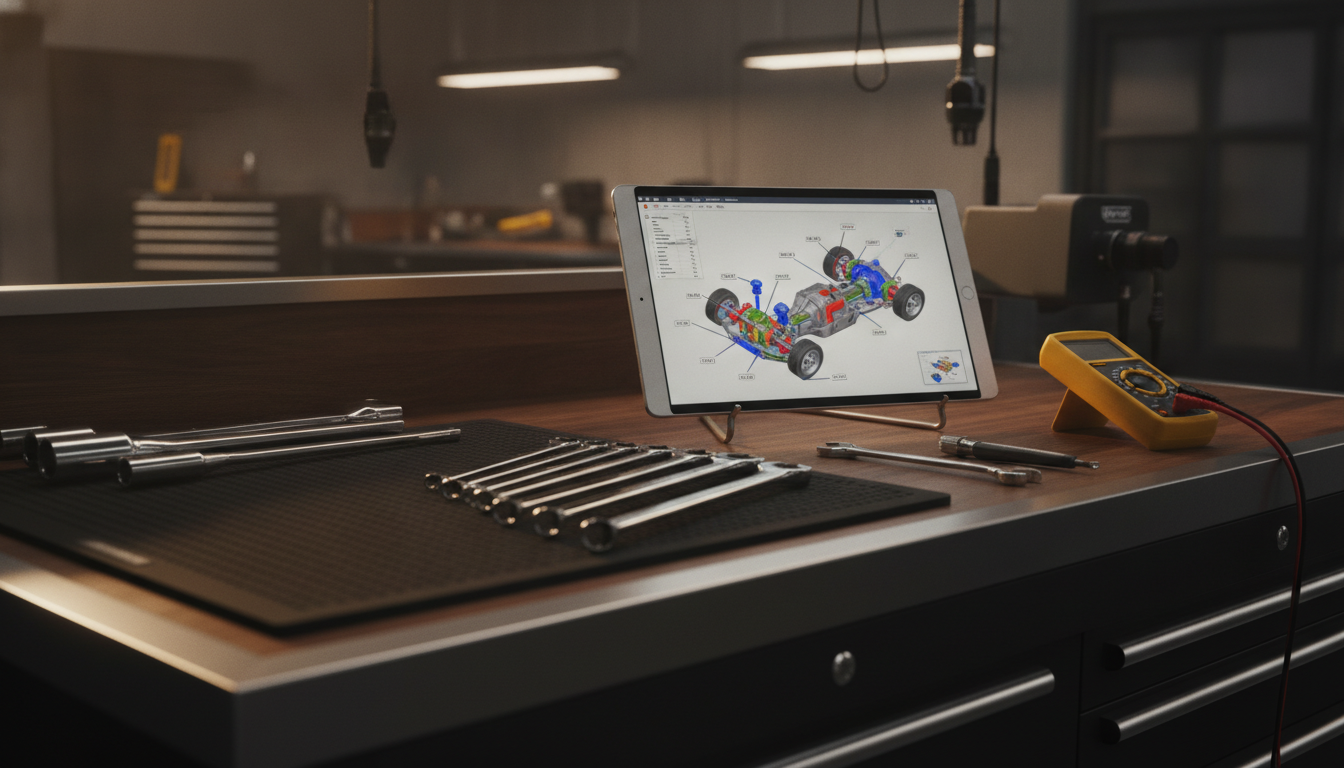
Alter Tag: Digital tablet displaying a Hyundai factory service manual with detailed drivetrain schematics for model-specific repair.
Hyundai limp mode details can change by engine, year, market, and transmission. A Sonata, Tucson, Santa Fe, Veloster N, and older Getz do not share the same diagnostic map. Match the manual before trusting a forum answer.
Use model-specific pages when symptoms repeat on a known platform. The right service data gives connector views, scan tool values, torque specs, reset conditions, and test sequences. That is why a broad “reset limp mode” search often wastes time.
Start with the closest page for your vehicle. Older models may need wiring and sensor tests first, while newer models may need software, module, or campaign checks first. Use the table below to guide the reader to the correct reference.
|
Model Path |
Best Use |
|
Small engine reduced-power diagnosis |
|
|
Sedan sensor and module checks |
|
|
Premium sedan service data |
|
|
Throttle and intake diagnosis |
|
|
Luxury model scan paths |
|
|
Older wiring checks |
|
|
Engine and drivetrain diagnostics |
|
|
Compact model code tracing |
|
|
Small-car limp inspections |
|
|
Hatchback reduced-power testing |
|
|
SUV engine protection checks |
|
|
Sedan limp-mode workflow |
|
|
Sport compact sensor diagnosis |
|
|
SUV power-loss investigation |
|
|
Performance model P1326 checks |
|
|
Larger SUV diagnostics |
|
|
V6 gearbox and engine checks |
|
|
Early Accent diagnostics |
|
|
SUV drivability checks |
|
|
Large SUV service paths |
|
|
Van reduced-power diagnosis |
|
|
MPV wiring inspection |
|
|
Diesel and SUV checks |
|
|
Older MPV diagnostics |
|
|
Sport coupe test data |
|
|
Legacy service diagrams |
|
|
Compact MPV fault tracing |
|
|
Older sedan sensor tests |
|
|
Large SUV scan guidance |
|
|
SUV gearbox and engine clues |
|
|
Compact MPV repair workflow |
|
|
Wagon wiring diagnosis |
Reset only after repair
Resetting limp mode before diagnosis creates a new problem. It removes evidence showing why the ECU or TCU reduced power. It can also make a serious fault feel harmless for a few miles.
A safe reset sequence starts only after the repair has evidence to back it up. Confirm fluid levels, connector integrity, sensor values, module codes, and service manual test results. Then clear codes and perform the specified drive cycle.
Watch live data after clearing codes. The same throttle mismatch, coolant reading, knock signal, or transmission speed error may return before the warning light does. That early data tells you if the repair actually solved the cause.
Finish by using the Hyundai diagnostic manual library to confirm model-specific steps. A manual-based repair gives you the best chance of preventing another limp event. It also helps you explain the repair clearly if a shop or buyer asks what was done.
Common Asked Questions About the Hyundai Limp Mode Troubleshooting
Can I drive my Hyundai in limp mode?
You can usually move a Hyundai in limp mode only far enough to reach a safe place. The car may limit speed, RPM, throttle response, or gear selection to reduce damage.
Do not keep driving if the check engine light flashes, the engine knocks, temperature rises, oil pressure warnings appear, or the vehicle feels unsafe in traffic.
A short drive to a nearby repair shop may be reasonable after checking the oil, coolant, and any obvious leaks. A tow is smarter when the car loses power on highways, struggles uphill, or has P1326 with abnormal engine noise.
Why did limp mode disappear after restarting my Hyundai?
A restart can temporarily clear the protective strategy, but it does not prove the fault is repaired. The ECU or TCU may recheck the failed condition only after speed, load, temperature, boost, or throttle movement reaches the same threshold again.
That is common with intermittent wiring faults, heat-related sensor failures, moisture in connectors, and pending codes.
Scan the car before clearing anything, and record freeze-frame data if available. If the issue returns after rain, hard acceleration, hill climbing, or highway speed, those details are valuable diagnostic clues.
What does P1326 mean on a Hyundai in limp mode?
On many Hyundai models, P1326 relates to knock-sensor-based engine protection logic. It may involve Knock Sensor Detection System behavior, abnormal vibration detection, sensor wiring, connector issues, software status, or possible bearing wear.
Treat it more seriously than a generic sensor code, especially if the engine knocks, rattles, or has oil pressure concerns.
Do not simply replace the knock sensor without checking model-specific service information. The correct path is to scan, record data, inspect wiring, verify campaign or software status, and follow the Hyundai manual procedure.
Can a bad transmission cause Hyundai limp mode?
Yes, a transmission fault can make a Hyundai feel like the engine has no power. The TCM may limit gear changes or torque when it sees incorrect ratio data, excessive temperature, solenoid problems, pressure-control faults, or speed sensor errors.
That is why a full scan matters. A basic engine-only reader may miss the transmission data needed to explain the complaint.
Check fluid condition and level using the correct procedure, then compare commanded gear, actual gear, input speed, output speed, and temperature readings against the service manual.
Should I reset Hyundai limp mode before diagnosing it?
No, resetting first is usually a mistake. Clearing codes can erase pending faults, freeze-frame data, and history that shows when the module reduced power.
It also makes intermittent faults harder to prove. Diagnose first, repair the confirmed cause, then clear codes and perform the correct drive cycle.
A proper reset follows verification of oil, coolant, wiring, sensor data, and transmission data. If limp mode returns after the reset, rescan immediately and compare the new codes with the original notes.