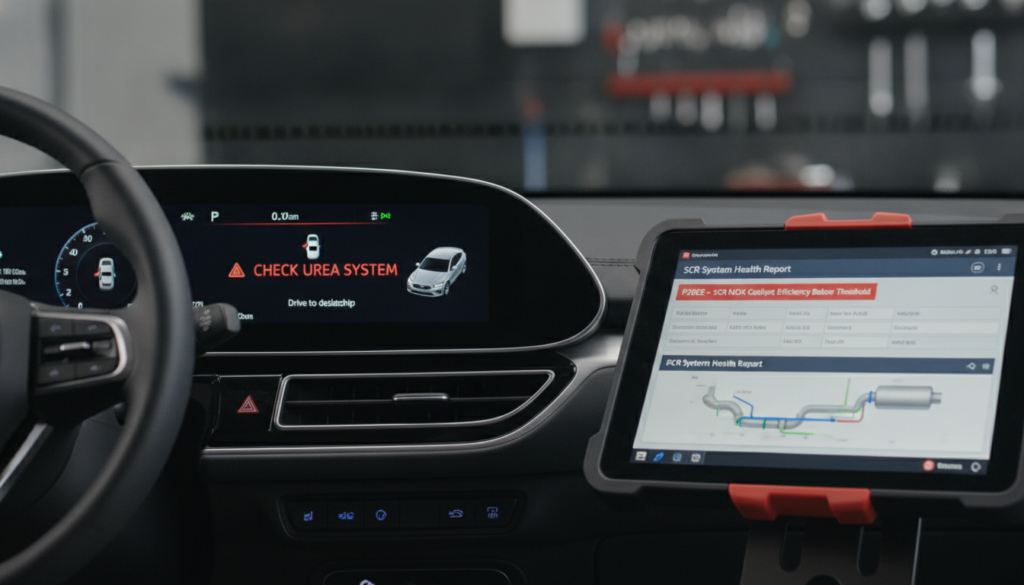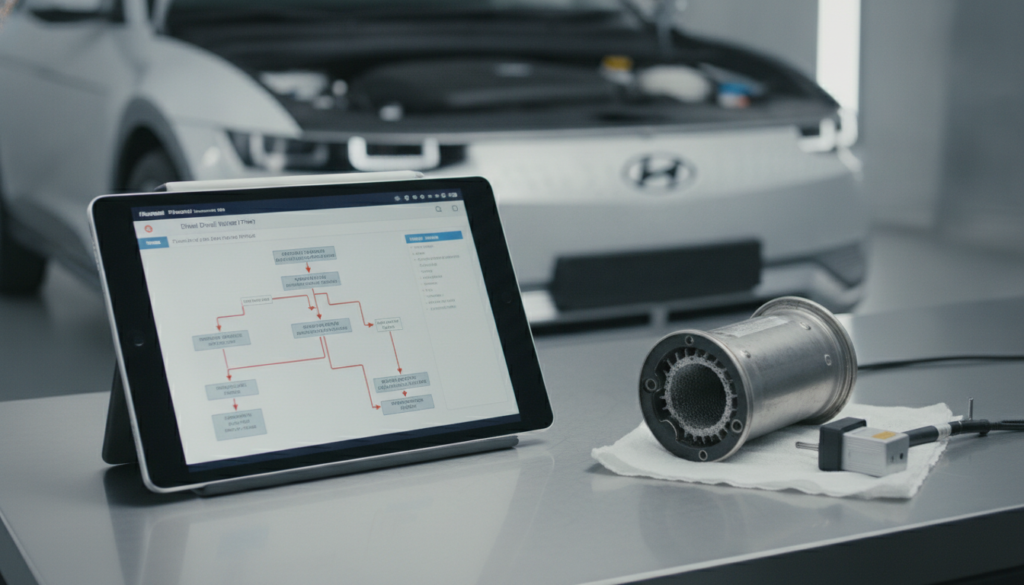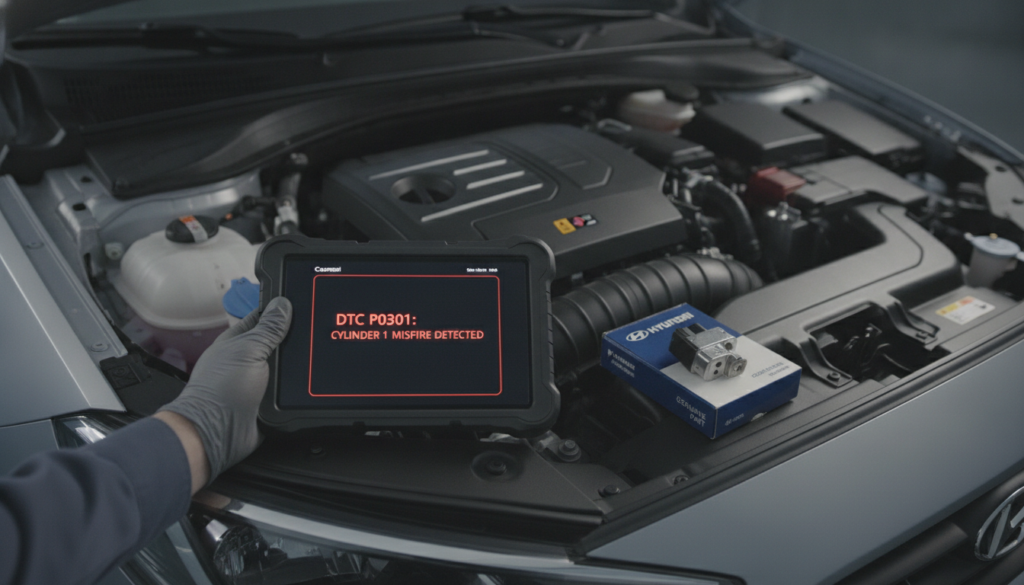
You replaced the sensor. You cleared the code. Then the warning light came back. This is one of the most frustrating situations a DIY mechanic or independent shop can face, and it happens on Hyundai models far more often than it should.
The sensor is often not the issue rather, improper installation steps usually lead to avoidable part replacements. Recurring faults often signal electrical problems like bad grounds or corroded wiring. Other frequent causes include aftermarket part mismatches or neglecting to clear the PCM memory.
This post covers the five most common reasons a Hyundai sensor fault returns after replacement. It explains the exact OEM correction path for each cause, and it uses practical diagnostic steps you can follow right now.
Hyundai Sensor Fault After Replacement: Why the Code Comes Back and How to Stop It
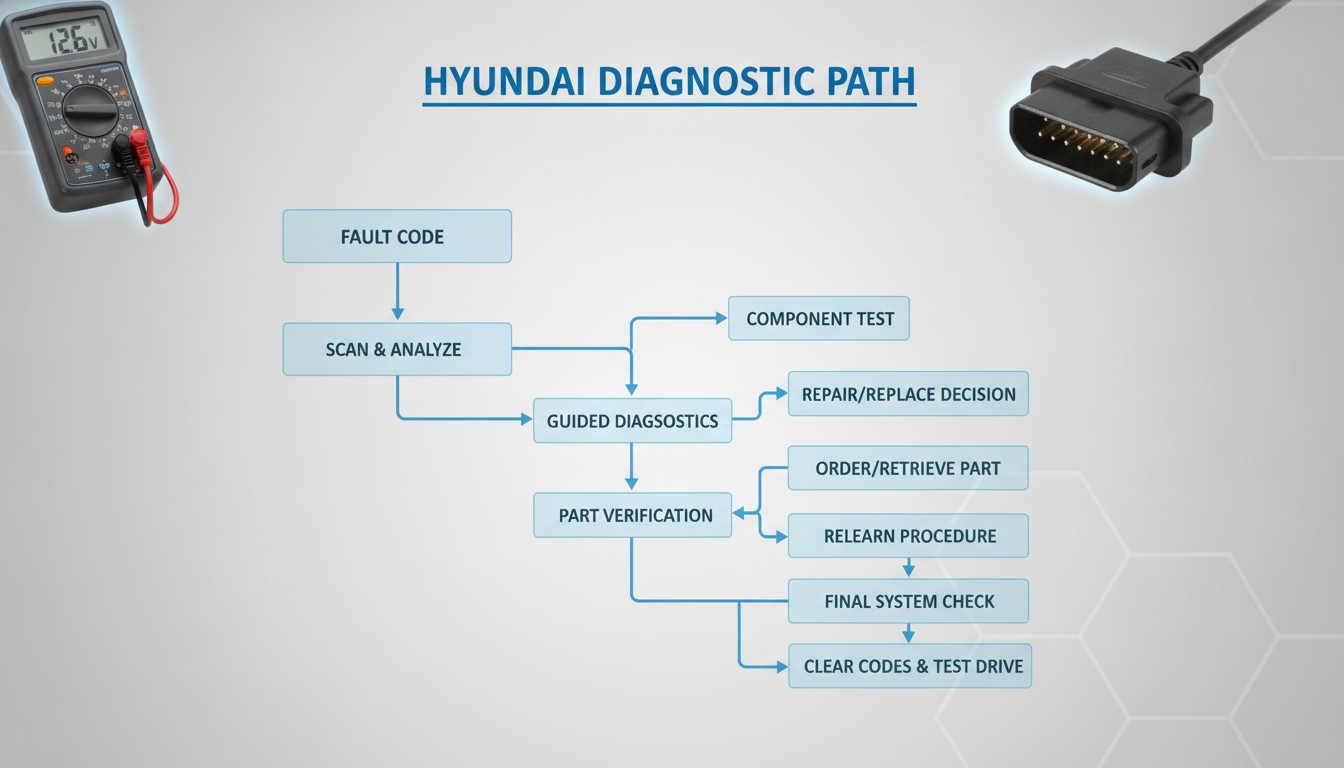
Alter Tag: A technical infographic outlining the OEM correction path for recurring Hyundai sensor faults.
A Hyundai sensor fault after replacement is almost never random. Every DTC that returns within one or two drive cycles points to a specific technical gap in the replacement process. The fault could trace back to a part fitment error, a damaged connector, a missing relearn procedure, a signal that is out of range, or an ECU that simply has not been told a new sensor is installed.
Each cause has a defined OEM correction step, and working through them in order is the fastest way to stop the code for good. Explore the full range of supported Hyundai vehicles at the NXT Motors Hyundai service page to match your exact model before ordering any replacement parts.
Sensor Fault Common Causes at a Glance
|
Sensor Type |
Common DTC |
Root Cause After Replacement |
OEM Correction Step |
|
MAF |
P0100, P0101 |
Aftermarket calibration mismatch |
Replace with OEM part, check intake for leaks |
|
Crankshaft Position (CKP) |
P0335, P0336 |
Air gap incorrect or pin pushback |
Verify gap, inspect connector pins |
|
ABS Wheel Speed |
C1200-series |
Air gap too wide, wrong tone ring |
Set gap to spec, confirm tone ring condition |
|
TPMS |
B1600-series |
No relearn performed after install |
Run relearn via scan tool or valve sequence |
|
Oxygen (O2 / Lambda) |
P0130, P0136 |
Drive cycle not completed |
Complete OEM readiness drive cycle |
|
MAP |
P0105, P0107 |
Vacuum leak at sensor port |
Inspect port O-ring and vacuum line |
|
Camshaft Position (CMP) |
P0340, P0341 |
Timing mark misalignment |
Recheck cam timing before final torque |
Wrong Part Number: How One Digit Kills the Fix
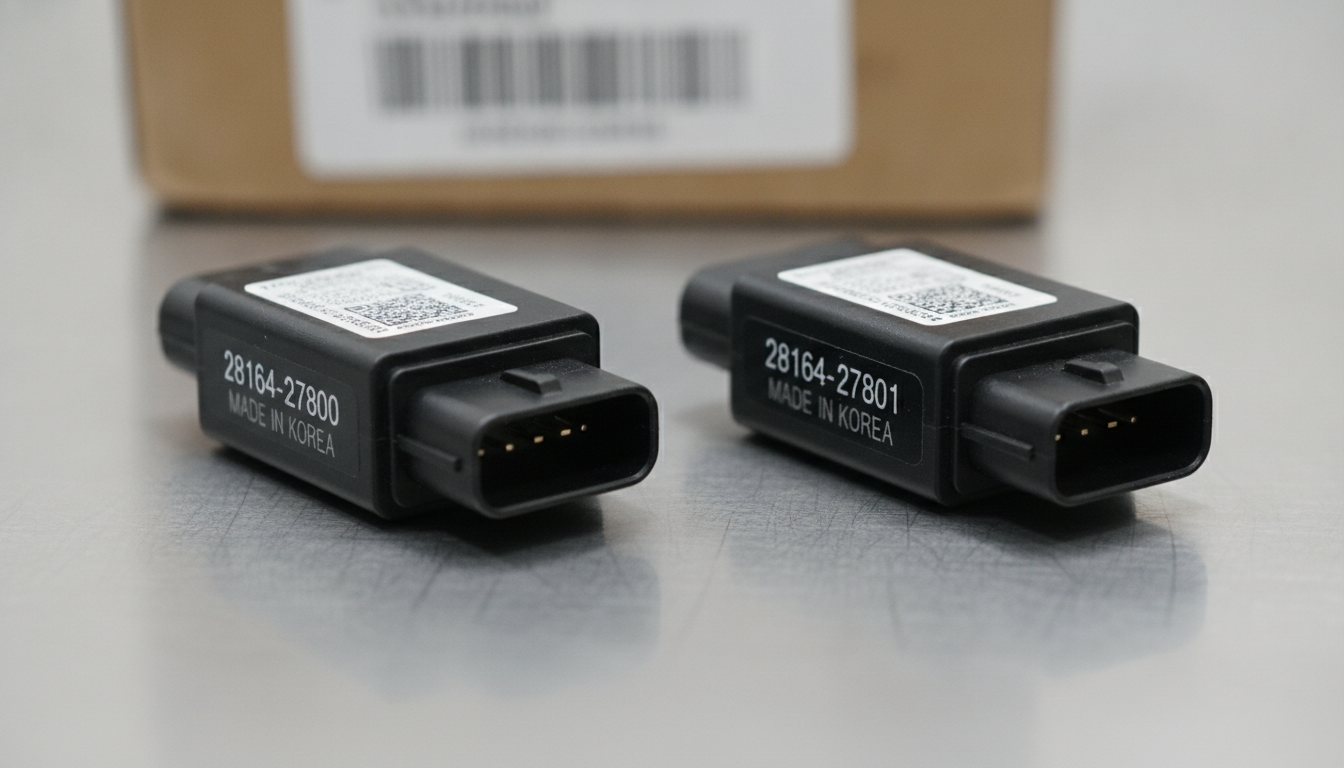
Alter Tag: Macro comparison of two similar Hyundai sensors highlighting different OEM part numbers to prevent calibration mismatch.
The part number issue is the single most overlooked cause of a returning sensor fault. Even a sensor that looks physically identical can carry a different internal calibration, a different resistance curve, or a different output range if the part number does not match exactly. The ECU expects a signal within a very specific tolerance window, and anything outside that window triggers the same DTC the old sensor produced.
Always cross-reference the OEM part number before buying. Use the VIN to pull the correct number from the factory parts catalog, not just the model year and engine code. Two vehicles with the same engine code can carry different sensors if they were built in different production runs or for different markets.
Aftermarket sensors are the most common source of this error. A budget MAF sensor may produce a voltage signal that reads 4.8V at idle instead of the OEM 4.5V. That 0.3V difference is enough to set P0101 on most Hyundai ECUs. The Hyundai ix35 and Tucson are two models for which this type of MAF mismatch is particularly well documented by independent mechanics.
Steps to verify correct fitment:
- Pull the VIN and decode the production plant and model variant
- Cross-check the supersession chain in the OEM parts catalogue
- Compare the connector shape, pin count, and body orientation physically
- Check the resistance or voltage spec in the factory workshop manual against the new sensor's datasheet
- If the sensor came in unbranded packaging without a part number, return it
The Hyundai Sonata and Hyundai Genesis both have known supersession chains on oxygen sensors where older part numbers are no longer valid. Using the superseded number installs a part with the wrong Nernst cell coating, and the fault code returns within 20 minutes of driving.
Connector and Harness Damage You Probably Missed
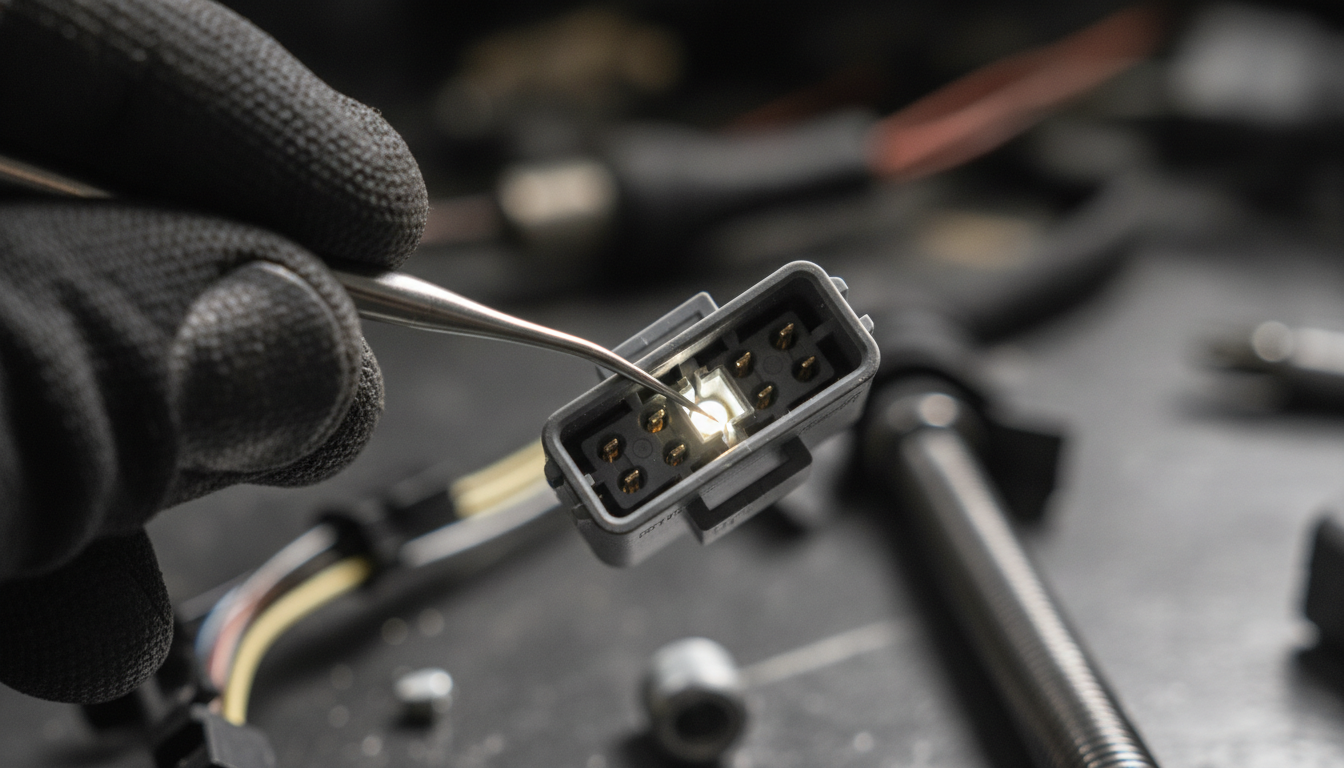
Alter Tag: Technician using a dental pick to inspect for pin pushback on a Hyundai engine wiring harness connector.
The physical sensor can be perfect and still produce a fault code if the connector or wiring is compromised. Removal of the original sensor almost always stresses the connector. Clips break, pins push back, corrosion transfers from the old sensor body into the socket, and the locking tab cracks quietly without anyone noticing. A pushed-back pin only needs to lose contact for a fraction of a second to set a DTC.
Inspect the connector under good lighting before reinstalling the harness. Use a dental pick or a dedicated pin extraction tool to gently push each terminal forward and confirm it seats with a slight click. A pin that moves more than 0.5mm when prodded is not properly locked and will cause an intermittent fault.
Pin Pushback and Corrosion Inside the Plug
Corrosion inside the socket is harder to spot than physical damage. Green or white oxidation on the terminal faces reduces contact resistance and causes erratic voltage readings. The ECU reads these erratic readings as a sensor signal fault, not a wiring fault, which is why the DTC points at the sensor rather than the harness.
Clean corroded terminals with an electrical contact cleaner and a small wire brush or terminal cleaning tool. Apply a thin coat of dielectric grease after cleaning to prevent future oxidation. Do not use WD-40 as a substitute, because it leaves a residue that degrades connector sealing over time.
The Hyundai H-1 and Hyundai Trajet have documented cases of harness chafing near the engine mount that becomes visible only after the original sensor is removed. Check a 30cm section of the harness above the connector for signs of wear, melted insulation, or pinching against metal edges.
Wiring checks to run before closing the connector:
- Supply voltage test: confirm 5V or 12V reference at the signal pin with the ignition on
- Ground integrity test: measure resistance from the ground pin to chassis ground, must read below 0.3 ohms
- Signal wire continuity: use a multimeter to confirm continuity from the sensor connector pin back to the ECU pin (reference your multimeter sensor testing guide for the correct procedure)
- Wiggle test: clear the code, reconnect the harness, then wiggle the harness gently while watching live data for signal dropouts
Sensor Relearn Steps That Must Run After Install
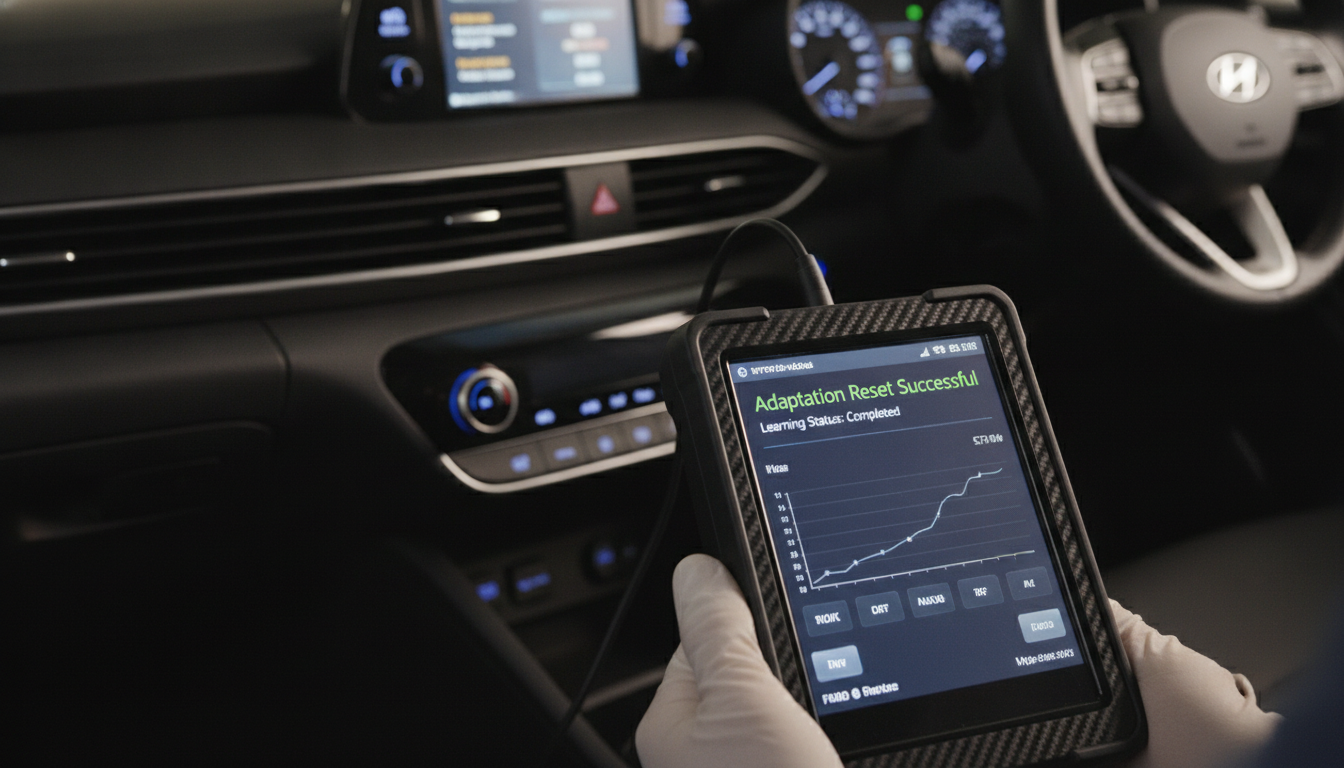
Alter Tag: Professional scan tool performing a sensor relearn and adaptation reset on a Hyundai vehicle.
Many Hyundai sensors require an active relearn or adaptation procedure after installation. Simply installing the part and clearing the code with an OBD-II scanner is not sufficient. The ECU needs to relearn the sensor's baseline reading before it will accept the signal as valid.
If that baseline is not set, the ECU may flag the new sensor's correct output as an out-of-range fault because it is still comparing the signal against the old sensor's stored baseline.
The TPMS is the most common example. On most Hyundai models, new TPMS sensors must be relearned using a dedicated scan tool or a valve sequence. The light does not automatically turn off after installation. Refer to the TPMS sensor relearn steps documented in the OEM manuals for the exact procedure for your model.
Oxygen Sensor Drive Cycle Requirements
The oxygen sensor is the second most common example of a missed relearn. After installation, the ECU runs a readiness monitor to evaluate the sensor's response time, lean-to-rich switch frequency, and heater circuit resistance.
This monitor only runs under specific drive conditions, which the OEM defines as the oxygen sensor readiness drive cycle. The cycle typically requires a cold start, an idle period, a gradual acceleration to highway speed, and a deceleration to idle.
If the readiness monitor has not completed, the fault code may clear, but the monitor will remain incomplete. At the next emissions test or ECU check, the incomplete monitor triggers a new fault flag. Running the OEM drive cycle correctly after every oxygen sensor replacement prevents this entirely.
For crankshaft position sensors on some Hyundai models, the ECU performs a reluctor ring learn when the engine is started for the first time after the new sensor is installed.
The engine should be brought to operating temperature and held at around 1500 RPM for 2 to 3 minutes to allow the relearn to complete. The Hyundai Terracan and Hyundai Grand Santa Fe both require this step after CKP replacement.
Visit the NXT Motors Hyundai parts and service section for model-specific relearn guidance organized by vehicle line.
Live Data PID Check: Confirming the Signal Is Right
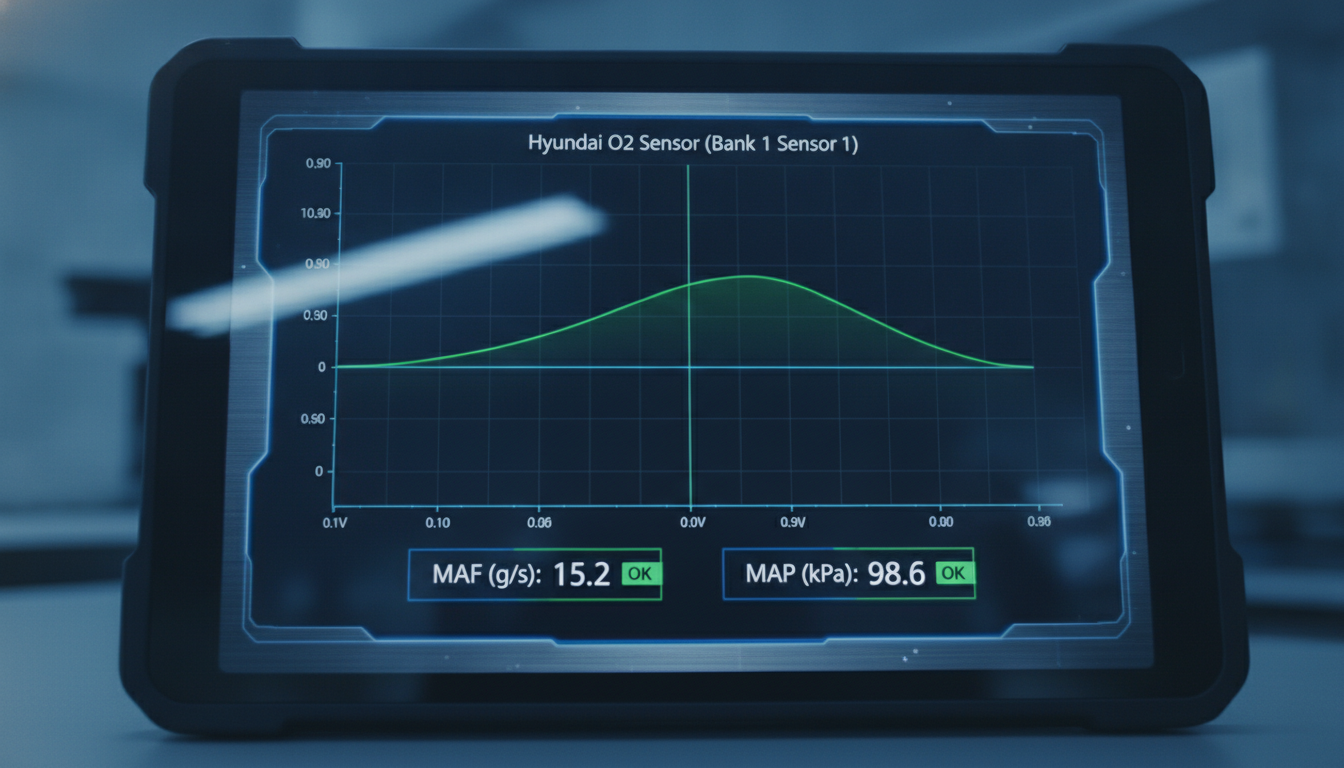
Alter Tag: Scan tool screen showing live data PID waveforms for Hyundai oxygen and MAF sensor testing.
Clearing a fault code without checking live data is guesswork. A sensor can be correctly installed, correctly wired, and correctly relearned, and still produce a fault if the signal value is outside the OEM operating range. Live data shows you exactly what the ECU sees in real time, which is the only way to confirm the sensor is working, not just installed.
Connect a scan tool capable of reading live data PIDs. Navigate to the relevant sensor data stream and record values at idle, at 2500 RPM, and during a light load cruise.
Compare every reading against the OEM specification table in the factory workshop manual. A reading that is 10 percent outside the OEM range is enough to set a DTC on most Hyundai systems.
Key live data checks by sensor type:
- MAF sensor: Output in grams per second at idle should match the OEM idle air flow spec (typically 2.0 to 4.0 g/s on a 1.6L, 2.5 to 5.5 g/s on a 2.0L)
- MAP sensor: Output in kPa at idle with the engine warm should match barometric pressure minus approximately 35 to 50 kPa
- Oxygen sensor: Pre-cat sensor should switch cleanly between 0.1V and 0.9V at warm idle in closed loop
- ABS wheel speed sensor: All four sensors must show matching speed values during a slow roll forward
- Crankshaft position sensor: RPM signal must appear immediately on cranking with no dropouts visible in the data stream
Cross-reference your live data findings with the OBD-II code reading guide for help interpreting what the freeze frame data is telling you. The Hyundai Getz, Hyundai i10, and Hyundai i20 all use the same live data PID structure, so the process is consistent across small-displacement models.
When ECU or BCM Coding Is the Missing Step
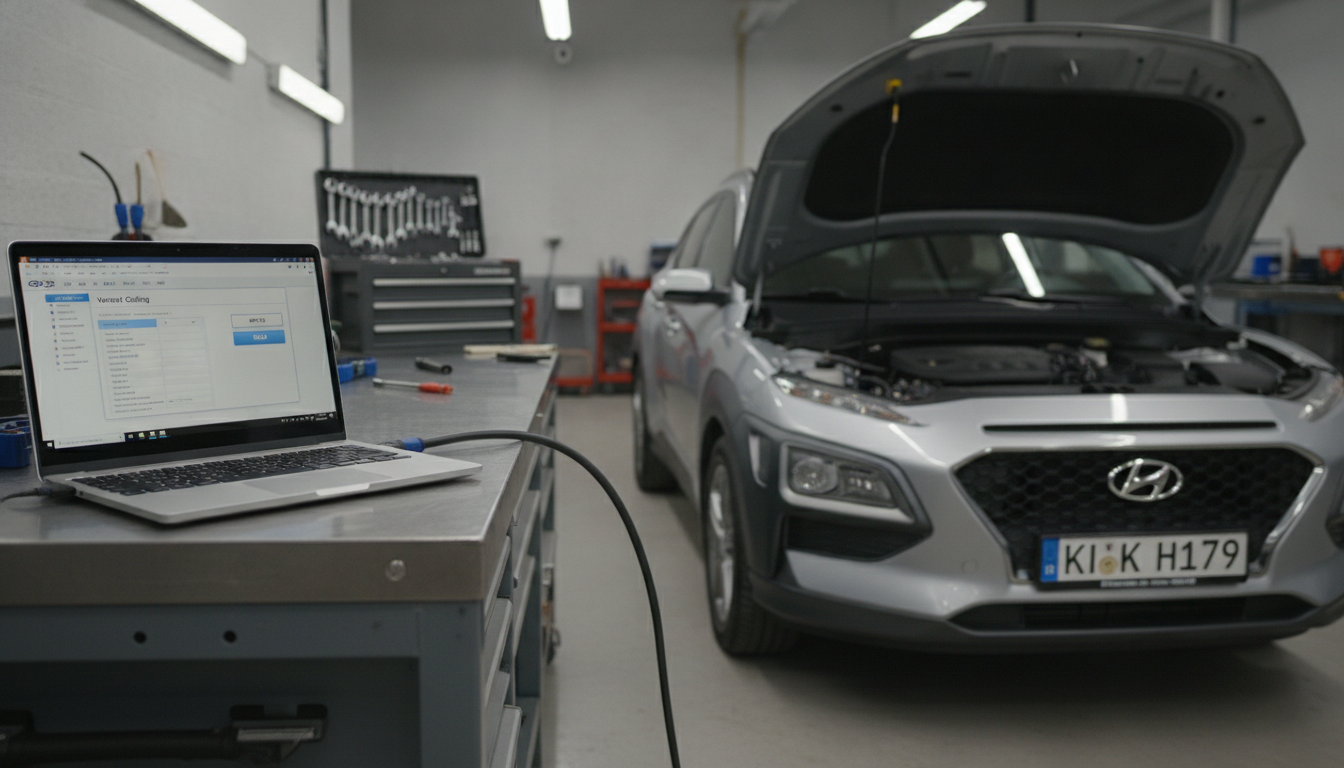
Alter Tag: Hyundai Global Diagnostic System software interface showing variant coding and ECU programming steps.
Newer Hyundai models, particularly those with advanced driver assistance systems, active suspension sensors, or electronic stability control, require variant coding after a sensor is replaced. Variant coding tells the ECU or BCM the specific type, range, or calibration group of the new sensor. Without it, the control unit cannot interpret the sensor's output correctly even if the part is a perfect OEM match.
Variant coding is typically performed using a dealer-level scan tool, such as the Hyundai GDS (Global Diagnostic System), or a compatible aftermarket tool that supports Hyundai coding functions. Basic OBD-II scanners do not support this function. If you have replaced a sensor and completed all previous steps without success, variant coding is the next diagnostic step.
Variant Coding on Newer Hyundai Models
The Hyundai ix55 and models in the Hyundai Veloster line require coding of the yaw-rate and steering-angle sensors after replacement. The Hyundai Santa Fe requires sensor adaptation for the front radar module and the ultrasonic park sensors on models with active safety packages. These are not steps you can skip with a basic code clear.
The ECU pinout chart guide explains how to identify which ECU pins correspond to which sensor channels, which helps confirm whether the correct channel has been coded. The Hyundai Tucson and Hyundai ix35 share a common platform, and both require steering angle sensor recentering after any suspension or steering work that disturbs the sensor position.
For full coding support and OEM-correct procedures organized by model, the NXT Motors Hyundai Europe vehicle library is the starting point for identifying what your specific variant requires. Additional model-specific guidance is available for the Hyundai Lantra, Hyundai Matrix, and Hyundai Galloper if you are working on earlier platforms where GSW access may be limited.
Other models where sensor coding or adaptation steps apply:
- Hyundai Accent X3: older ECU architecture uses a different adaptation window
- Hyundai Atos: throttle position sensor requires idle adaptation after replacement
- Hyundai Getz: MAP and TPS adaptation confirmed through idle speed stability
- Hyundai Azera: long-term fuel trim reset recommended after MAF or oxygen sensor replacement
- Hyundai Sonata: CVVT sensor requires cam position adaptation after installation
- Hyundai Centennial: steering angle sensor zeroing required after any front suspension sensor work
- Hyundai Equus: air suspension height sensor requires ride height calibration after replacement
- Hyundai XG-350: throttle body sensor needs idle relearn after swap
- Hyundai Coupe: crank sensor timing mark alignment is critical before first start
- Hyundai Excel: TPS voltage calibration performed via factory base idle procedure
- Hyundai Tiburon: idle air control valve adaptation needed after MAF swap
- Hyundai Veracruz: TPMS relearn mandatory after wheel removal
- Hyundai ix20: EPS torque sensor recentering after steering rack removal
- Hyundai i30CW: DPF differential pressure sensor requires forced regeneration cycle check after replacement
- Hyundai Santamo: idle speed control sensor adaptation performed through factory scan tool reset
- Hyundai S-Coupe: TPS base voltage setting required after any throttle body sensor work
- Hyundai Pony: carburetor-era mixture screw adjustment replaces modern sensor adaptation on early models
Common Asked Questions About Hyundai Sensor Fault After Replacement
Why does a sensor fault code come back after I clear it?
A fault code reappears after being cleared because the underlying cause has not been corrected. The ECU continuously monitors sensor output during every drive cycle and resets the DTC flag as soon as the signal falls outside the programmed tolerance window again.
Using a scanner to clear a code merely deletes the recorded error, it doesn't resolve the actual issue. Common reasons for a return code include an incorrect part number, a damaged wiring connector, a missing relearn procedure, or a signal value within the operating range but still slightly off OEM spec.
The only way to stop the code from returning is to identify and correct the root cause, then verify the fix using live data.
Do I need a special tool to perform a sensor relearn on a Hyundai?
It depends on the sensor type and the model year. Basic sensors like the MAF or MAP on older models may only require an idle relearn that can be completed without a scan tool. TPMS, steering angle sensors, and yaw rate sensors on models from approximately 2010 onward typically require a scan tool with Hyundai-specific functions.
The Hyundai GDS (Global Diagnostic System) is the OEM tool, but compatible aftermarket options are available. For basic OBD-II drive-cycle relearns for oxygen or crankshaft position sensors, a standard OBD-II reader combined with the OEM drive-cycle procedure is usually sufficient.
Can an aftermarket sensor cause a fault code even if it fits physically?
Yes, and this is one of the most common causes of a recurring fault. Aftermarket sensors often differ from OEM parts in internal calibration, resistance tolerance, or output voltage curve. A sensor that fits the connector and threads correctly can still produce a signal that the ECU flags as out of specification.
The ECU was calibrated at the factory against the OEM part's specific output characteristics. Any deviation from those characteristics risks triggering a DTC.
For sensors on emissions-related systems, any signal deviation that reduces the ECU's confidence in closed-loop control will set a fault. Using a genuine OEM or OEM-equivalent part is the safest way to avoid this problem.
How do I check whether the wiring is causing the fault after replacing the sensor?
Start with a visual inspection of the connector for cracked pins, pushed-back terminals, or oxidation. Then use a multimeter to test three things: the reference voltage at the signal pin with the ignition on, the ground circuit resistance from the ground pin to chassis ground, and the continuity of the signal wire from the connector to the ECU.
The reference voltage should be 5V or 12V, depending on the sensor type, as listed in the factory workshop manual. Ground resistance must be below 0.3 ohms. Finally, perform a wiggle test while watching live data to catch intermittent faults that a static test would miss.
Why does my ABS light stay on after fitting a new wheel speed sensor?
The most likely causes are an incorrect air gap between the sensor tip and the tone ring, a damaged or missing tooth on the tone ring itself, or a failure to clear the ABS module fault properly after installation.
ABS wheel speed sensors on most Hyundai models require the air gap to be set within a very specific range, usually between 0.2 mm and 1.5 mm depending on the model. If the sensor is mounted too far from the tone ring, the magnetic field is too weak for the sensor to reliably read the teeth.
A broken or corroded tone ring produces an erratic speed signal that the ABS module interprets as a sensor fault even when the sensor is new and correctly installed.