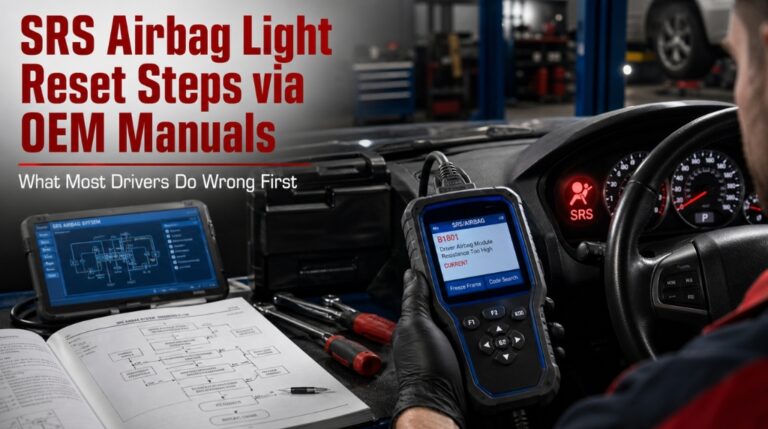
When the SRS airbag light remains illuminated, drivers often find themselves sifting through contradictory forum advice while ignoring the most reliable resource: their OEM manuals. Deviating from established protocols is more than just a hassle; an incorrect reset can obscure persistent safety issues or, in extreme instances, trigger accidental airbag deployment during the attempt.
To ensure safety, SRS reset procedures must only be performed after identifying and resolving the root cause of the fault; otherwise, active risks may remain hidden, or the warning may simply return. While advanced diagnostic equipment is standard, some OEM protocols permit manual ignition-cycling techniques to successfully reset the system.
The following guide outlines the precise OEM procedures for a secure SRS light reset, from essential safety preparations to final system validation.
SRS Airbag Light Reset Steps via OEM Manuals: Why Factory Procedure Changes Everything
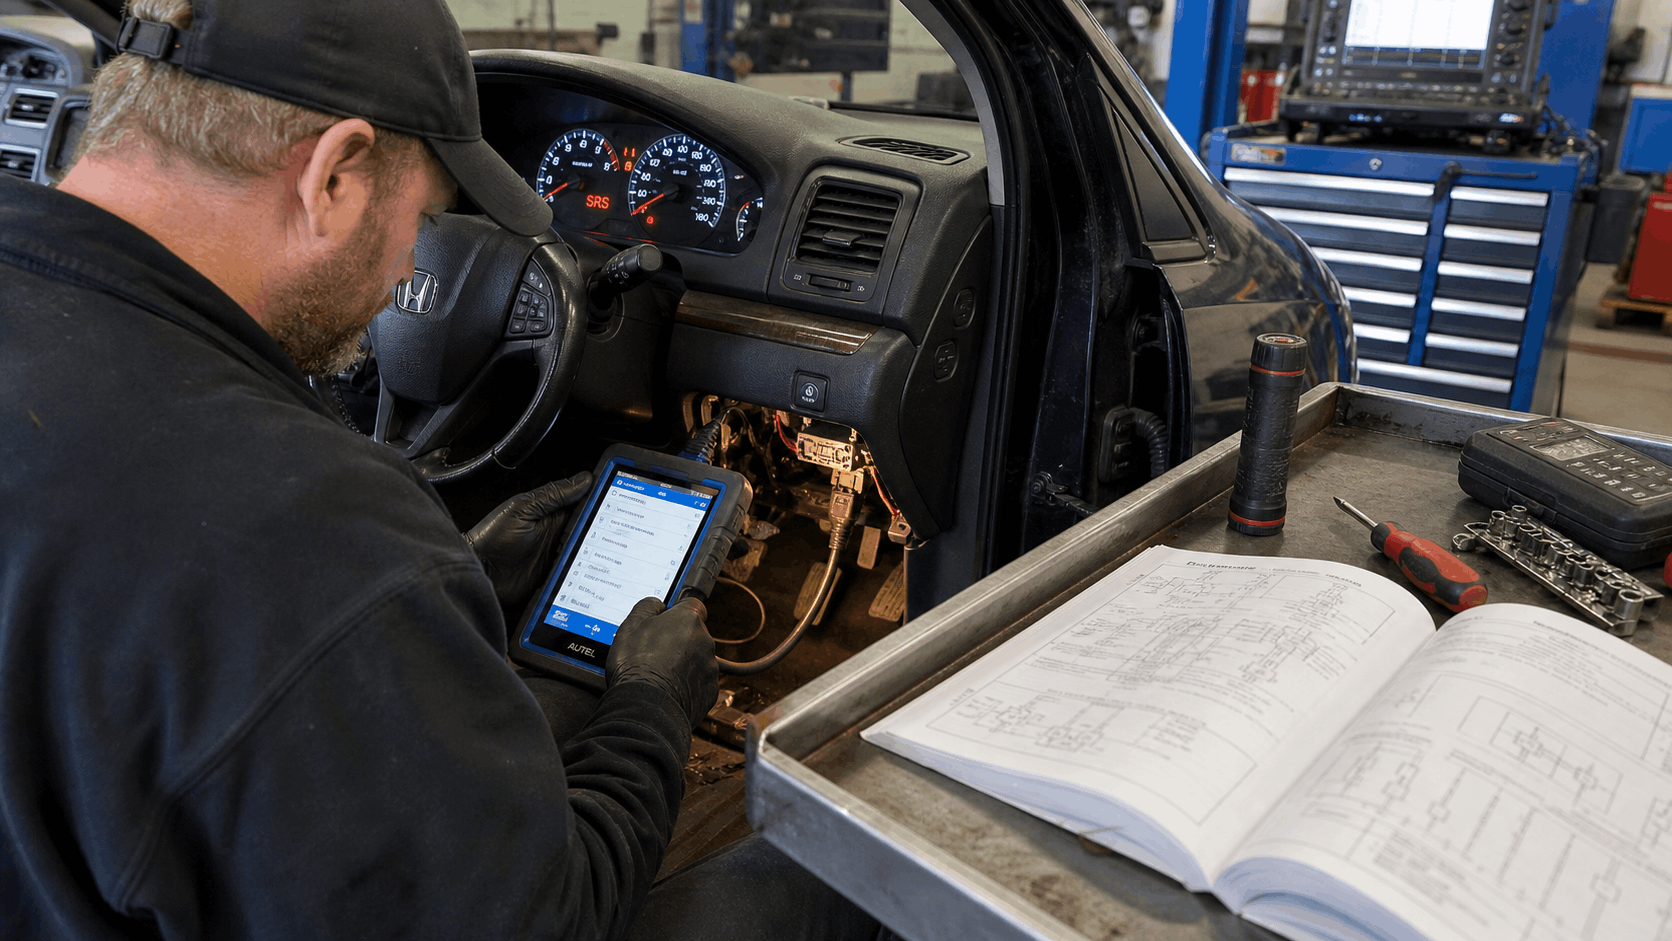
Generic online guides often fail by treating all vehicles identically. Conversely, OEM manuals provide model-specific timing, connector locations, and fault rules.
Factory-documented SRS reset procedures account for unique module architectures and precise clearance sequences. Using the correct source ensures a permanent fix rather than a recurring warning light.
Step 1: Understand Why the SRS Light Is On
Jumping into a reset without reading fault codes first is the most common mistake in SRSdiagnostics. The light is a symptom, not the problem itself.
The SRS warning indicator activates when the airbag control module detects a fault and stores a Diagnostic Trouble Code (DTC) in its memory. These faults fall into distinct categories, and your OEMmanual will classify them differently based on severity:
- Hard faults: Active circuit failures — open or shorted wiring, failed sensors, faulty clockspring
- Soft faults: Intermittent or historical faults — often triggered by battery disconnection, a previous impact, or a temporary sensor signal loss
- Crash data: Stored deployment event data that requires module reset or replacement — this will not clear with a standard scan tool
|
Fault Type |
Clears with OBD-II Scanner? |
Requires OEM-Level Tool? |
Notes |
|
Soft fault / DTC |
Often yes |
Sometimes |
Must fix the root cause first |
|
Hard fault |
No |
Yes |
Repair required before reset |
|
Crash data |
No |
Yes |
May require module replacement |
|
Pre-tensioner fired |
No |
Yes |
Both the belt and the module need replacement |
Your OEMmanual will list the exact DTC codes for your model and describe the fault condition behind each one. Check your model’s SRS diagnostic section before touching anything else.
Step 2: Pre-Reset Safety Checks from Your OEM Manual
Every factory service manual includes a safety protocol section before any SRS work. These are not suggestions, they are engineering requirements for working near live pyrotechnic components.
Follow these steps in exact order:
- Park on level ground with the parking brake engaged
- Turn off the ignition and remove the key completely
- Disconnect the negative battery terminal using a 10mm socket
- Wait at least 3 minutes to allow the backup capacitor in the SRS module to fully discharge. Some OEMmanuals specify up to 10 minutes for certain module types
- Do not connect or disconnect any airbag connector, clock spring, or seat sensor until the wait period is complete
The 3-minute minimum is not arbitrary. The SRS module stores enough charge in its backup capacitor to deploy an airbag even with the battery disconnected. Skipping this step is the point where most workshop injuries in airbag work occur.
For those relying on third-party or downloaded manuals rather than factory documentation, the quality gap is significant. This breakdown of Are Free Online Car Repair Manuals Safe is worth reading before trusting any non-OEM source for safety system procedures.
Step 3: Read and Record Fault Codes Before Clearing
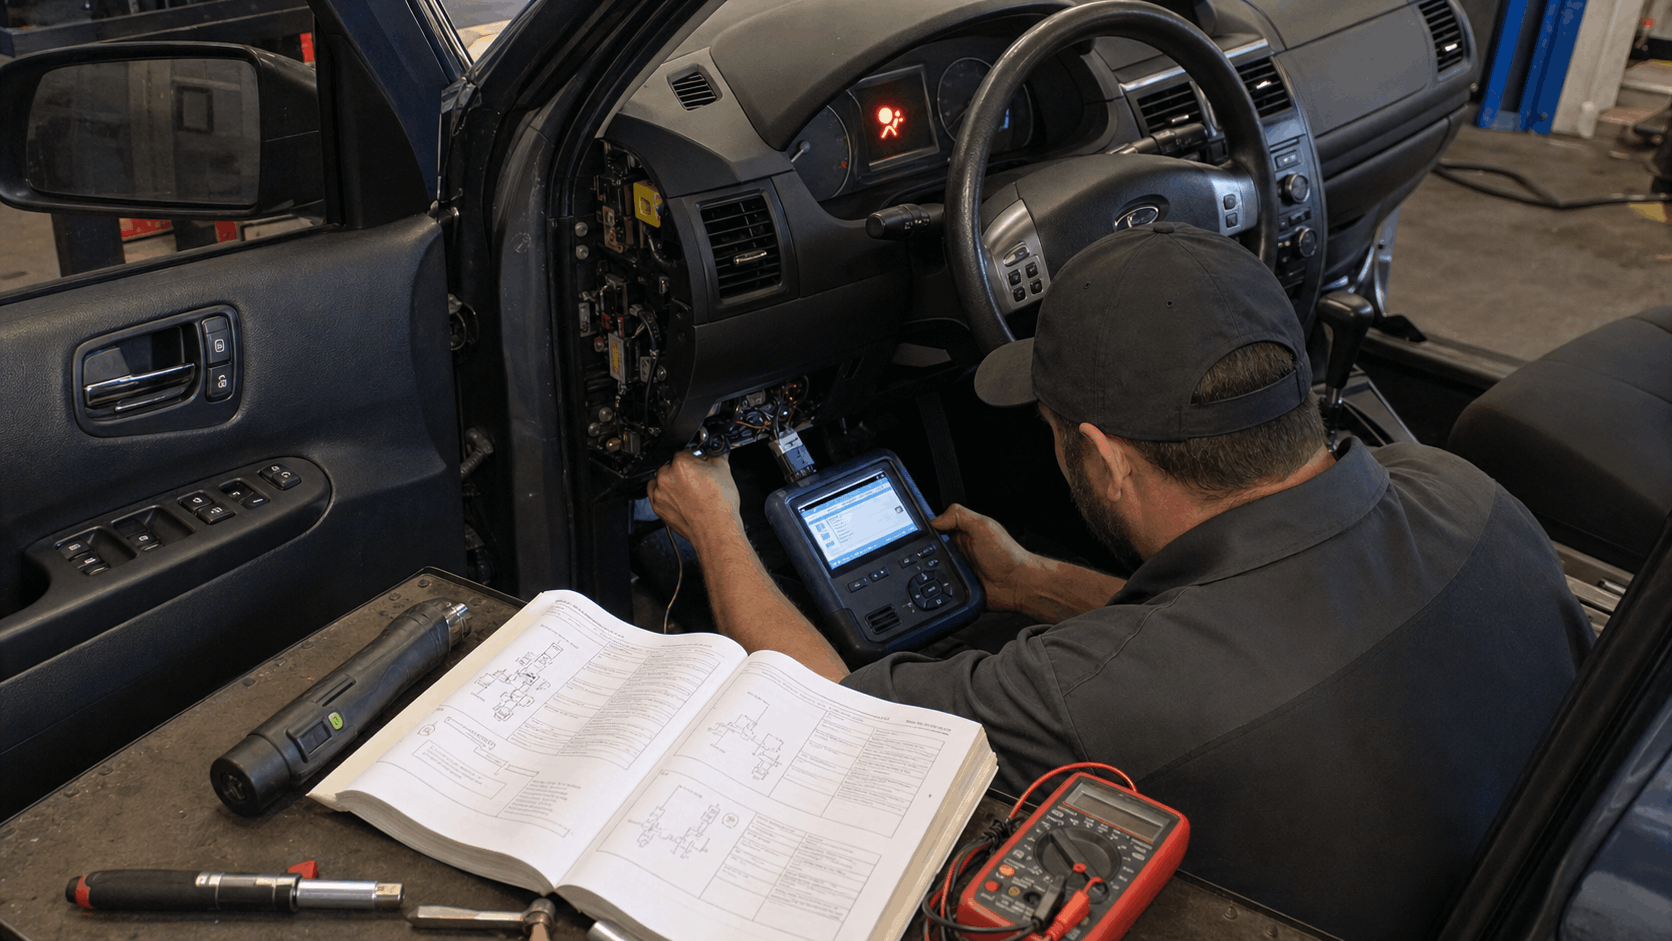
Reconnect the battery, leave the ignition off, and connect your scan tool to the OBD-II diagnostic port located under the driver’s side dashboard in virtually all vehicles made after 1996.
Navigate to the SRS or Airbag system in the scanner menu. Do not use a generic code reader here. Consumer-grade OBD-II readers are designed for powertrain codes (P-codes) and typically cannot access the SRS module. You need a scanner that explicitly lists SRS or airbag diagnostics in its function menu.
Key actions at this stage:
- Read and record every fault code shown. Note the code number, description, and whether it is listed as active or historical
- Check the freeze frame data if available. This shows sensor conditions at the moment the fault was triggered
- Cross-reference each code against the SRS fault code table in your OEMmanual. The manual will tell you exactly which component the code points to and what repair action is required
Do not clear codes yet. Fix the identified fault first. Clearing codes without repair will cause the light to return within one drive cycle, and in some modules, repeated cleared-then-returned faults can escalate a soft fault classification to a hard fault.
For guidance on locating the correct factory documents for your exact vehicle, this resource, “Where to Download Genuine OEM Workshop Manuals,” covers the most reliable sources currently available.
Step 4: Perform the OEM-Specified Reset Sequence
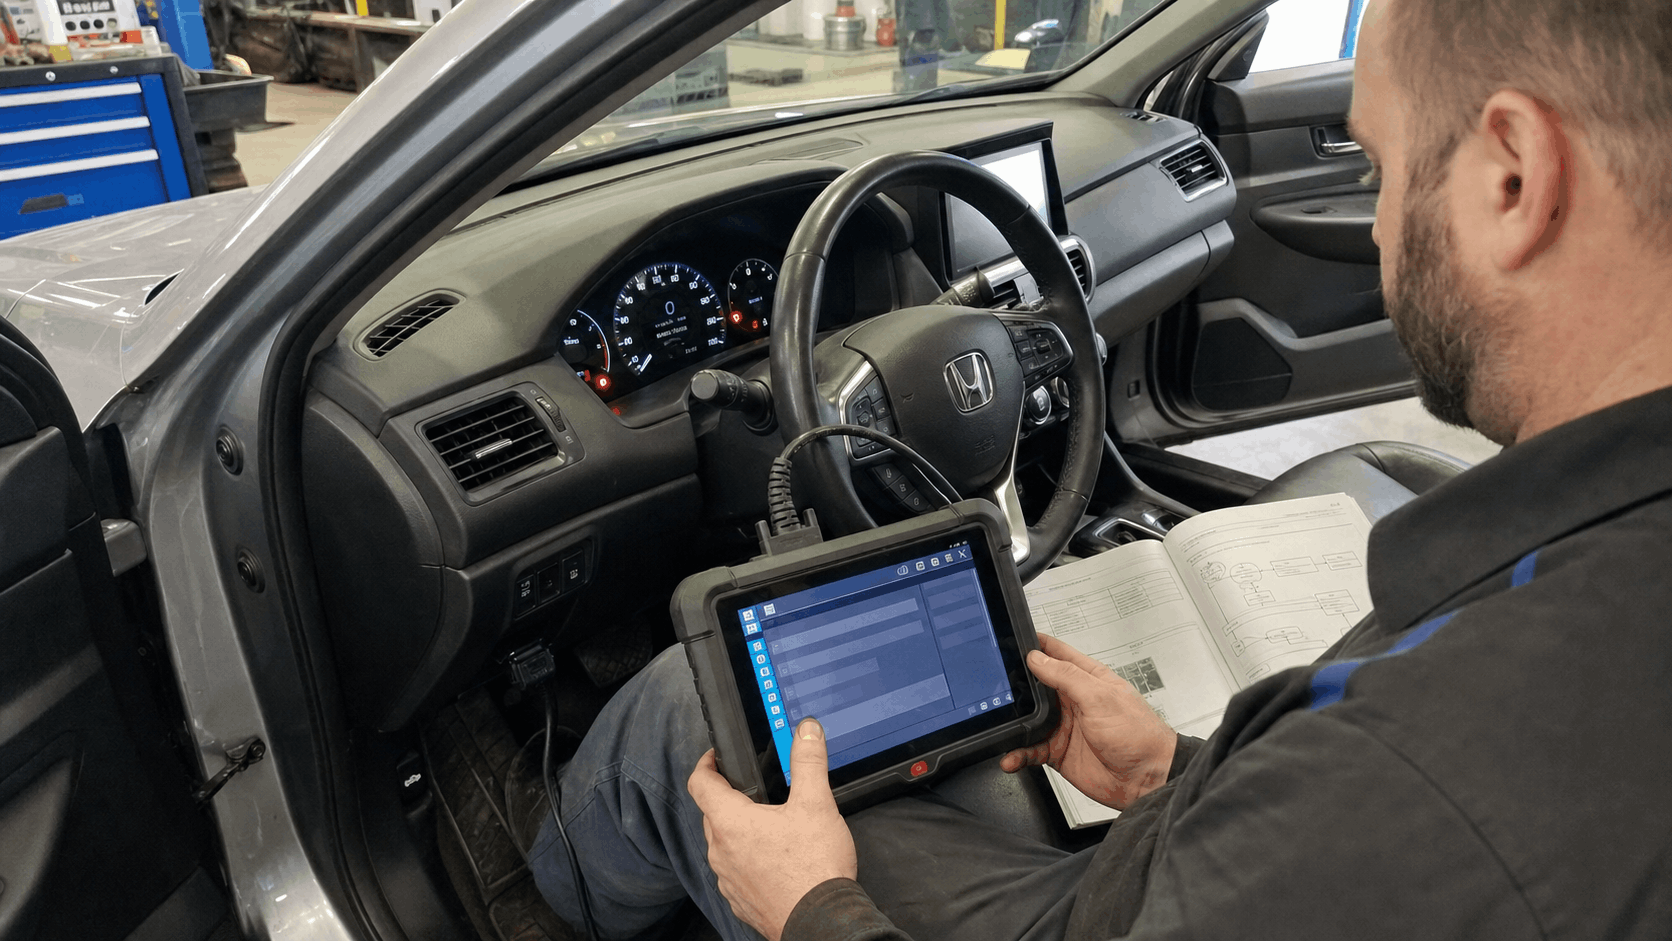
With the root cause repaired and fault codes recorded, you can now follow the reset sequence specified in your vehicle’s service manual. This sequence varies by manufacturer, and using the wrong one on the wrong car will not work.
Scanner-based reset (most modern vehicles, 2000 and newer):
- Connect your SRS-capable scan tool to the OBD-II port
- Turn the ignition to the ON position without starting the engine
- Navigate to SRS / Airbag system in the scanner menu
- Select “Clear Fault Codes” or “Reset SRS Module”
- Wait for the scanner to confirm reset completion (usually 30-60 seconds)
- Turn the ignition off, disconnect the scanner
- Start the vehicle and observe the SRSlight. It should illuminate for 3 to 7 seconds during the self-test, then go off
Manual reset procedure (select older models, OEM manual confirmation required):
Certain 1990s–2000s Honda, Nissan, and Toyota models support manual reset procedures in their factory manuals, often using ignition cycles or jumper wires. For example, the Honda Pilot requires a yellow connector and a precise 12-step sequence.
Do not attempt a manual procedure without the exact OEM sequence for your specific year and model. The timing windows in these procedures are measured in seconds, and errors can create new fault codes.
If you are deciding between using a factory OEM manual and an aftermarket guide for this type of safety system work, the trade-offs are clearly outlined in this comparison of OEM vs. aftermarket manuals: Best for DIY.
Step 5: Verify the Reset and Confirm System Readiness
A successful reset means more than just the light going off. The SRS system must complete its self-test cycle before you can confirm that the module is operating correctly.
Verification steps after reset:
- Start the vehicle and watch the SRSlight 3 to 7 seconds of illumination during startup is normal self-test behavior
- Confirm the light goes off and stays off after the self-test completes
- Take a short test drive, at least 10 minutes under normal conditions, to allow the SRS module to run its diagnostic monitors
- Reconnect the scan tool and re-read the SRS system. Confirm no new fault codes have been stored during the drive
If the SRS light reappears during the test drive, the issue remains unresolved. Return to Step 3 to re-evaluate fault codes. Avoid repeated resets without repairs, as the module logs these attempts and they can be flagged during professional inspections.
For those navigating complex, multi-page OEM service documents during this process, this practical guide on How to Navigate Interactive PDF Workshop Manuals can significantly speed up the process of finding the correct diagnostic section.
Conclusion
Resetting the SRSairbaglight correctly starts with the right documentation. OEMmanuals contain the exact fault codes, safety protocols, timing sequences, and verification procedures that generic guides never provide. Read the codes first, repair the cause, follow the factory-specified reset sequence, and verify system readiness before driving.
That process takes longer than a quick code clear. It’s also the only approach that leaves the airbag system genuinely ready to protect you.
Frequently Asked Questions
Yes, and this is more common than most people realize. The SRS module requires a stable voltage reference to run its diagnostic monitors correctly.
A battery supplying below approximately 9.5 to 10 volts during the ignition-on self-test can cause the module to log a false voltage-related fault code, triggering the light. In these cases, charging or replacing the battery, then performing a standard scanner-based code clear, is often all that is needed.
Your OEMmanual lists the minimum voltage required for SRS system operation. Always check battery voltage before starting any airbag diagnostic work it eliminates a common false positive before you start tracing wiring.
In most modern vehicles, yes. The SRS control module stores vehicle-specific configuration data, and many manufacturers require the replacement module to be programmed to the specific VIN before it will communicate with the rest of the safety system.
Dealer-level or OEM-compatible diagnostic software is needed for this process. Installing a used module from a different vehicle can also introduce stored crash data from the donor car, which will generate immediate fault codes on your vehicle.
Your factory service manual will specify exactly what programming steps are required for your model after module replacement.
Fired pre-tensioners store their own fault data in the SRS module, separate from airbag deployment codes.
If a pre-tensioner is deployed during an impact, the seat belt assembly must be physically replaced because the pre-tensioner is a single-use pyrotechnic device. Simply resetting the module with a scan tool will not permanently clear a pre-tensioner code that has been fired.
The module will detect that the device is spent and relog the fault on the next ignition cycle. Your OEMmanual lists the specific fault codes for pre-tensioner faults, distinguishing between circuit faults (repairable) and deployed status (replacement required). This distinction matters before you commit to a reset attempt.
Several causes can trigger a return of the SRSlight after an apparent successful reset. The most common is that the root fault was not repaired before clearing the module, which re-detects the condition on the next drive cycle and relogs the code.
A second common cause is a fault that was classified as historical but represents an intermittent hardware problem, such as a cracked clockspring, a corroded connector, or a loose seat sensor harness.
The OEMmanual will indicate which fault codes are likely to return if their root cause is intermittent. Persistent returning codes without an obvious cause typically point to a connector or wiring issue that requires physical inspection of the circuit.
Technically, the vehicle can be driven, but the safety implication is real. An active SRS warning light means the airbag module has detected a fault and may have disabled the system or altered its deployment logic to prevent unintended activation.
In a collision during this period, the airbags may not deploy. The severity of the risk depends on which fault is active a seat sensor fault carries different implications than a deployed airbag status. Your OEMmanual will specify which fault codes result in full system disablement versus partial function disablement.
If the active fault results in complete SRS disablement, minimizing vehicle use until it is repaired is the responsible choice.