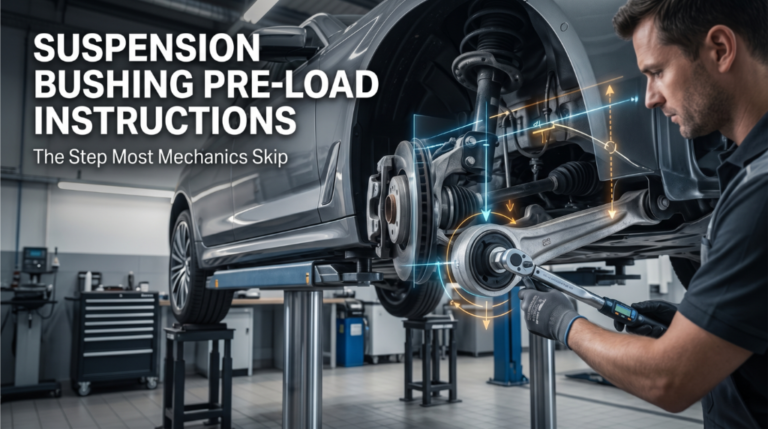
Skipping proper suspension bushing pre-load instructions is one of the fastest ways to ruin a fresh install. Most DIYers torque everything down with the suspension hanging and wonder why the car rides rough or makes noise within weeks.
To fix this, torque rubber bushing fasteners only when the vehicle is at normal ride height. This prevents rubber pre-twisting, avoids tearing, and ensures proper handling.
This guide covers what pre-load actually means, why it matters, which bushings need it, and the exact step-by-step process to get it right the first time.
Suspension Bushing Pre-Load Instructions: Why Getting This Wrong Costs You Twice
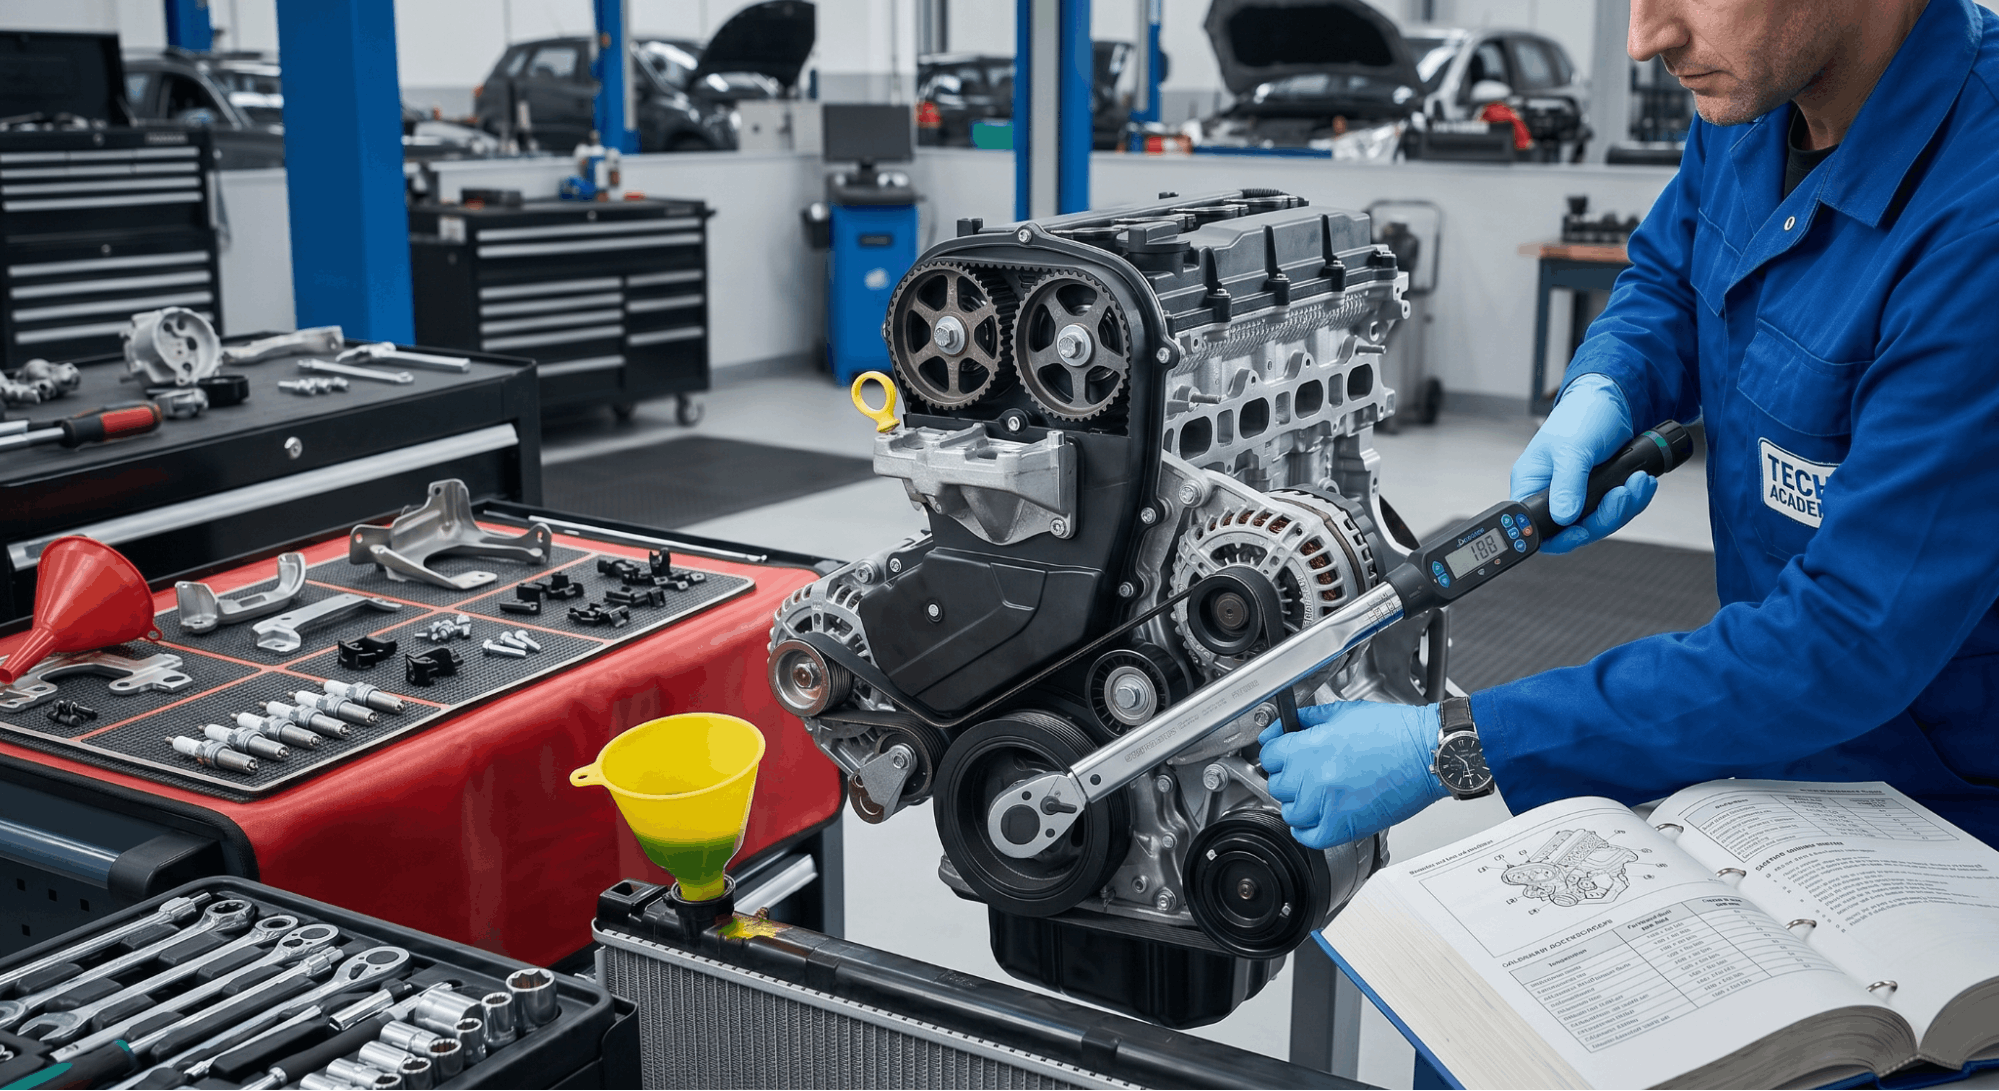
Every suspension component connected by a rubber bushing relies on correct rotational positioning at rest. Lock those bushings at the wrong angle, and the rubber spends every mile fighting to untwist itself. Follow these pre-load instructions, and the bushings settle exactly where they were designed to live.
Getting this right is not just about longevity. It directly affects ride height, handling balance, and noise. A surprising number of post-install complaints, from clunking to uneven corner height, trace back entirely to skipped pre-load steps.
What Bushing Pre-Load Actually Means
Before jumping into the steps, it helps to understand what is actually happening inside the bushing. Rubber bushings bond an inner steel sleeve to an outer steel shell through a rubber fill. They do not rotate freely like a bearing. Instead, they flex within their rubber core.
When you remove a control arm and reinstall it with the suspension hanging at full droop, the arm sits at a steep downward angle. Tightening the mounting bolt at that angle locks the inner sleeve in a position that is far from where it will actually live when the car is on the ground.
Once the car returns to ride height, the rubber has to twist to reach its normal position. But it cannot, because the bolt is already clamped tight. That constant twist is called false pre-load. It creates:
- Accelerated bushing wear from continuous rotational stress
- Ride harshness because the rubber is already partially deflected before any bump loads arrive
- Uneven ride height when the twist is different from corner to corner
- Clunking or creaking noises are often misdiagnosed as bad shocks or loose hardware
- Premature bushing cracking, especially in colder climates
Which Suspension Bushings Require Pre-Load
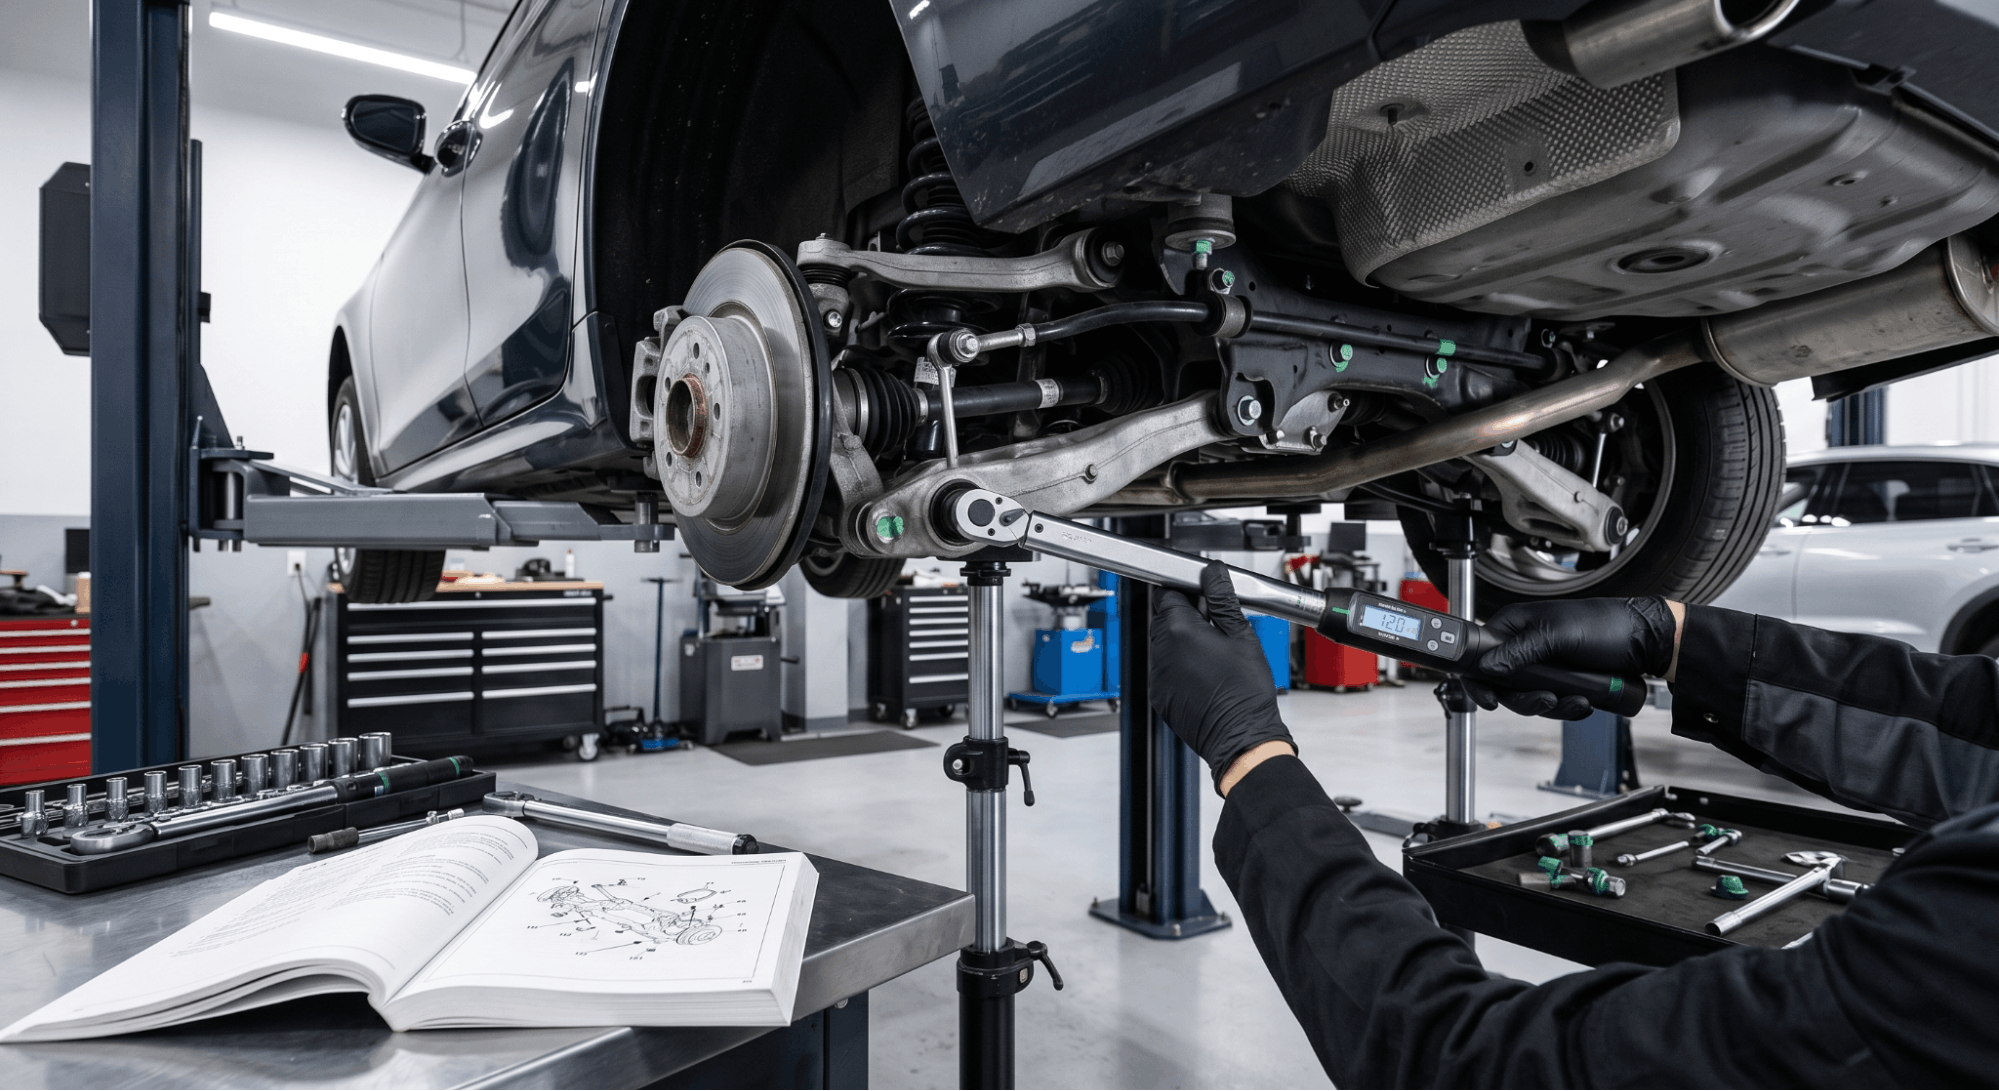
Not every bushing in the car needs this treatment. Knowing which ones matter saves time and prevents overthinking.
These bushings always require pre-load torquing:
- Lower control arm inner pivot bushings (the most common failure point when skipped)
- Upper control arm inner pivot bushings
- Rear trailing arm bushings
- Rear toe, arm, and camber arm bushings on multi-link setups
- Panhard rod / lateral link bushings
- Sway bar end link bushings (snug at ride height before final torque)
- Subframe mounting bushings on reassembled subframes
These generally do not require pre-load:
- Ball joints (they use a spherical pivot, not a bonded rubber bushing)
- Sway bar clamp bushings (they are not pivot points)
- Strut top mounts (load is applied axially, not rotationally)
If a bushing is a pivot point and uses bonded rubber to control the range of motion, assume it needs pre-load.
Tools You Need Before Starting
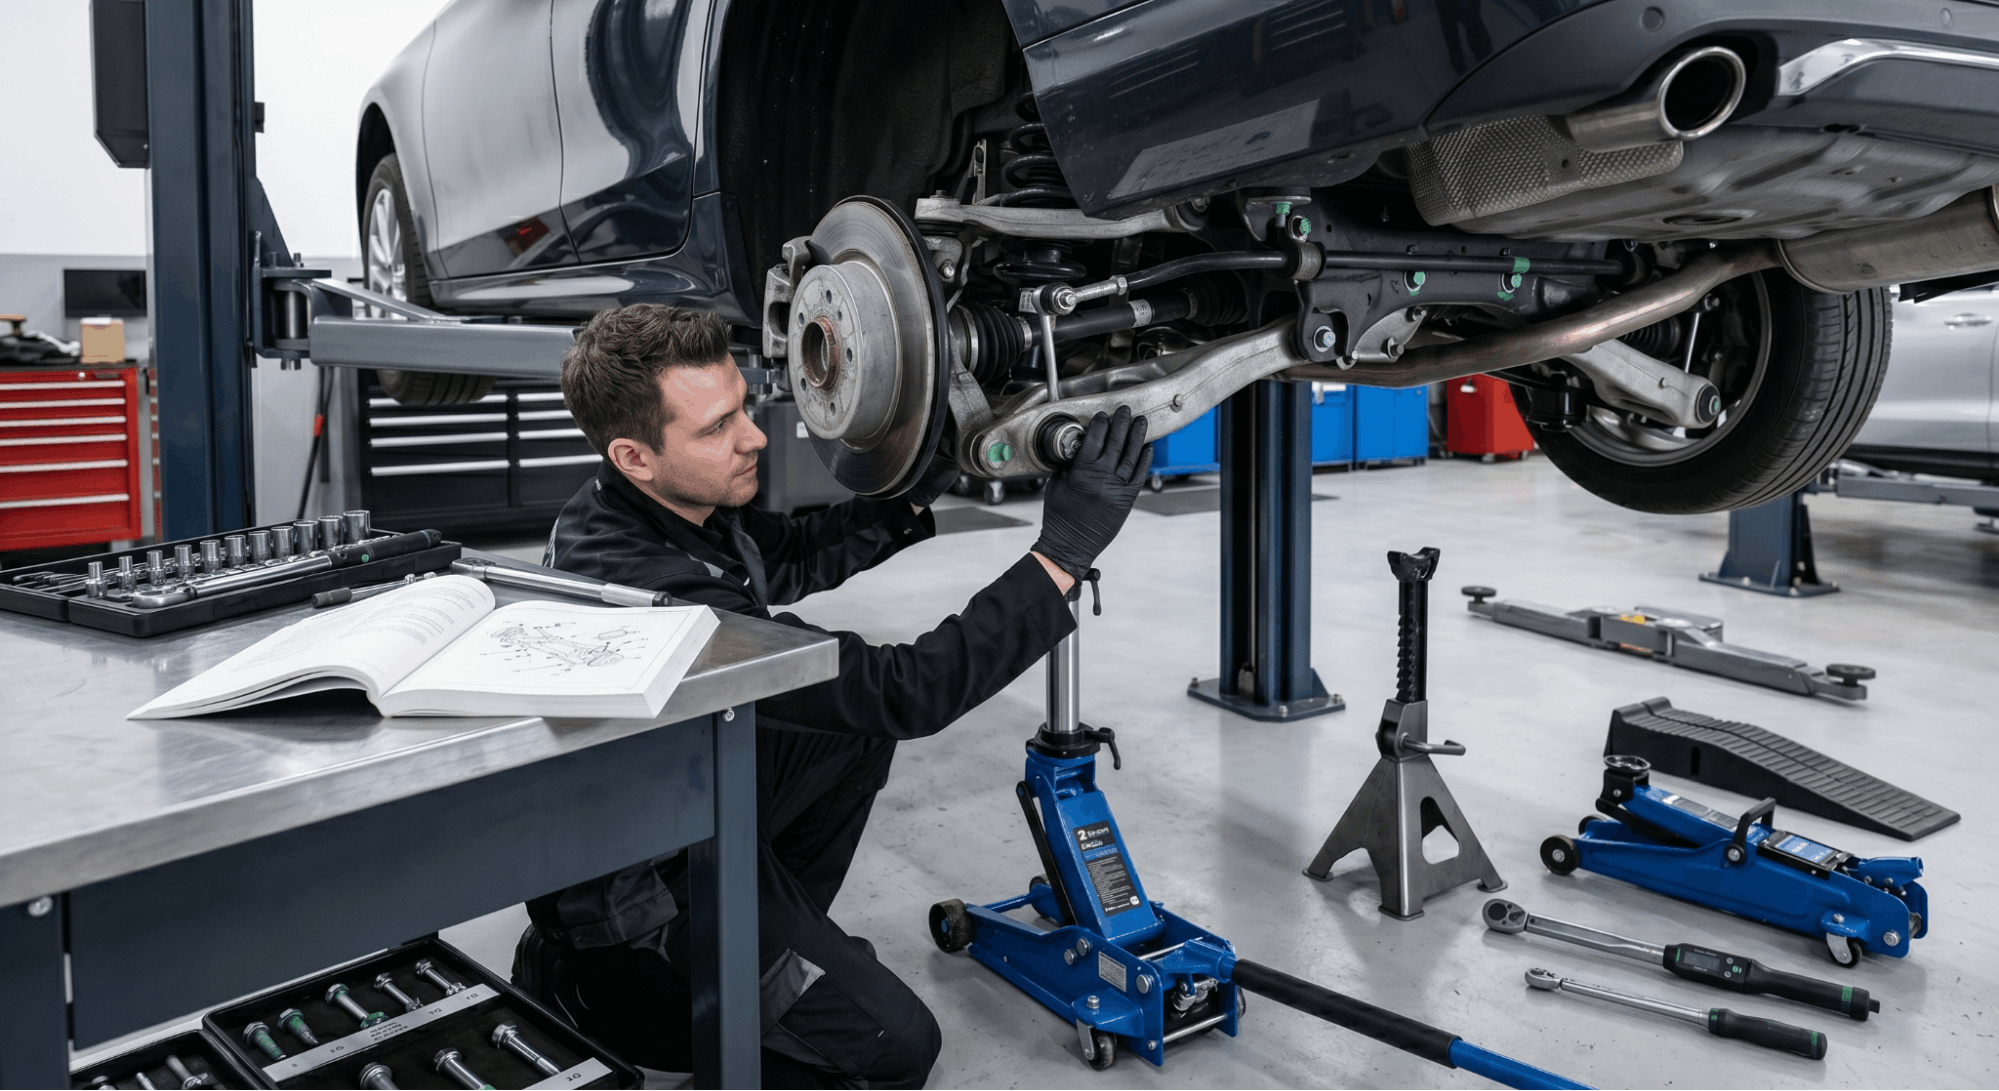
Getting pre-load right does not require a 4-post lift, though having one helps significantly. Gather the right tools first, and the process becomes straightforward.
Required tools and equipment:
- Floor jack (minimum 2-ton rating)
- Jack stands (rated for your vehicle’s weight)
- Torque wrench rated for your factory spec range
- Vehicle ramps (a low-cost alternative to a 4-post lift)
- OEM factory service manual or trusted torque spec source
For torque specifications specific to your wheel bearing hardware and related fasteners during this process, reviewing wheel bearing hub torque specifications ensures nothing nearby gets over- or under-tightened during reassembly.
Step-by-Step Pre-Load Instructions for Rubber Bushings
Follow each step in order. Skipping even one defeats the purpose of the entire process.
Step 1: Record Your Ride Height Before Disassembly
Measure the distance from the center of the wheel hub to the bottom edge of the fender arch. Do this at each corner and write it down. This measurement becomes your reference when simulating ride height on the jack.
Step 2: Install All Suspension Components Hand-Tight Only
Reinstall all arms, links, and related hardware. Thread every bushing bolt or nut by hand until snug. Do not torque anything to spec yet. The components need to be free to find their natural position once loaded.
Step 3: Load the Suspension to Ride Height
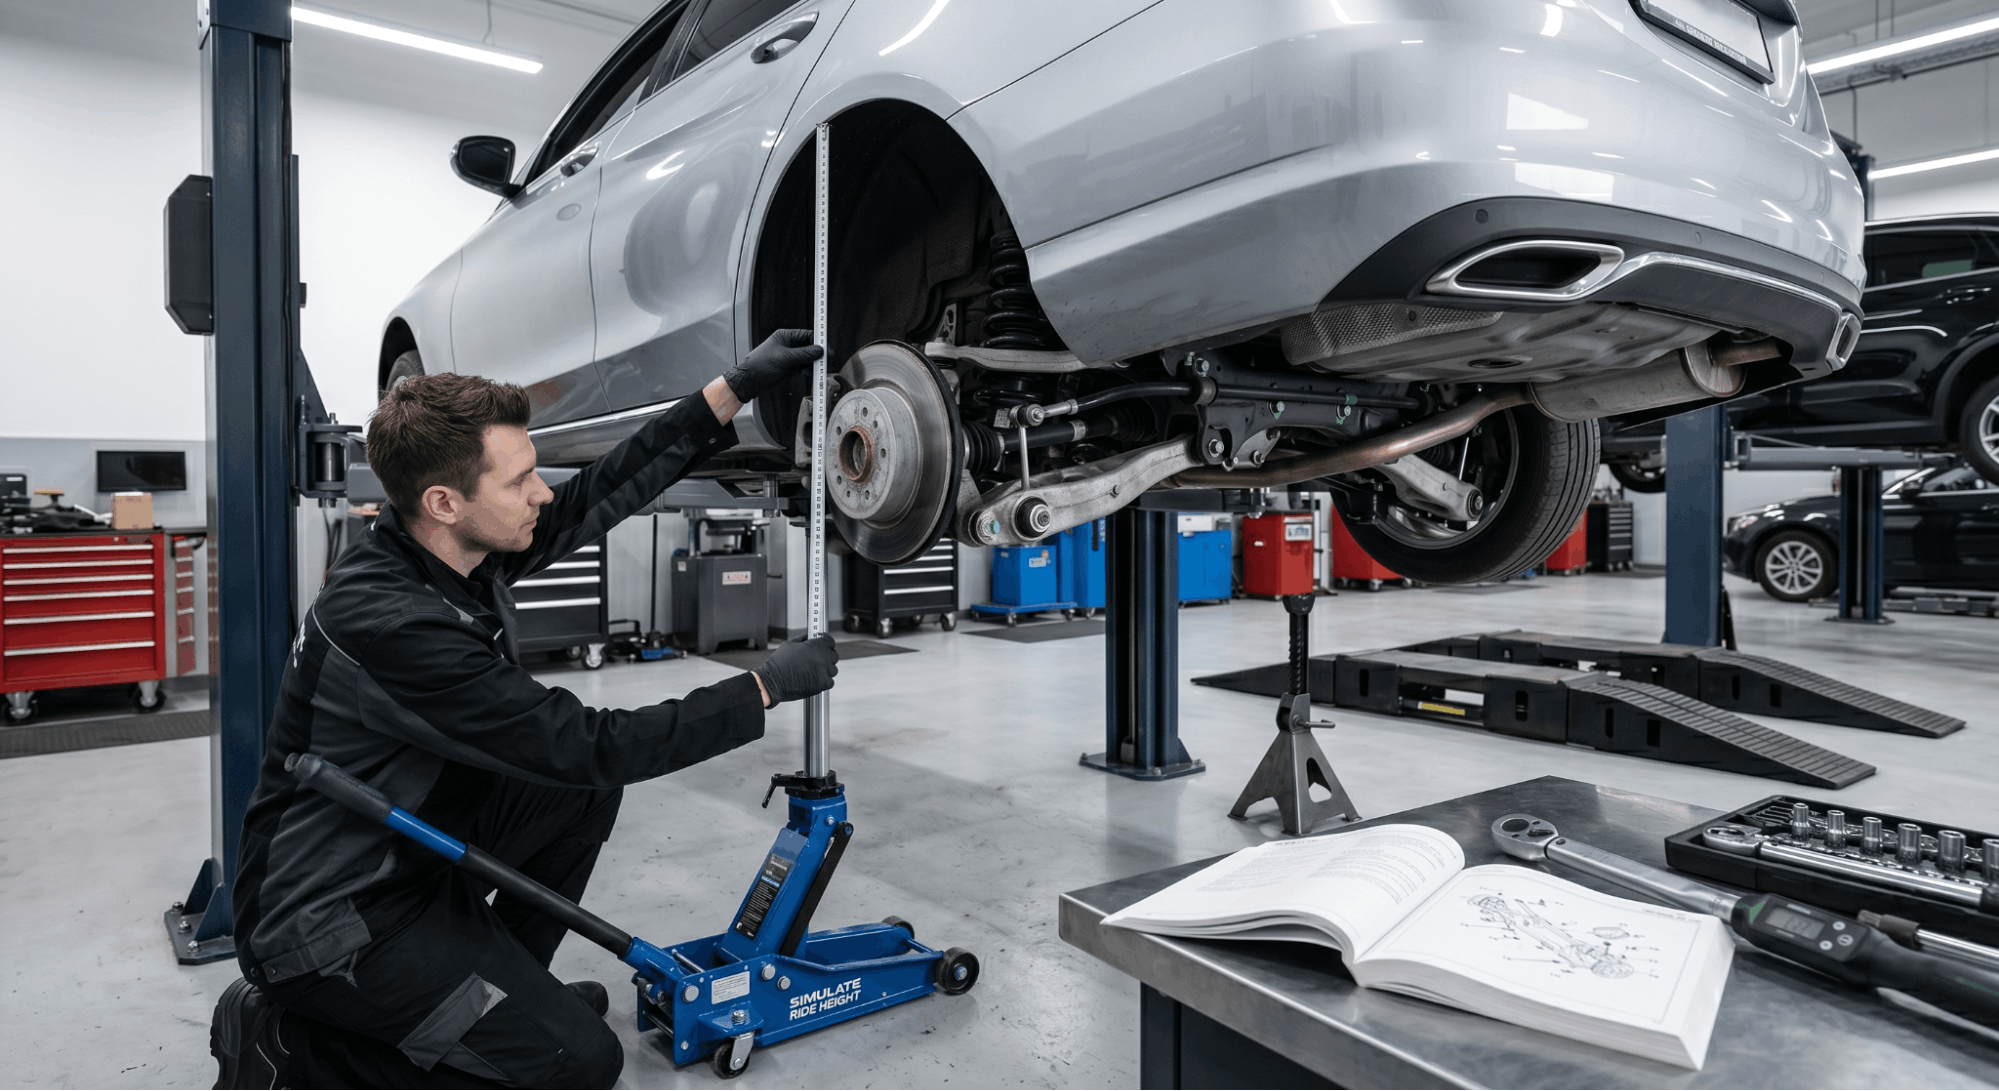
This is the critical step. You have several options depending on your setup:
- Option A (Best): Drive the car forward off the jack stands onto the ramps. The suspension sits near ride height, and the underside remains accessible.
- Option B: Use a floor jack under the lower control arm or hub. Raise the suspension until the car body just begins to lift off the jack stands. At that point, the suspension is loaded at approximately normal ride height.
- Option C: Lower the car fully to the ground and use the undercar access you have. Best for vehicles with enough clearance.
When using Option B, use your pre-disassembly hub-to-fender measurement to confirm you have reached the correct height before torquing.
Step 4: Fully Loosen and Re-Snug Each Bushing Bolt
This step surprises most people, but it matters. Even with the suspension loaded, a bolt hand-tightened while the arm was at droop can leave the bushing slightly twisted. Loosen each bushing bolt fully, let the arm settle naturally under load, then re-snug the bolt. Now the inner sleeve is sitting exactly where it wants to be.
Step 5: Torque to Factory Specification
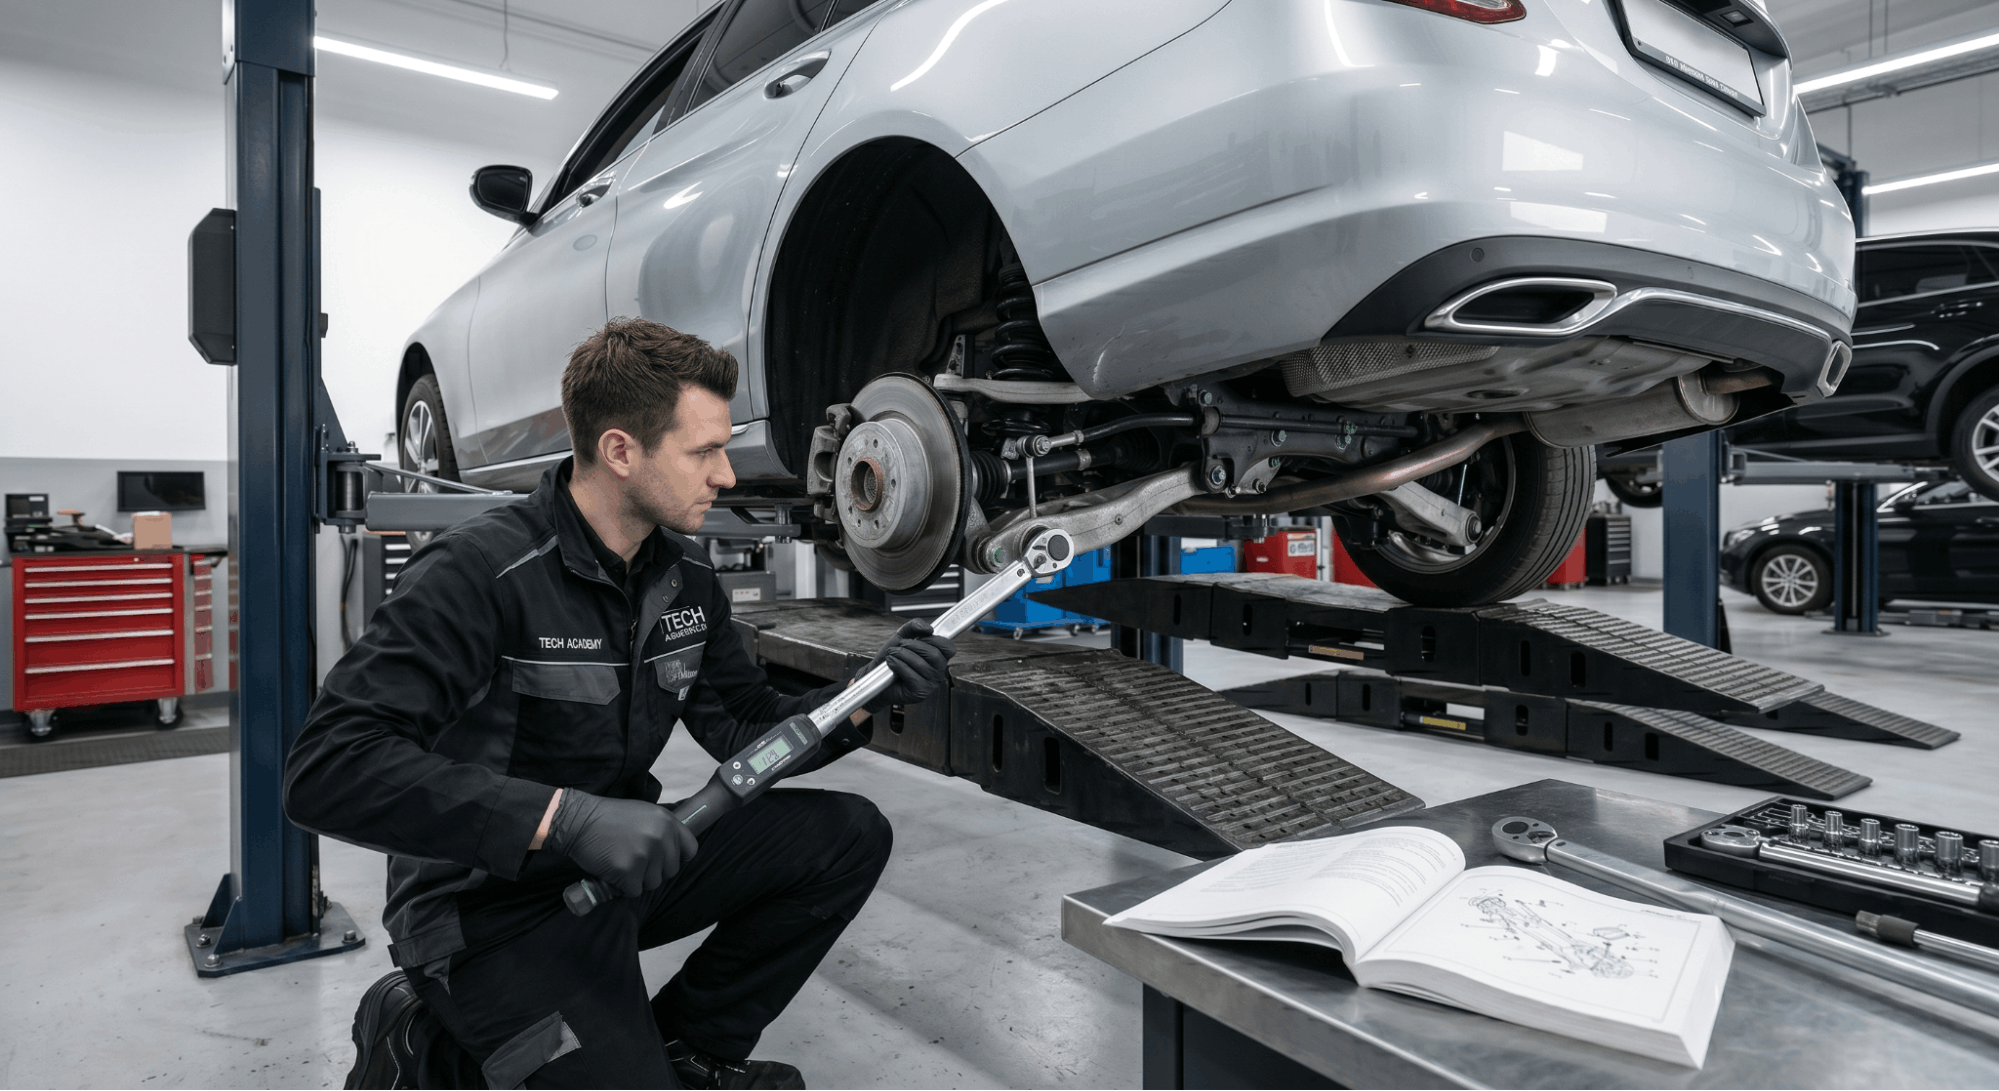
With the suspension loaded and each bolt freshly snugged, torque every bushing fastener to the manufacturer’s specification. Work methodically from inner pivots outward. Do not bounce or jounce the suspension between bolts. Keep the load steady throughout.
If you are unsure how to locate your vehicle-specific torque values, a factory service manual PDF by VIN gives you the exact figures from the OEM documentation.
Step 6: Lower the Vehicle and Bounce It
Once torqued, lower the car fully to the ground. Push down firmly on each corner three to four times to settle the suspension. This helps confirm the bushings have seated correctly and that nothing shifts post-torque.
Check for any audible creaks or resistance. A properly pre-loaded rubber bushing should be silent and compliant.
Pre-Load Methods Compared
|
Method |
Ease of Access |
Accuracy |
Best For |
|
4-post lift |
Excellent |
High |
Shop environments |
|
Vehicle ramps |
Good |
Good |
Home garage |
|
Floor jack under the hub |
Moderate |
Good |
DIY single-corner work |
|
Lower to the ground fully |
Limited undercar access |
Highest |
Low-slung vehicles |
The ramp method remains the most practical option for home mechanics performing full-suspension rebuilds. Before you start, review safe jacking and lifting points in your manual to prevent vehicle damage and keep the process safe.
What Happens If You Skip Pre-Load
Skipping pre-load does not always result in immediate failure. That is actually what makes it dangerous. The damage accumulates silently over thousands of miles before becoming obvious.
Short-term consequences (0 to 10,000 miles):
- Uneven ride height side to side
- Subtle handling imbalance, especially on turn-in
- Occasional creak or pop from affected corners
Long-term consequences (10,000 miles and beyond):
- Cracked or torn rubber bushing material
- Inner sleeve walking or rotating inside the bushing shell
- Accelerated wear to adjacent components, including ball joints and tie rods
- Full bushing failure requiring complete arm replacement
Shops that see repeat bushing failures within 30,000 miles on vehicles like the Cadillac SRX or multi-link European platforms almost always trace it to exactly this missed step.
Polyurethane vs. Rubber Bushings: Pre-Load Differences
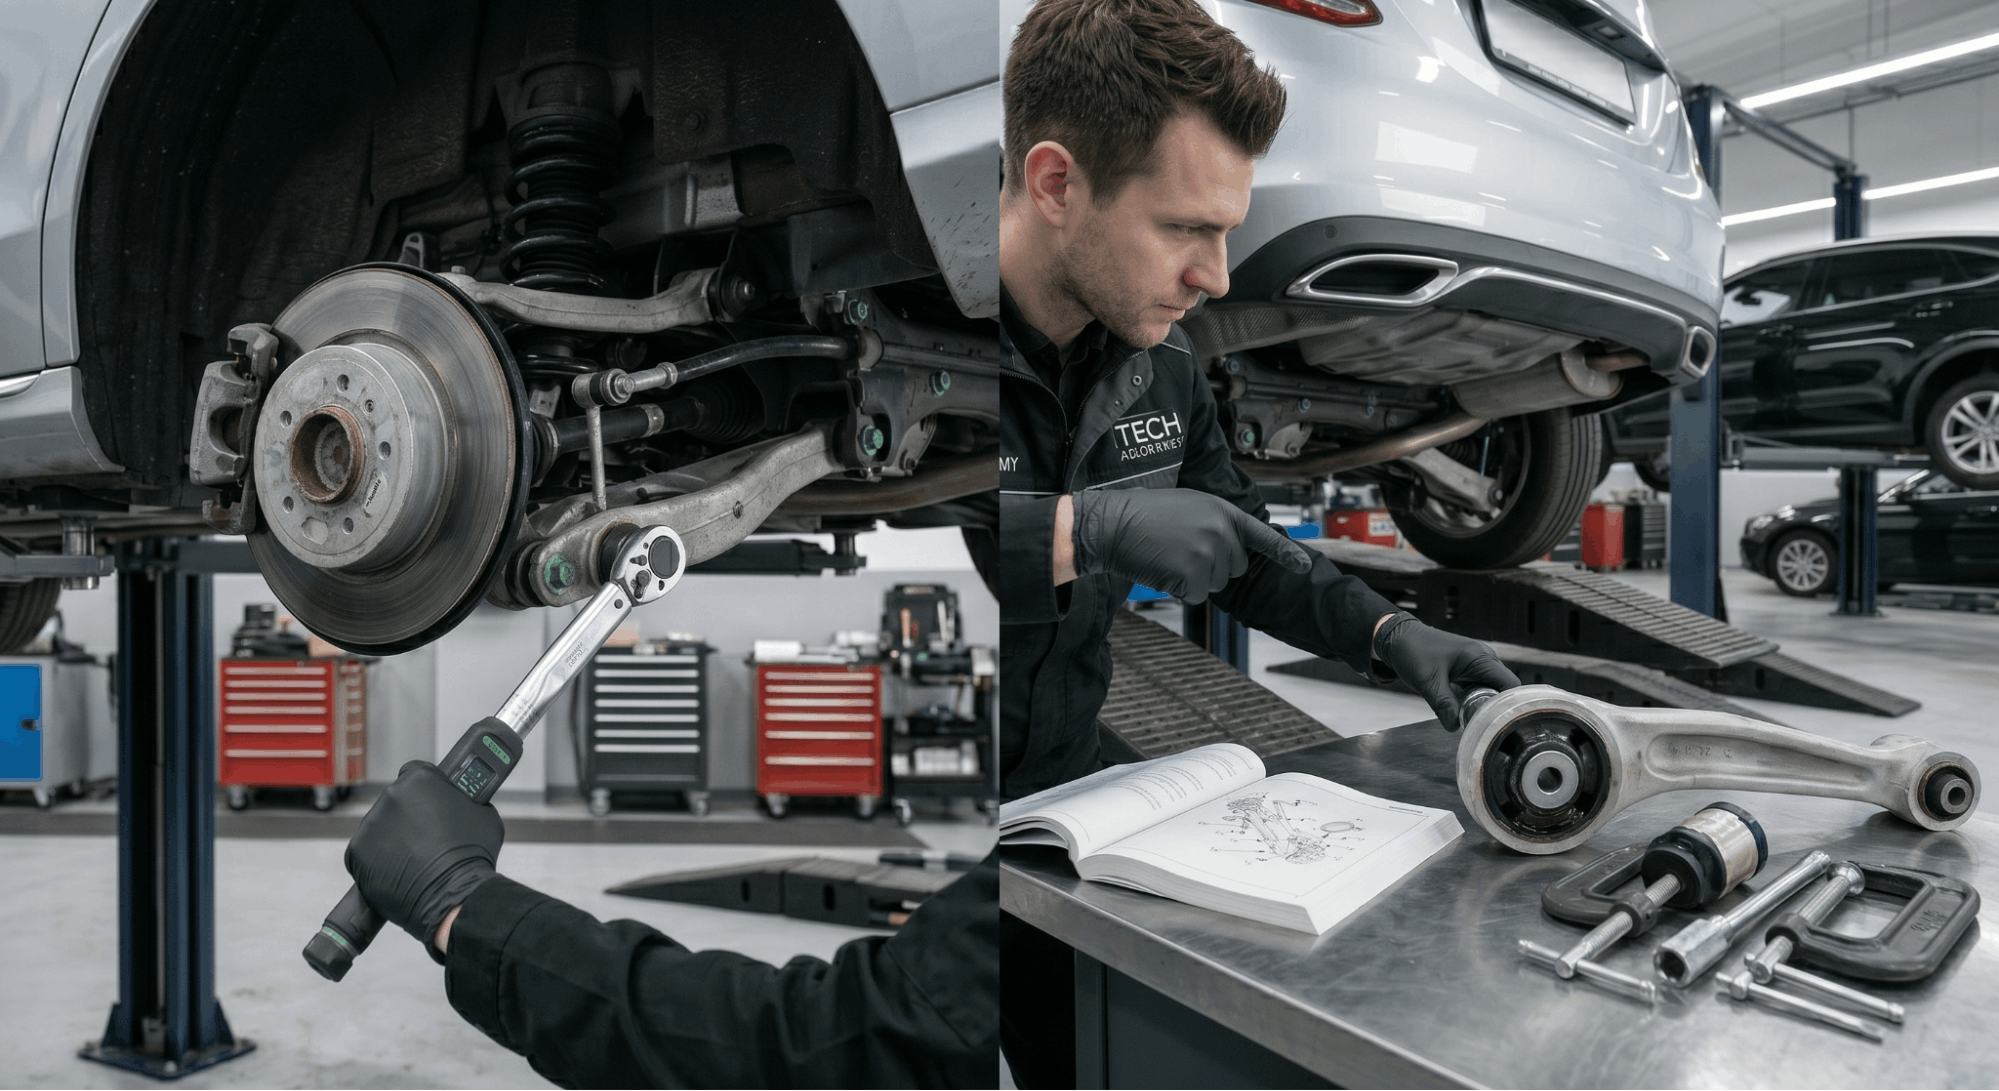
The pre-load rules above apply specifically to bonded rubber bushings. Polyurethane bushings operate differently, and it is worth understanding the distinction.
Rubber bushings: The rubber is bonded (chemically adhered) to both inner and outer sleeves. Movement happens entirely through rubber deflection. These must be torqued at ride height.
Polyurethane bushings: The bushing floats between the sleeves and is held by a lubricant film. The inner sleeve can rotate within the bushing body. These are less sensitive to torque angle because the sleeve is not bonded to the rubber.
That said, polyurethane aftermarket bushings still benefit from being torqued at or near ride height. The main difference is that the consequences of not doing so are less severe compared to bonded rubber.
If you are sourcing technical specifications for any of this work, genuine OEM workshop manuals provide the most accurate bushing torque values and installation notes directly from the manufacturer.
Pre-Load Checklist Before Final Sign-Off
Use this before lowering the vehicle for the last time:
- All bushing bolts loosened and re-snugged after loading
- Suspension at measured ride height confirmed before torquing
- Every fastener is torqued to factory spec with a calibrated torque wrench
- Vehicle bounced on all four corners post-torque
- No audible creak or resistance when manually pressing each corner
- Wheel alignment scheduled (always required after any suspension work)
A proper wheel alignment is non-negotiable after any suspension rebuild. Even correctly pre-loaded bushings will not compensate for an alignment that is now out of spec from new component installation.
Conclusion
Suspension bushing pre-load is not an optional refinement. It is a fundamental mechanical requirement built into how rubber bushings actually function.
The instructions in this guide reflect one core principle: rubber bushings must be locked in their neutral, loaded position at ride height, not in the drooped position the suspension sits in while on a lift.
Follow the six steps above, use your ride height measurement as a reference, and your bushings will perform exactly as designed throughout the component’s life. Skip it, and even the best quality parts will fail ahead of schedule.
Frequently Asked Questions
Yes, jacking under the lower control arm or hub is a valid method. Raise the corner until the car body just begins to lift off the jack stands.
At that point, the suspension is close to its normal ride height, and the bushing’s inner sleeve is roughly in its neutral rotational position. It is not as accurate as driving onto ramps because the weight distribution is slightly different, but it works reliably for single-corner work.
Use your pre-disassembly hub-to-fender measurement to confirm the suspension is at the right height before applying final torque. This method is widely used by professional technicians working on individual corners.
Sway bar end link bushings benefit from being snugged at ride height before final torquing, though the consequences of skipping are less severe compared to control arm inner pivots.
The end link sits at a slightly different angle when the suspension is drooped versus loaded, and torquing it at droop can place a slight pre-twist into the rubber. For sway bar clamp bushings that bolt to the chassis, preload is not required because they compress axially rather than rotate.
The rule of thumb: if the bushing is part of a pivot point that changes angle with suspension travel, torque it when it is loaded.
Uneven ride height after a suspension rebuild is one of the most common signs that bushings were torqued at full droop rather than at ride height.
When the bushing’s inner sleeve is locked in the wrong rotational position, the rubber exerts a restoring force as it tries to return to its neutral state. This can effectively lift one corner slightly.
The twist is rarely perfectly equal on both sides, which produces an uneven stance.
The fix is to loosen the relevant bushing bolts, load the suspension to ride height, re-snug, and re-torque. A wheel alignment is still required afterward.
Yes, subframe bushings are often overlooked, but they follow the same principle. When a subframe is reinstalled with the vehicle on a lift, the mounting bushings are torqued with no vehicle weight pressing down through them.
Once the car is back on the ground, the subframe settles slightly, and the bushings shift.
For most OEM subframe designs, the best practice is to snug the subframe mounting bolts, lower the vehicle fully to the ground, bounce it a few times, and then final-torque the mounting bolts.
This ensures the subframe bushings are captured in their loaded, settled position rather than their unloaded lift position.
The most reliable source is the OEM factory service manual for your specific year, make, and model.
Torque values vary considerably between platforms. For example, a Honda Civic lower front control arm inner pivot bolt typically calls for 60-70 ft-lbs, while a BMW rear trailing arm bushing may require 100 ft-lbs or more.
Aftermarket manuals often carry the correct figures, but OEM documentation remains the most accurate. If you need to locate vehicle-specific torque specs, using your VIN to pull the correct factory service manual PDF by VIN is the most reliable method available.