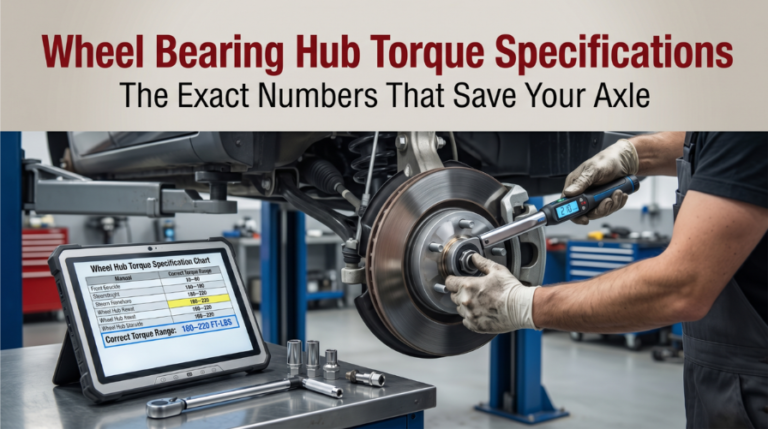
Skipping correct wheel bearing hub torque specifications puts your axle, your drivetrain, and your safety at real risk. A loose or over-tightened hub nut silently destroys the bearing assembly, and most drivers never know until it’s too late.
Use only manufacturer-verified torque and new hardware to avoid failure. Generally, center axle nuts require 130–300+ ft-lbs, while hub-to-knuckle bolts need 50–100 ft-lbs. Correct lug nut torque is also vital to prevent rotor warping.
This article covers exact torque ranges by vehicle type, a step-by-step application process, tool accuracy requirements, and the warning signs of a missed specification.
Wheel Bearing Hub Torque Specifications: What Every Tech Must Know
Wheel bearing hub torque is one of the most safety-critical fastener values in any vehicle. Get it wrong in either direction, and the bearing fails faster, the wheel develops play, and ABS accuracy drops.
This section covers every key factor a technician or careful owner needs to apply hub torque specifications correctly the first time.
Why Hub Nut Torque Affects Bearing Life Directly
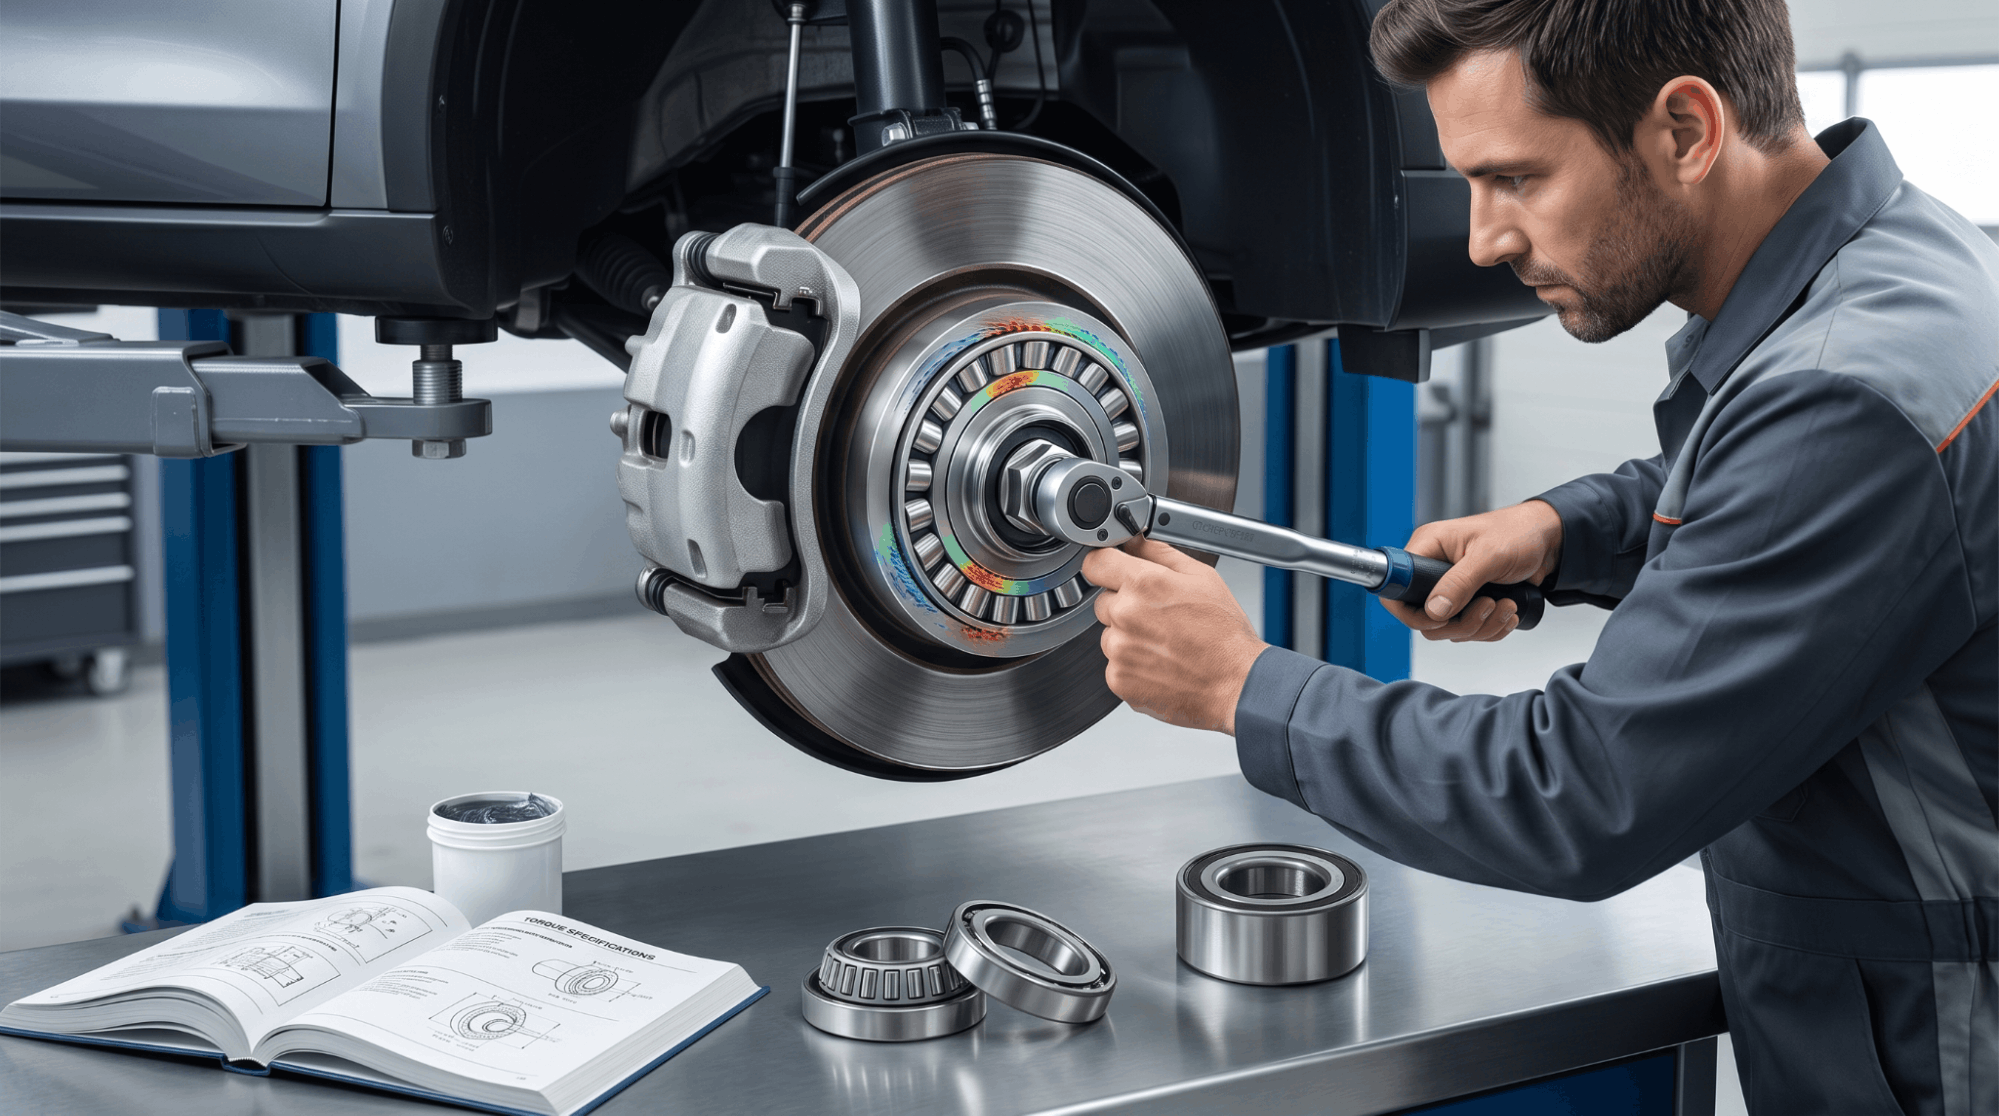
Many techs underestimate how sensitive wheel bearings are to clamping force. The hub nut controls bearing preload, and even a 10% deviation from the specification has measurable consequences.
Under-torquing allows the bearing inner race to shift under braking and acceleration load. This creates metal-to-metal movement, elevated heat, and accelerated raceway wear. The wheel develops lateral play that often triggers ABS ring misalignment before the noise even starts.
Over-torquing creates brinelling, tiny indentations pressed into the bearing raceway by excess clamping force. The bearing overheats, grease migrates out through seals, and lifespan collapses.
- Under-torque result: Wheel wobble, humming at speed, ABS fault codes
- Over-torque result: Grinding noise, overheating hub, rapid bearing failure
- Correct torque: Sustained preload, full bearing lifespan, accurate ABS signal
Always pull your specifications from verified OEM data. Referencing a factory service manual PDF by VIN removes all guesswork from the value you’re working with.
Common Hub Torque Specs by Vehicle Category
Torque specifications for hub nuts vary widely by platform, drivetrain, and axle position. The table below shows general OEM-aligned ranges across common vehicle types.
|
Vehicle Type |
Front Hub Torque (ft-lb) |
Rear Hub Torque (ft-lb) |
|
Compact Car (FWD) |
130 – 180 |
90 – 140 |
|
Mid-Size Sedan |
155 – 200 |
100 – 160 |
|
Full-Size SUV (4WD) |
180 – 250 |
150 – 220 |
|
Light Truck / Pickup |
200 – 280 |
165 – 240 |
|
Performance / Sports Car |
170 – 230 |
130 – 200 |
These are general reference ranges only. Your specific make, model, and year may sit outside these values. Never apply torque from memory or a generic chart without first cross-checking OEM data.
For verified service data specific to your build, knowing where to download genuine OEM workshop manuals is the fastest path to an accurate number.
Step-by-Step Hub Torque Application Process
Applying the correct hub torque specification requires more than reading a number. Surface preparation, nut selection, and sequence all affect the actual clamping force the bearing receives.
Most bearing failures traced back to hub nut installation involve skipped steps, not bad hardware. A few minutes of proper prep preserves thousands of miles of bearing life.
Step 1: Inspect and Prepare the Spindle
- Clean threads with a wire brush and remove all corrosion
- Check for thread damage that could produce a false torque reading
- Apply a small amount of clean oil to the nut’s contact face only, unless the OEM specifies dry installation
Step 2: Hand-Tighten and Seat the Assembly
- Thread the new hub nut by hand until it contacts the bearing
- Confirm the wheel bearing is fully seated against the knuckle or flange
- Never drive the nut with an impact gun at this stage
Step 3: Apply Torque in Two Stages
- Set your torque wrench to 50% of the final OEM specification
- Torque to 50%, then rotate the hub twice by hand to settle the bearing race
- Apply final torque to the full OEM value in one steady motion
Step 4: Verify and Secure the Nut
- Check the cotter pin slot alignment if the design requires one
- Install a new cotter pin or stake the nut per OEM requirement
- Confirm zero wheel end play before reinstalling the wheel and tire
Before getting under the vehicle, always review safe jacking and lifting points in your manual to protect both the vehicle and yourself during the process.
Torque Wrench Calibration: The Tool Error Problem
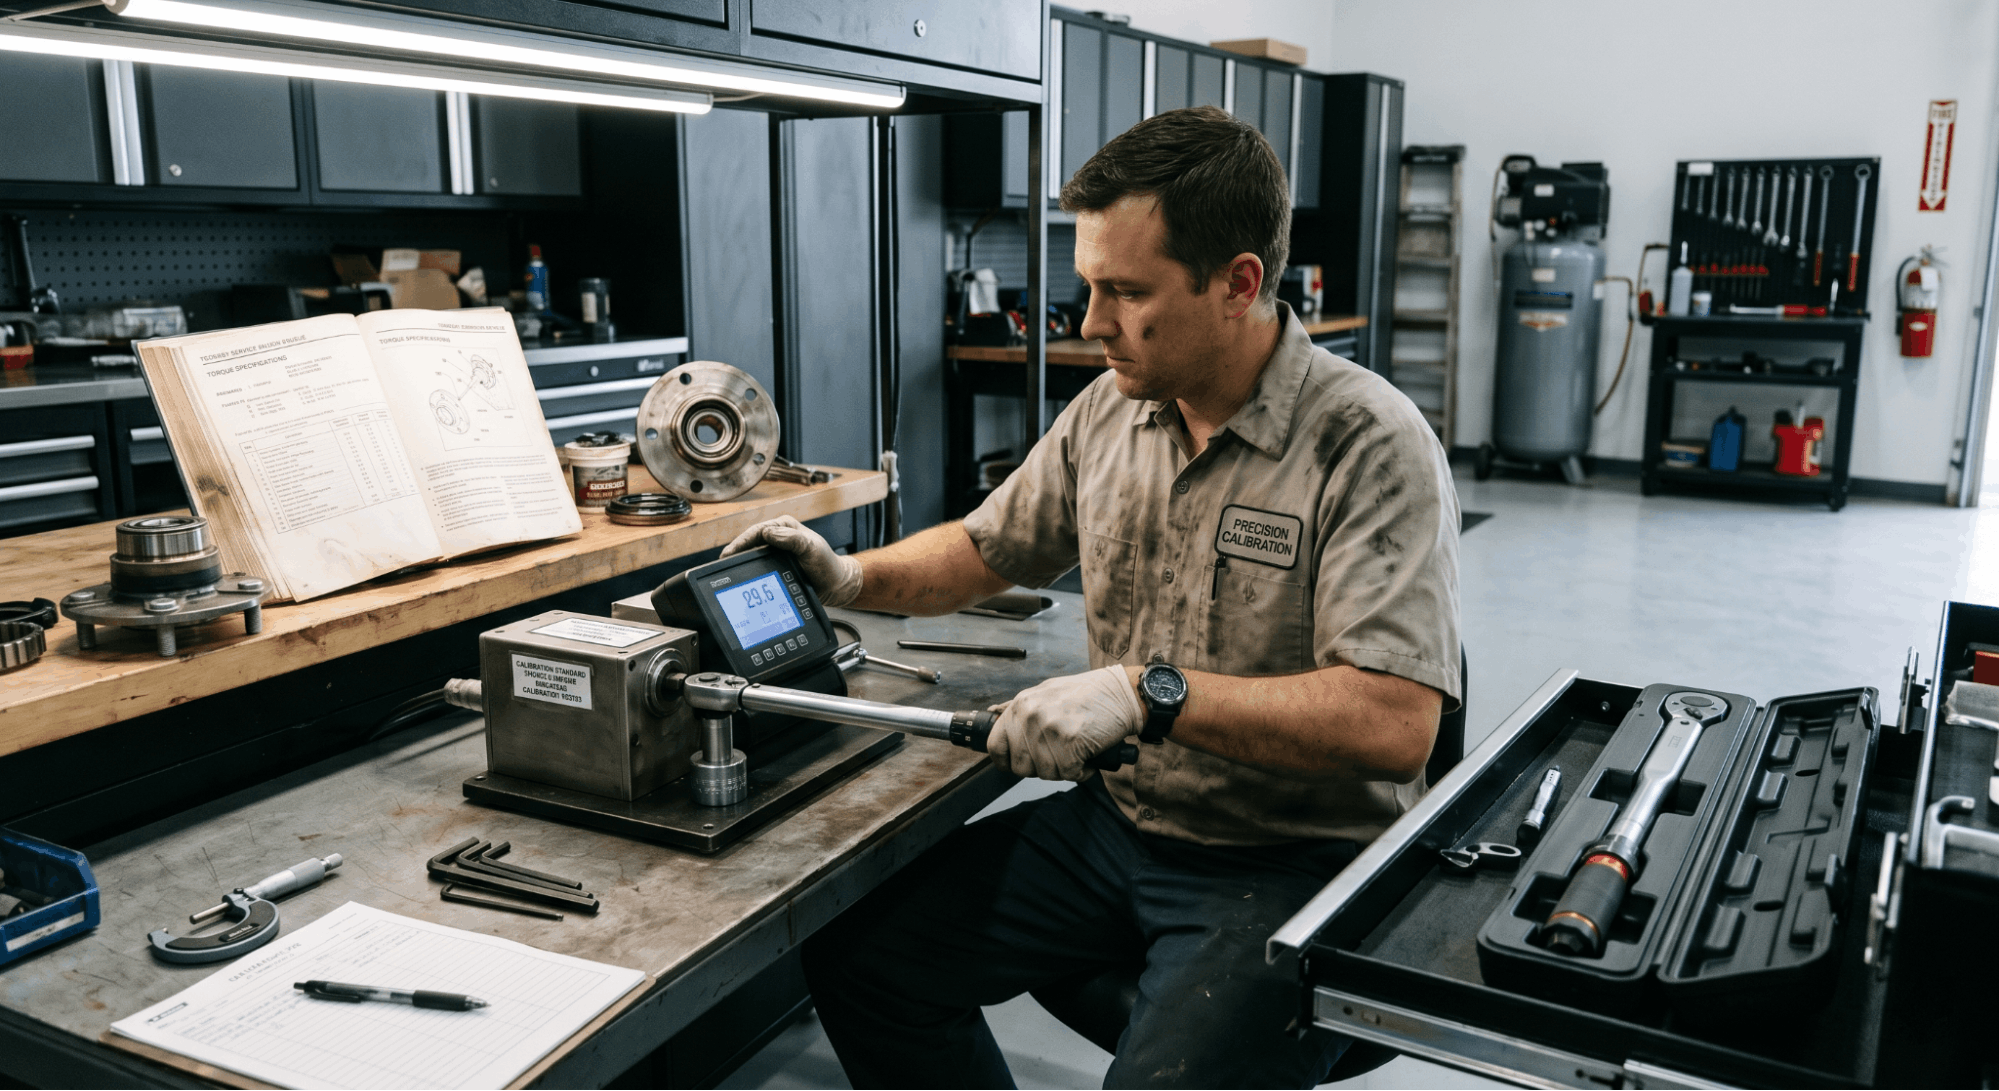
Even with the correct torque specification in hand, a poorly calibrated wrench delivers the wrong result. Tool accuracy is one of the most overlooked variables in hub bearing service.
Click-style torque wrenches drift out of calibration after extended use, particularly after drops or storage at high spring tension. A wrench reading 10% low on a 220 ft-lb hub nut actually applies only 198 ft-lb. That gap is enough to allow inner-race movement during hard braking.
- Calibrate your torque wrench at least once per year or every 5,000 actuations
- Store the wrench backed off to its lowest setting to protect the internal spring
- Never use a torque stick as a substitute for final hub nut torque verification
- Digital wrenches offer better repeatability but require battery and sensor maintenance
A calibrated tool is not optional when wheel bearing hub safety is on the line. This single factor causes more repeat failures than incorrect specifications.
Recognizing a Missed Hub Torque After the Job
The vehicle provides clear signals when hub torque specifications are not met. Catching these symptoms early prevents the kind of failure that puts a wheel at risk during driving.
Vibration through the steering wheel at highway speed is often blamed on tire balance. But when the vibration changes with cornering direction, the bearing preload is usually the real cause.
A humming or droning noise that rises and falls with vehicle speed points to bearing stress from incorrect hub clamping.
- Steering pull under braking often signals a bearing binding from over-torque
- ABS warning light with no sensor code can indicate bearing ring shift from under-torque
- Clicking under acceleration means the inner race has begun to walk on the spindle
If brake-related warning lights appear alongside bearing noise, additional diagnosis may be needed. This resource on brake warning light fault isolation covers the hydraulic and electronic side of that diagnostic process.
Conclusion
Wheel bearing hub torque specifications are not a suggestion. They are a precision requirement that controls bearing preload, wheel end play, and ABS function in a single fastener.
Use only OEM-verified torque values, apply them in stages, confirm your tool is calibrated, and inspect for symptoms after every installation.
Treating the hub nut as a critical safety fastener, not just a closure step, is what separates a repair that lasts from one that comes back in six months.
Frequently Asked Questions
Most OEM hub nuts are classified as single-use fasteners. They feature a deformable locking collar or prevailing torque design that loses effectiveness once the nut is removed and reinstalled.
A reused nut cannot reliably maintain the designed clamping force, meaning the hub torque specification you apply may not hold under driving conditions. Over time, the bearing inner race can shift, leading to wheel play and ABS faults.
The cost difference between a new nut and a repeat repair is not worth the risk. Always install a new hub nut with every bearing replacement.
No. OEM hub torque specifications are applied once and are designed to handle the full load range of the vehicle. The bearing preload is a fixed mechanical clamping force set at installation.
What changes under load is the stress the bearing experiences during use, not the required installation torque. Whether the vehicle is empty or at maximum payload, the hub nut value stays the same.
Always follow the OEM procedure for the vehicle position required during final torque application, which is typically with the wheel on the ground and the vehicle at curb weight.
Using an impact gun for final hub nut torque is not reliable and risks damaging the bearing assembly. Impact guns deliver rapid bursts of rotational force that are inconsistent in output, often exceeding the specification by 30 to 50 percent in a single engagement.
This level of over-torque causes brinelling on the bearing races, leading to premature failure. Some technicians use calibrated torque sticks as a limiter, but they are not as accurate as a beam or click-style wrench.
For final hub nut installation, always use a properly calibrated torque wrench set to the exact OEM specification.
Yes, in most vehicles, the front and rear hub torque specifications are different and must be looked up separately. Front wheel bearing assemblies on front-wheel-drive vehicles carry both drive and steering loads, typically requiring higher clamping values.
Rear bearings on non-driven axles experience different stress patterns and usually have lower torque requirements. On AWD or 4WD platforms, both ends may carry comparable values due to shared drive input.
Never apply the same number to both ends without confirming each individually in OEM service data. Applying the wrong value to either position significantly accelerates bearing wear.
Yes. Incorrect hub torque can directly cause wheel speed sensor faults, even without a faulty sensor. The ABS tone ring or reluctor ring is mounted on or near the bearing assembly. When the hub nut is under-torqued, the bearing shifts slightly under braking or hard cornering, displacing the tone ring relative to the sensor.
This produces an erratic or missing signal, triggering ABS or traction control warning codes. In many cases, the fault appears intermittent and difficult to trace without identifying bearing movement as the root cause.
Correcting the hub torque specification resolves the sensor fault without requiring any sensor hardware replacement.