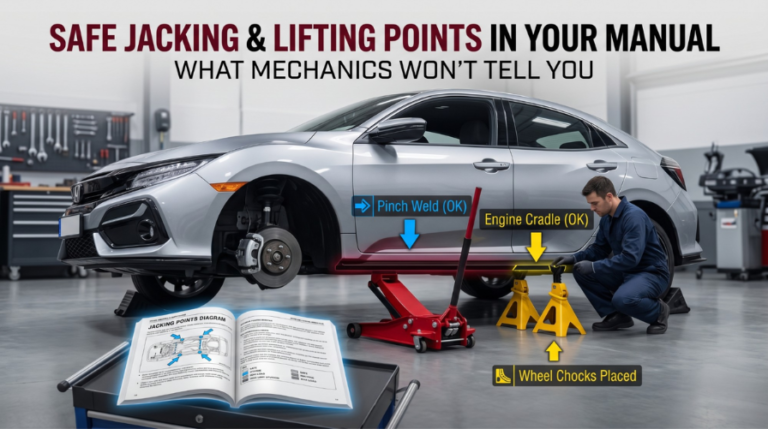
Most people skip the safe jacking section in their manual entirely, then wonder why the rocker panel is bent or the car shifted off the jack. Lifting points are not suggestions. Miss them, and you’re looking at frame damage, a crushed pinch weld, or worse, a car falling on you.
To avoid DIY accidents, strictly follow the jacking diagram in your owner’s manual before lifting. These manuals specify reinforced metal areas, such as pinch welds or crossmembers, designed to support the vehicle’s weight. Always work on flat ground, use jack stands, and chock the wheels.
This article walks you through reading those diagrams, matching lifting points to your specific vehicle type, and avoiding mistakes when working solo in the garage.
Safe Jacking & Lifting Points in Your Manual: The Details Most Guides Miss
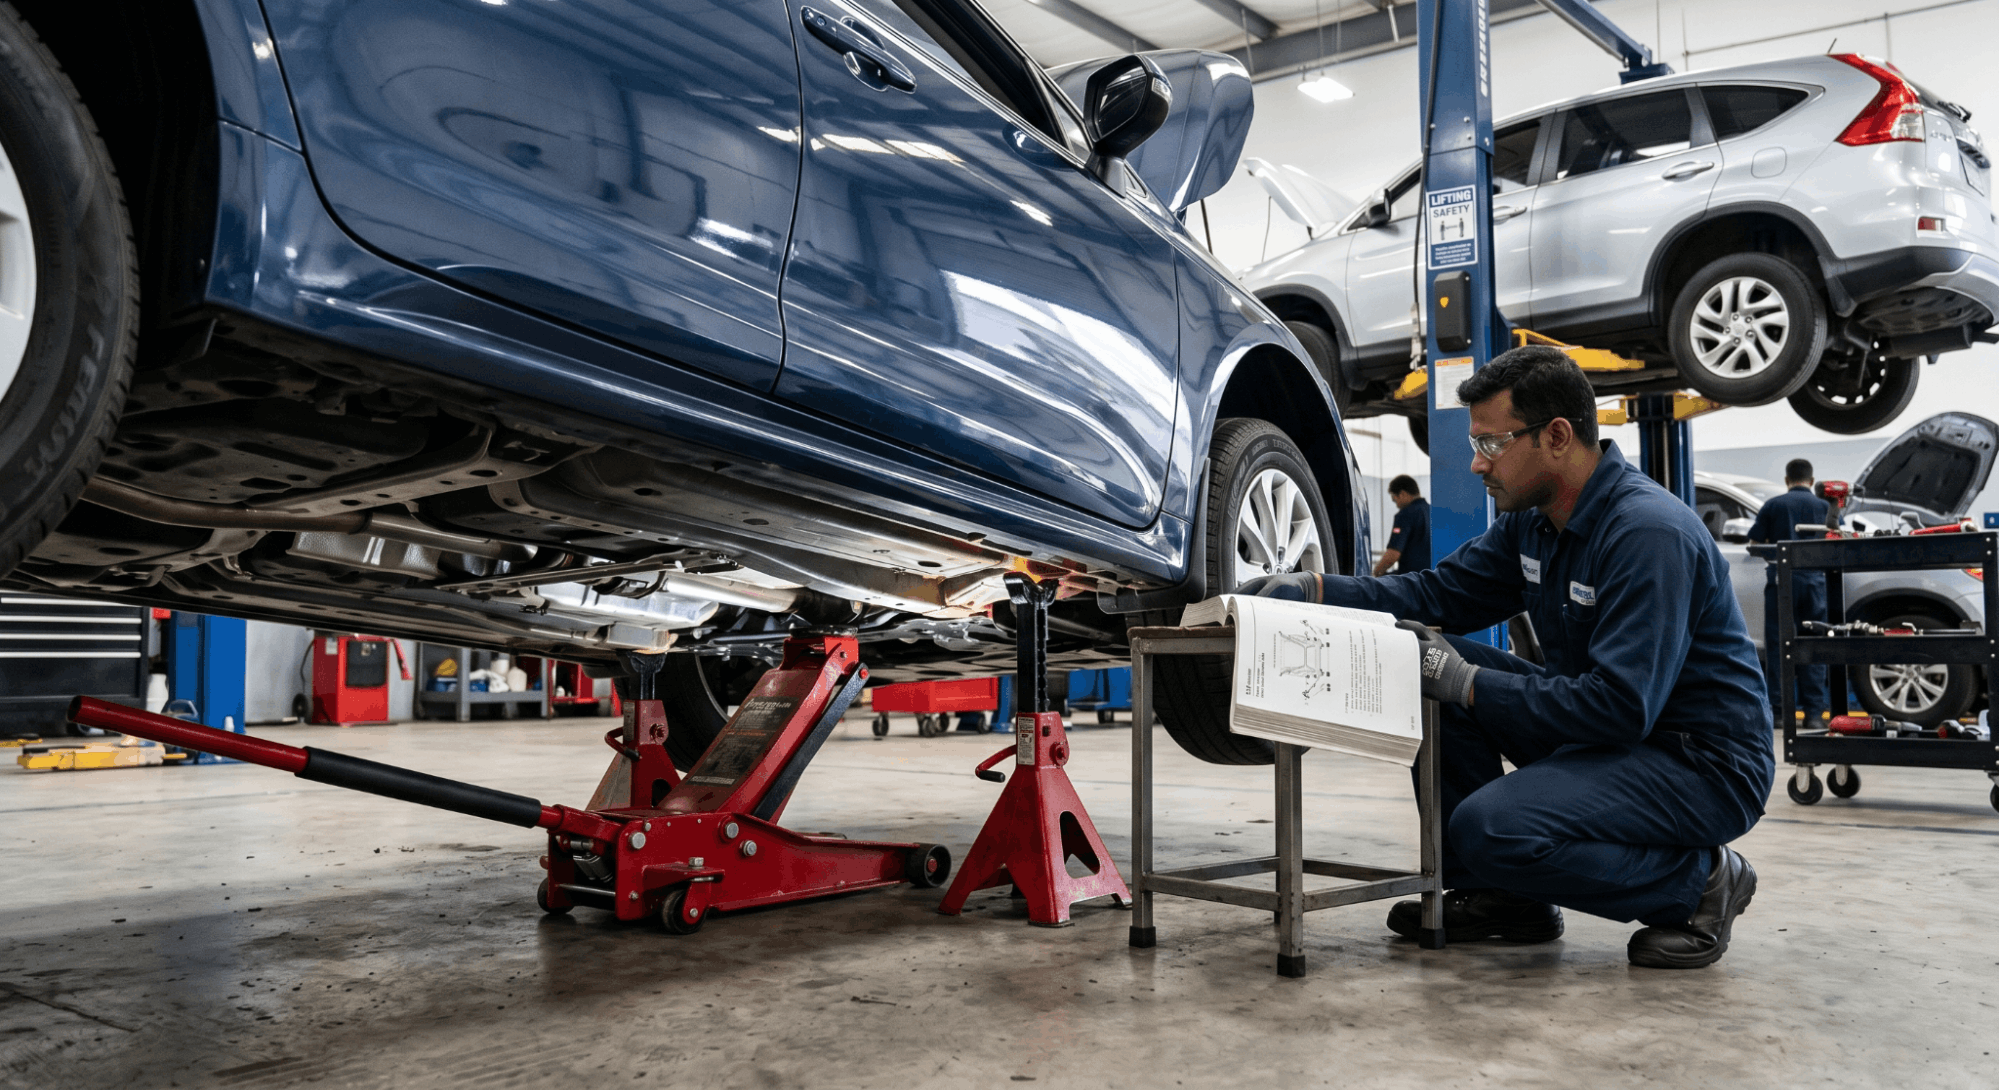
Your manual is more than a troubleshooting reference. It contains manufacturer-tested jacking diagrams that engineers spent years developing for your exact model.
Most online guides treat all cars the same. They don’t. A 2022 Toyota Camry has completely different lifting points than a Ford F-150 or a Tesla Model 3. This section covers the specifics that actually matter.
Step 1: Find the Jacking Section in Your Manual First
Before you open the hood, open the manual. This step takes 2 minutes but saves hours of repair time.
Most manuals place the jacking section near the emergency procedures chapter, sometimes labeled “Tire Change” or “Vehicle Lifting.” Look for a diagram showing the underside reinforcement points near each wheel arch. These are not generic. They are specific to your chassis design.
If you no longer have a physical copy, you can find your factory service manual PDF by VIN and download the exact document for your vehicle.
Key things the jacking diagram shows you:
- Exact lifting point locations per corner
- Whether a central front or rear lift point exists
- Jack pad material requirements (rubber, metal, or slotted)
- Weight limits and warnings for that model
Step 2: Match the Lifting Points to Your Vehicle Type
Not every car uses the same jacking method. Vehicle design dictates where it’s safe to lift.
|
Vehicle Type |
Common Lifting Points |
Notes |
|
Sedan / Coupe |
Pinch welds behind front wheels, ahead of rear |
Reinforced factory seam |
|
SUV / Crossover |
Varies; check the manual for side skirt points |
Often higher off the ground |
|
Truck (body-on-frame) |
Frame rails |
Only if the manual confirms |
|
EV / Hybrid |
Dedicated pads near rockers |
Never lift the battery |
|
Sports car |
Subframe mounts or reinforced sill points |
Low clearance needs a low-profile jack |
EVs and hybrids deserve special attention. Many have battery packs that run under the floor. Lifting in the wrong spot can crack the battery housing or damage high-voltage components. Always consult the manual or manufacturer’s emergency response guide before lifting any electric vehicle.
Step 3: Inspect the Pinch Weld Before You Lift
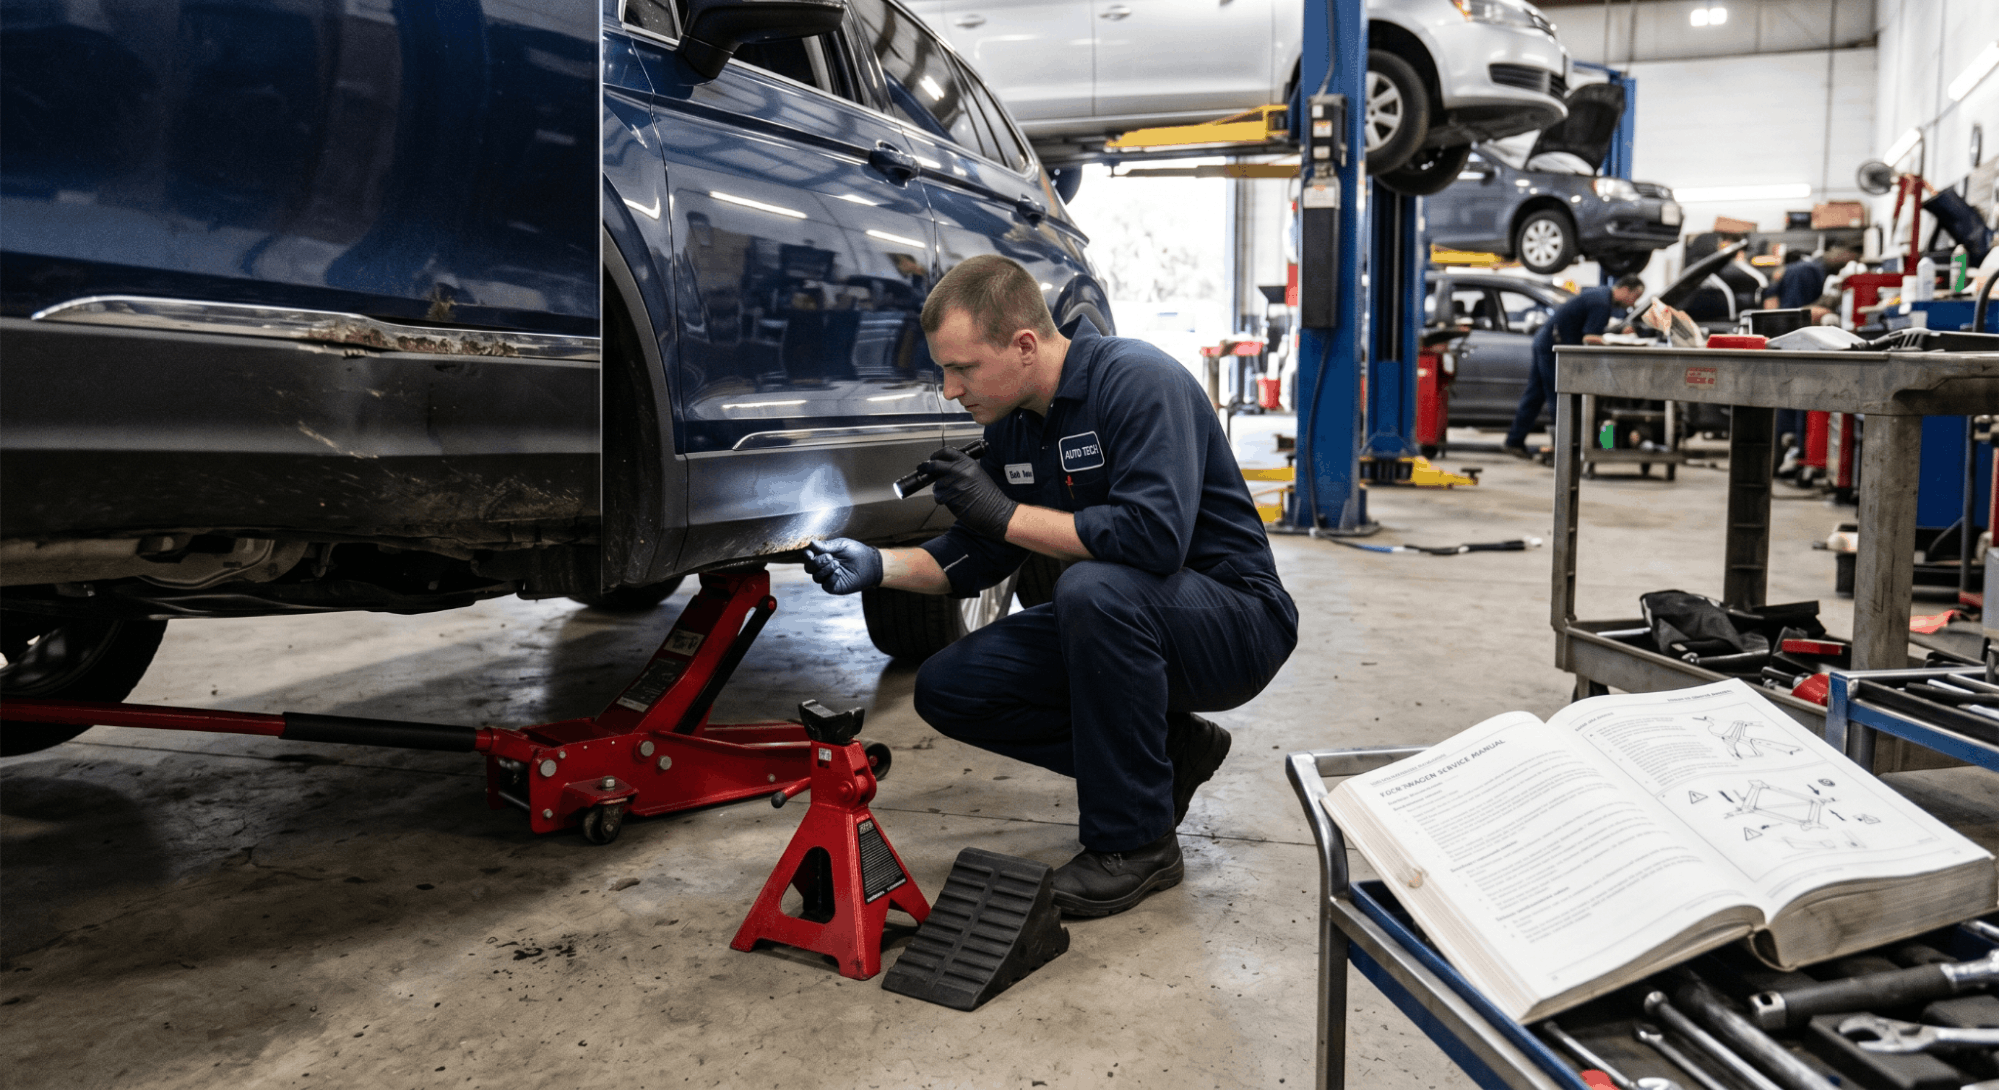
A pinch weld is the seam where two sheets of metal are crimped together along the rocker panel. It runs the length of the car, roughly parallel to the ground. On most unibody vehicles, these are your primary lifting points.
Here’s what many DIY guides skip: older pinch welds corrode. A weld that looks fine from street level can be paper-thin underneath. Before placing any jack, physically check the seam for rust, bending, or separation.
Signs a pinch weld is compromised:
- Visible rust bubbles or surface flaking along the seam
- A crushed or flattened appearance from previous improper lifts
- Paint cracking or peeling near the rocker panel
- Any flexing when you press against it by hand
If the pinch weld looks damaged, skip it. Use the subframe mounts or the cross-member as your alternative jacking point. A bent rocker panel repair can cost more than the work you were trying to do.
Step 4: Set Up Before the Jack Even Touches the Car
Preparation is what separates a safe lift from a trip to the body shop. Most accidents happen because someone skipped the two minutes it takes to properly set up.
Do this every single time:
- Park on concrete (asphalt can sink under the jack, especially in heat)
- Engage the parking brake fully
- Put automatic transmissions in Park, manual in first gear
- Chock the wheels on the opposite end from where you’re lifting
- Have jack stands ready before you start pumping
Never lift on gravel, grass, or sloped surfaces. Even a small incline creates a lateral force that a floor jack was not designed to handle.
Step 5: Position the Jack and Lift Correctly
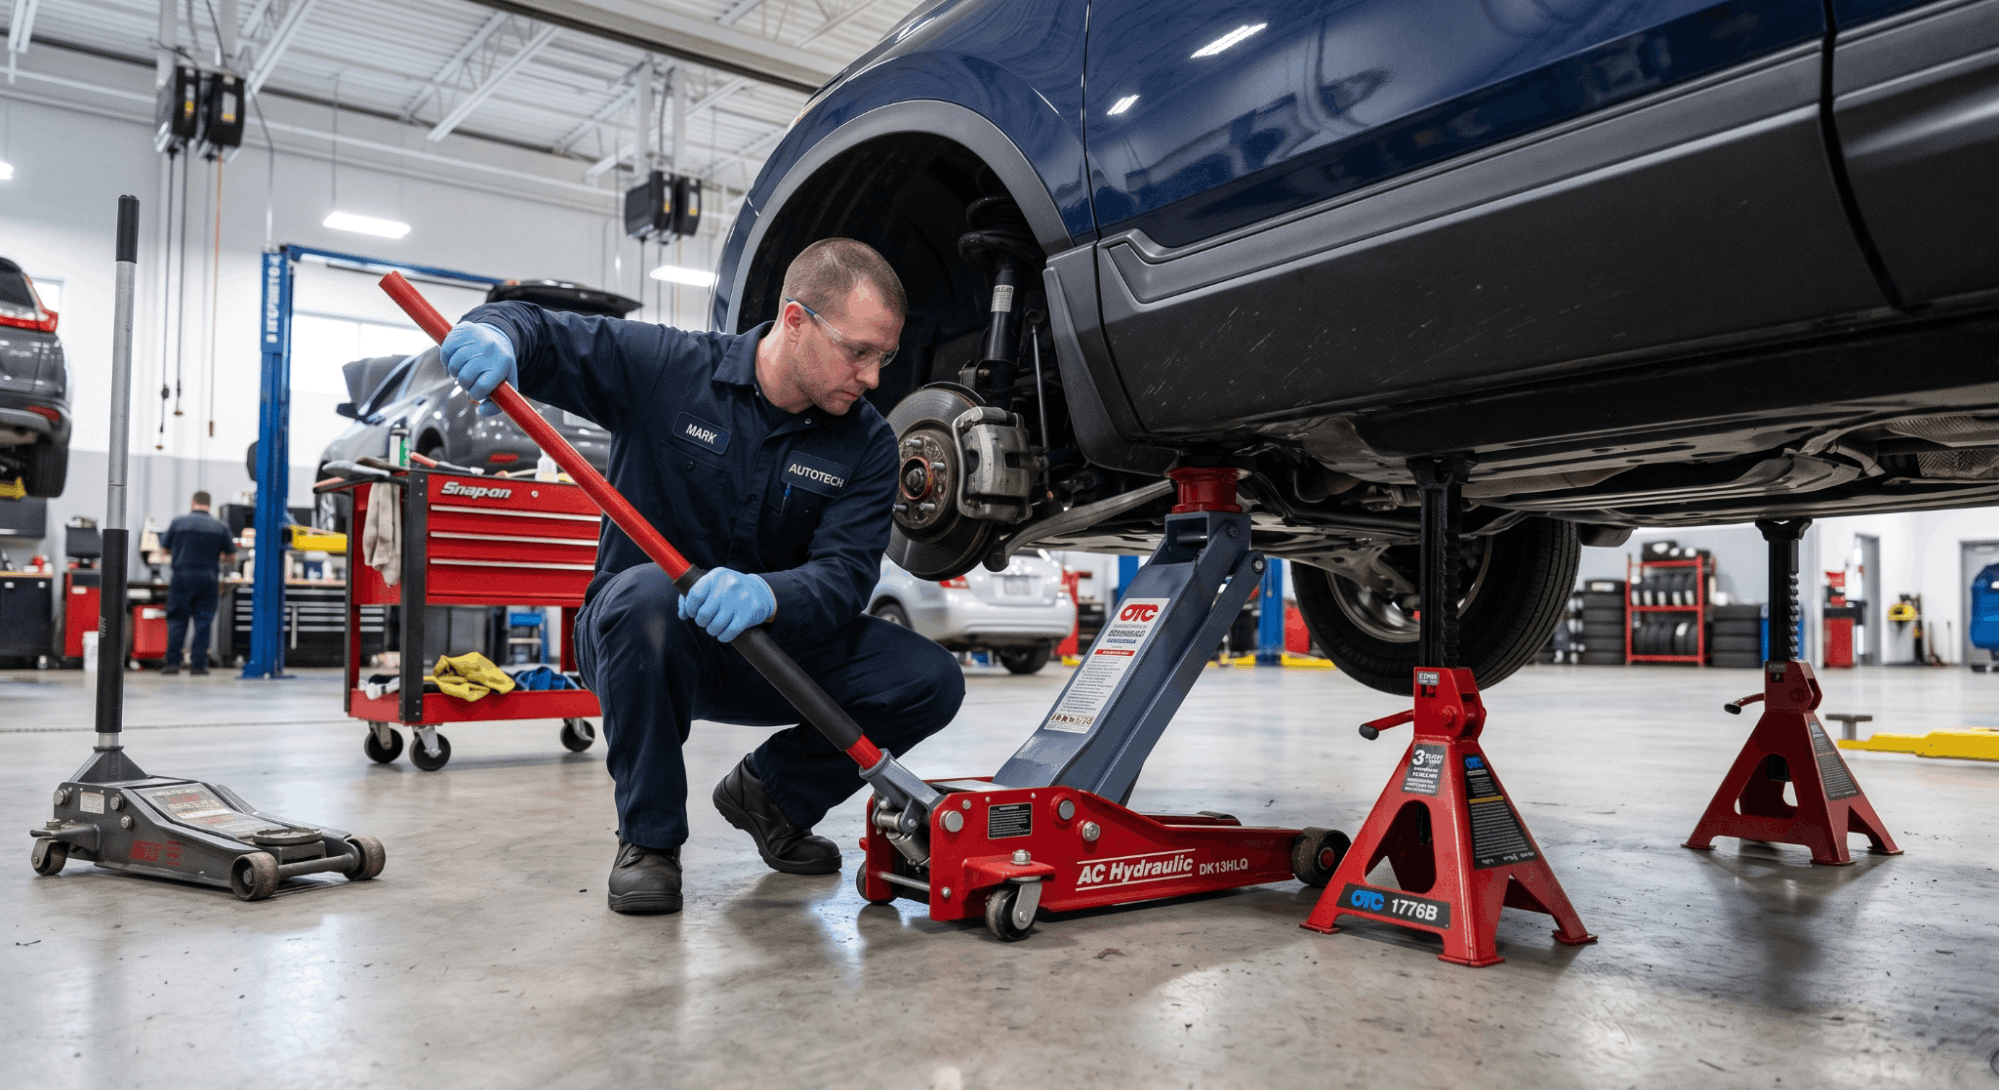
This is where most damage happens. A floor jack pad that’s slightly off-center doesn’t always fail immediately. It bends over time, and you don’t notice until the car tips.
Correct positioning steps:
- Roll the floor jack under the vehicle so the pad sits directly under the lifting point shown in the manual
- Make sure the pad is flat against the metal, not tilted
- Never place the jack on plastic trim, exhaust hangers, or suspension arms
- Lift slowly and watch the contact point as you pump
- Stop the moment you hear any creak or see any shift
Once the car is at working height, immediately place jack stands under the same reinforced points. Lower the car onto the stands. Remove the jack. This is non-negotiable.
Never work under a vehicle supported only by a hydraulic jack. Hydraulic seals can bleed pressure over time. A jack stand rated for your vehicle’s weight is your actual safety device.
Step 6: Perform a Stability Check Before Getting Under
This step takes ten seconds but gets skipped constantly.
Once the car is on jack stands, stand next to it and push firmly from multiple angles. You want to feel zero movement. If the car rocks or shifts even slightly, lower it, reposition the stands, and try again.
Then check:
- All four stand legs are flat on the ground
- The stand saddle is fully seated under the lifting point
- The vehicle is level, not tilted front-to-back or side-to-side
Only after this check should any part of your body go under the car.
Vehicle-Specific Jacking Point Summary
|
Vehicle Example |
Front Lift Point |
Rear Lift Point |
|
Most FWD sedans |
Front cross-member or pinch weld |
Pinch weld near the rear wheel arch |
|
RWD sports/muscle |
Front cross-member |
Rear differential housing |
|
Full-size trucks |
Frame rails (confirm in manual) |
Frame rails near the leaf spring mount |
|
Modern EVs |
Manufacturer-specified rocker pads |
Same rocker pads, avoid the battery area |
|
SUVs with a subframe |
Subframe mounts |
Rear axle or pinch weld (verify) |
For unfamiliar vehicles, downloading genuine OEM workshop manuals gives you manufacturer-specific diagrams rather than generic guesses.
What Happens When You Use the Wrong Lifting Points
The consequences aren’t always immediate, which is why this is easy to dismiss. But the damage accumulates.
Lifting from an unsupported area can cause:
- Bent or collapsed rocker panels that require bodywork to repair
- Cracked subframe mounts that affect alignment and handling
- Damaged pinch weld seams that can no longer safely support the car
- Cracked battery housing on EVs (very expensive)
- A car that slips off the jack mid-lift
Short version: wrong lifting points equal expensive damage or a hospital visit. Neither is worth saving the two minutes it takes to check the manual.
A Note on Jack Pads and Adapters
Your floor jack probably came with a flat, round rubber pad. For most modern unibody cars, that’s fine for the subframe or cross-member.
For pinch welds, you need a slotted rubber adapter, often called a hockey puck pad, that cradles the seam rather than pressing directly on the thin edge. Without it, the jack head bends the weld, especially on cars over six or seven years old.
These adapters cost under $20 at most auto parts stores. They are well worth it.
Conclusion
Safe jacking starts before the jack even touches the car. Read the manual, identify the correct lifting points for your specific vehicle, inspect the pinch welds, and prepare the surface. These are not complicated steps, but skipping any one of them is how people damage cars and injure themselves.
Your owner’s manual has the answer. Every time. It is the single most reliable source for jacking and lifting point information, and it applies to your exact make, model, and year. Use it.
Frequently Asked Questions
Generally, yes, but there is an important distinction. Most manuals show jacking points for the floor jack and separate support points for jack stands.
Sometimes these overlap, but often the best practice is to jack under the cross-member or subframe, then place stands on the pinch welds for stability.
Always verify with your specific manual. Using the wrong spot for jack stands, even if the floor jack placement was correct, can still result in a shifted or falling vehicle.
Start by searching the manufacturer’s website for your model year. Many brands offer free PDF downloads. Alternatively, you can find your factory service manual PDF by VIN through dedicated manual repositories.
Some forums specific to your vehicle model also share photos of the underside with lifting points marked. When in doubt, a factory dealership service department can confirm the correct locations for your chassis type.
Never rely on generic guides when your vehicle is unique or less common.
Some are well-researched and useful, but many are generic and don’t account for vehicle-specific quirks. If you’re unsure whether a free resource is reliable, it helps to understand which free online car repair manuals are actually safe to use.
The safest approach is always to cross-reference any free guide against the OEM manual for your exact model before lifting.
EVs require specific lifting points because the battery pack runs beneath the floor, and placing a jack in the wrong position can crack the battery housing. Most manufacturers publish an emergency response guide that shows approved lifting points for first responders. These diagrams are also useful for DIY lifts.
Look for half-moon cutouts or dedicated rubber pads along the rocker area. Never lift under any component related to the high-voltage system. Always consult the OEM manual before performing any lift on an electric vehicle.
Corroded or bent pinch welds should not be used as primary lifting points. Even welds that appear intact on the outside can be structurally weak if rust is beneath the paint.
If your welds are compromised, shift to the subframe mounts or cross-member as your lift point and inspect for repairs. Some vehicles can have new jacking rails fabricated and welded in to replace corroded seams.
A qualified mechanic can assess whether the existing structure can still safely support its weight.