Car Spray Paint: The DIY Shortcut That Could Cost You Thousands

A rushed car spray paint job may seem like a fast fix, but poor prep or the wrong product can lead to bubbling, fading, or flaking that reduces your car’s value. Worse, it can expose body panels to corrosion if not sealed properly. That’s why vehicle owners and DIY repairers alike need to treat spray paint projects with the same care as any major car repair.
The key to success is surface prep, the right paint selection, and a steady application method. In this updated 2025 guide, we’ll help you avoid common spray paint disasters with clear, step-by-step tips used by pros and experienced DIYers.
At NXT Motors, we support hands-on vehicle owners. This guide goes beyond generic advice and focuses on techniques that work—whether you’re restoring a faded bumper or repainting an entire panel. Let’s break down everything you need to know before picking up that spray can.
Car Spray Paint Tips Most DIY Guides Skip
Spray painting a car isn’t just about shaking a can and spraying. From material choice to workspace conditions, every factor affects the outcome. Here’s how to set your project up for success.
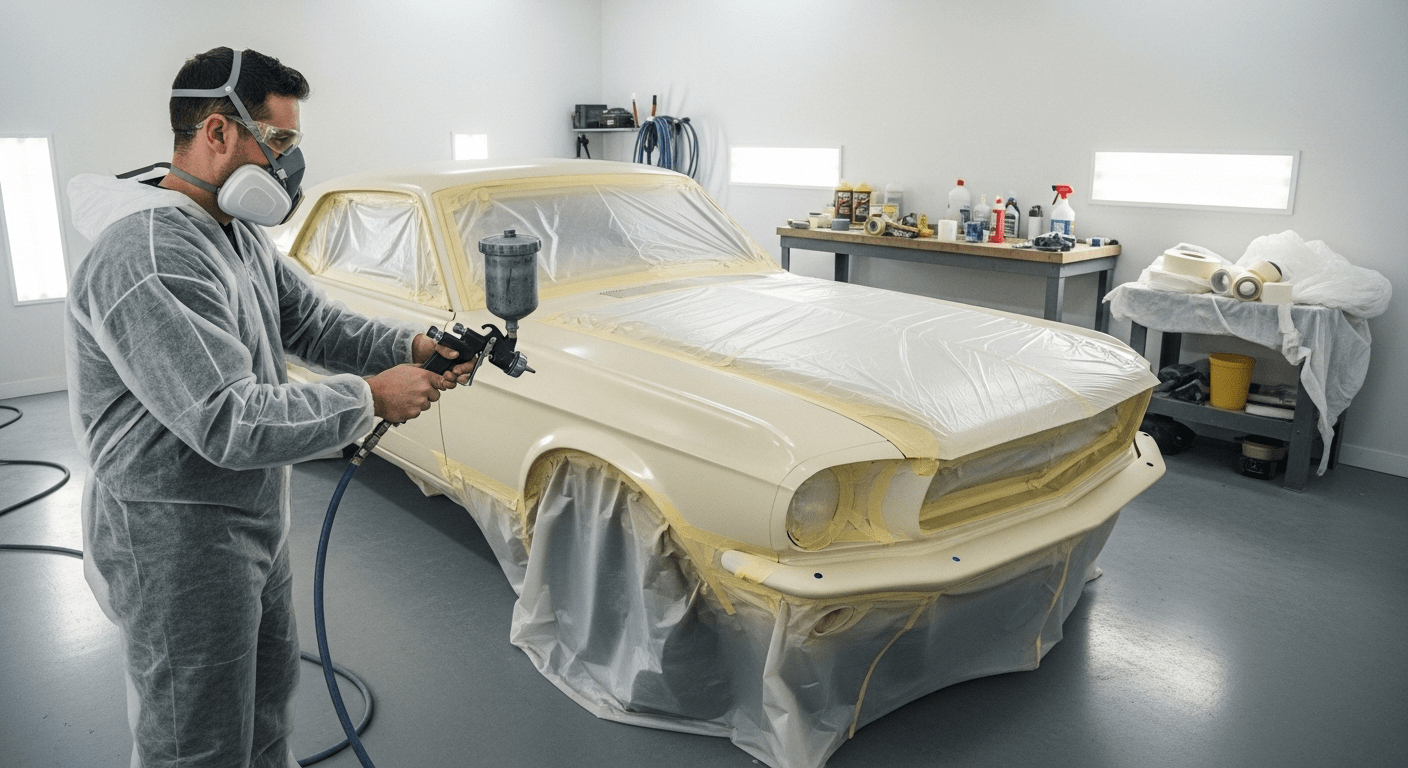
1. Surface Prep Is Everything
- Degrease thoroughly using a wax and grease remover. Don’t rely on soap and water alone.
- Sand with 400–600 grit to level imperfections and help paint stick.
- Mask adjacent areas with painter’s tape and plastic sheeting to protect windows and trim.
- Use a tack cloth right before spraying to eliminate dust.
Even top-tier automotive spray paint won’t bond correctly without proper surface prep. Skipping this step guarantees a short-lived finish.
2. Choose the Right Spray Paint Type
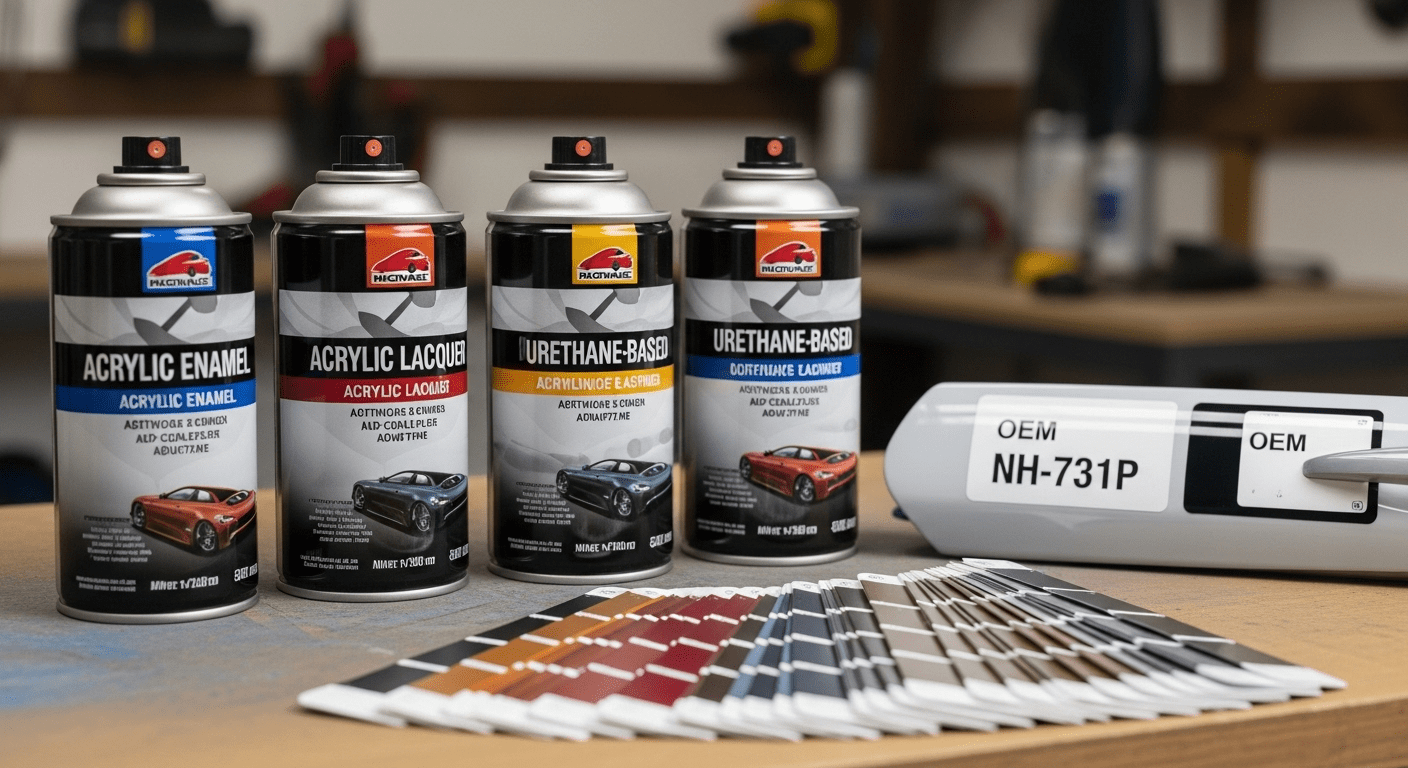
- Acrylic enamel: Great for a glossy finish; common in DIY kits.
- Acrylic lacquer: Easy to apply but needs a protective clear coat.
- Urethane-based: Very durable but requires safety gear and ventilation due to fumes.
Always match your vehicle’s OEM color code to ensure color consistency, especially across panels. You’ll typically find this code on the driver’s door frame or under the hood.
3. Apply Paint Like a Pro
Technique is what separates clean, even coats from streaks and drips:
- Hold the can 6 to 8 inches from the surface and move in straight lines.
- Overlap each pass 50% for uniform coverage.
- Use light coats and allow 10–15 minutes drying time between them.
- Always finish with a clear coat for shine and UV protection.
4. How Long Will It Last?
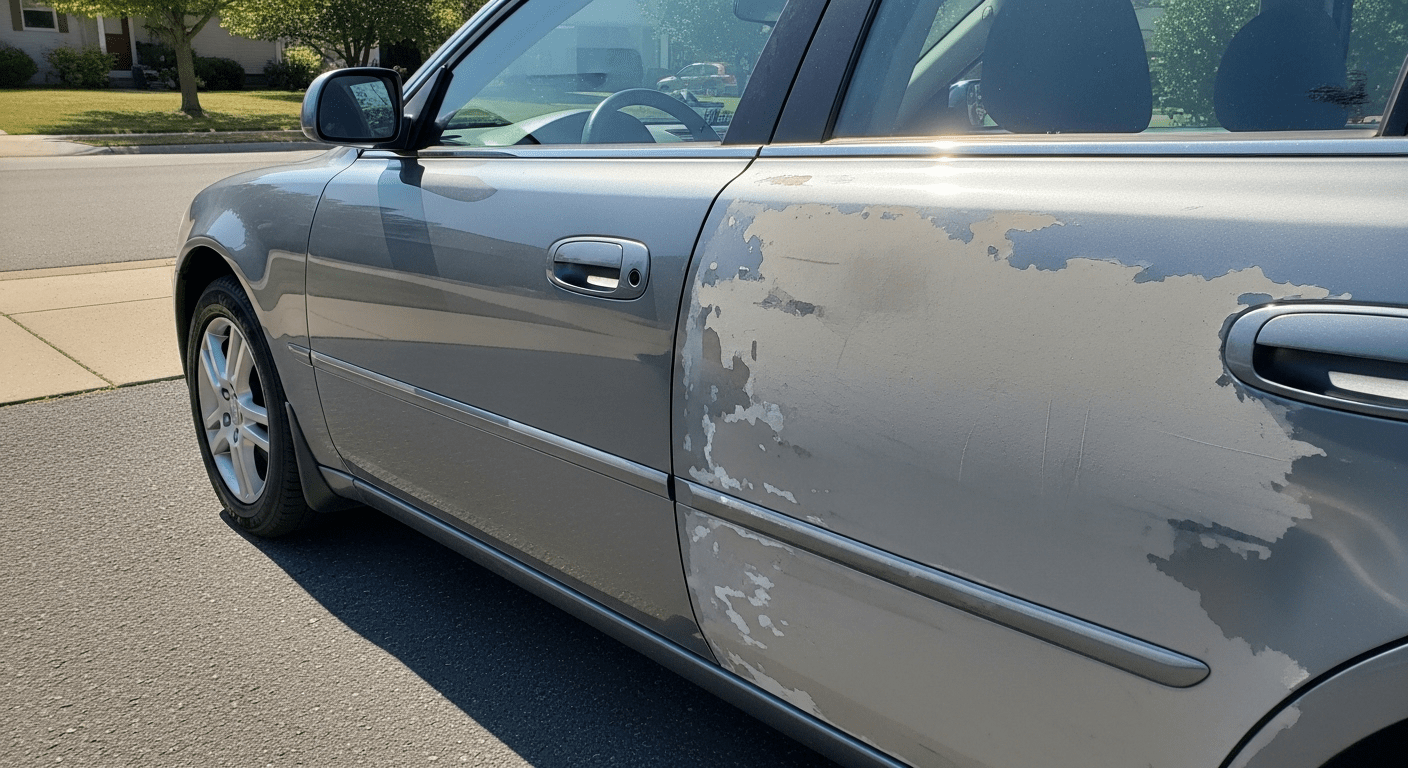
- Properly applied paint with clear coat can last 2–4 years under normal conditions.
- Low-cost spray paint or skipped prep may begin fading or peeling in under a year.
- Frequent washing, waxing, and shaded parking help extend lifespan.
High heat, sun exposure, and neglected cleaning routines all shorten spray paint longevity—no matter how good the product is.
5. Avoid These Costly Mistakes
- Skipping primer: Paint won’t stick to bare or glossy metal without it.
- Using non-automotive paint: Household spray paint won’t last on a vehicle.
- Painting in bad weather: Wind, humidity, or extreme temps lead to uneven results.
- Neglecting safety: Use a respirator and gloves when applying urethane-based paints.
- Not curing fully: Even if it feels dry, curing can take 24–72 hours depending on paint type.
6. Best Time and Place to Spray Paint
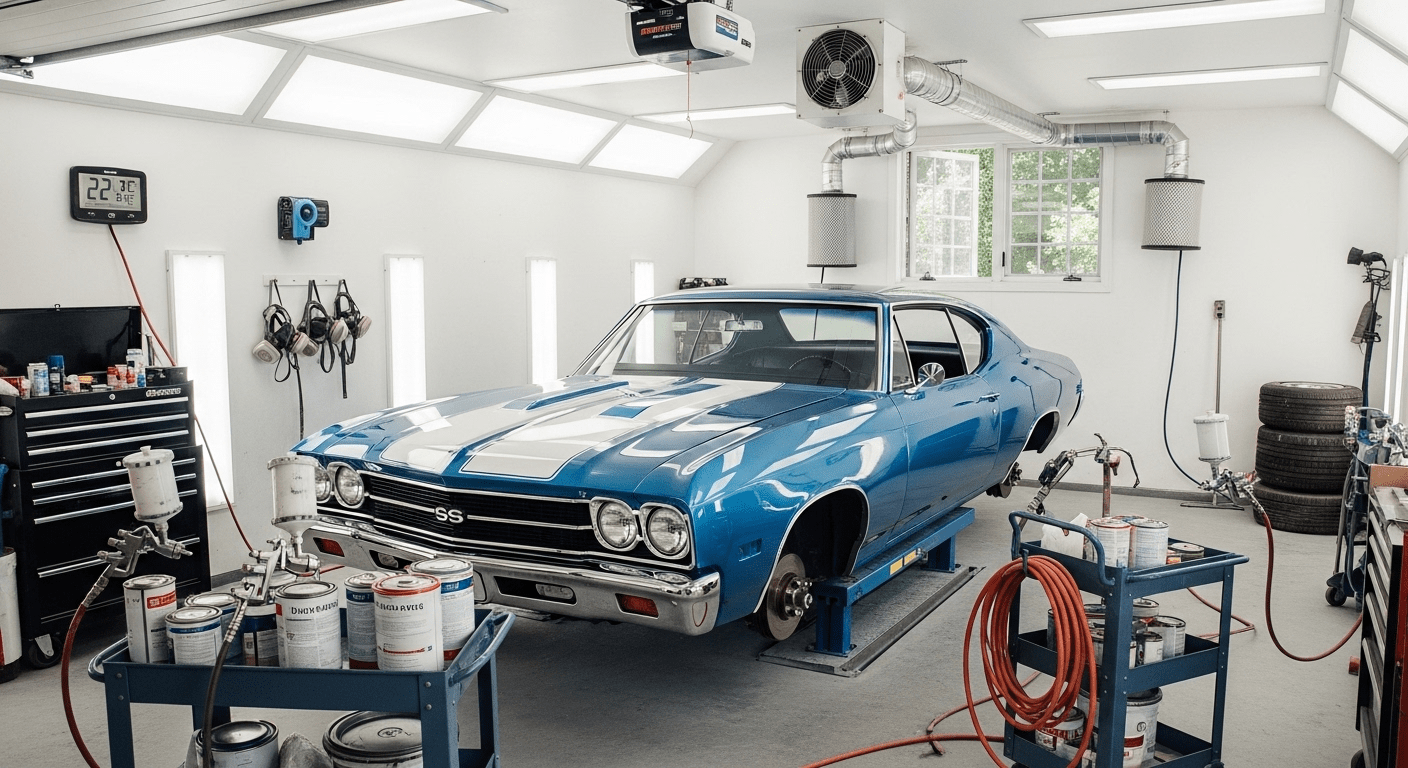
- Ideal temperature: 65°F to 80°F. Too cold slows curing, too hot causes drying before contact.
- Humidity: Keep it low. Moisture causes fisheyes and hazing.
- Location: Spray in a clean, dust-free garage with good airflow. Outdoors only if conditions are calm.
Control your environment as much as possible. A rushed job in bad weather can ruin hours of preparation in seconds.
Conclusion: Is DIY Car Spray Paint Worth It?
DIY spray painting can absolutely be worth it—if done correctly. When you invest time into proper prep, select the right paint, and follow proven application techniques, your results can rival a professional finish.
For small jobs like touch-ups or panel restoration, a high-quality DIY paint job saves money and builds your skills. For full-body repaints or newer cars, consider pairing your effort with a professional or using a reliable repair manual to guide you step-by-step.
At NXT Motors, we believe in hands-on car care. That’s why we offer service manuals, maintenance tips, and reliable guidance for every level of DIYer. Bookmark this page, and check our blog for more guides like this.
Frequently Asked Questions
No. Regular spray paint is not designed for vehicle surfaces. It lacks the adhesion, flexibility, and UV resistance of automotive-grade spray paint. Using the wrong type often leads to peeling, fading, or cracking—especially outdoors.
Primer prepares the surface and promotes adhesion. The base coat adds the color, and the clear coat seals and protects the finish. Skipping any step can lead to poor durability or visible flaws in the paint job.
The OEM paint code is typically found on a label inside the driver-side door, under the hood, or in the trunk. Use this code to buy matching spray paint to avoid color mismatches, especially with metallic or pearl finishes.
It depends on local laws. In some residential zones, DIY auto painting using aerosols may violate air quality or zoning rules. Check your city or state’s environmental guidelines before starting any spray job at home.
Misused spray paint can cause bubbling, cracking, discoloration, or chemical reactions with existing paint. It may cost more to fix a poor DIY job than to have it professionally done in the first place. Always follow correct prep and curing steps.
For full coverage, expect to use around 12 to 20 cans of automotive spray paint for a small sedan—plus separate cans for primer and clear coat. Larger vehicles or multi-coat jobs may require more.
If the spray paint is fresh and hasn’t bonded, products like clay bars or rubbing alcohol can remove it without damage. For cured or stubborn paint, professional detailing is often required to preserve the factory finish.