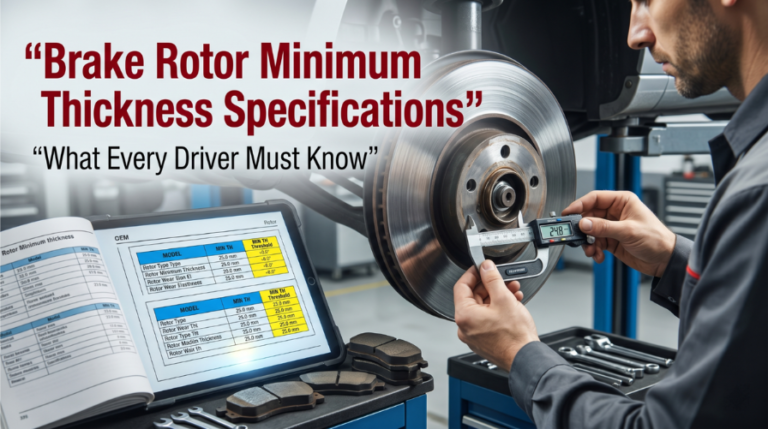
Ignoring your brake rotor minimum thickness specifications is one of the most dangerous decisions a driver can make. A rotor that falls below its approved minimum thickness loses its ability to handle heat, putting your entire braking system at risk.
New passenger rotors usually measure 20–30 mm. After 2–3 mm of wear reaches the “MIN TH” limit, replacement is mandatory to avoid brake fade or structural issues. Front rotors generally wear to 10–28 mm, while rears wear to 8–20 mm.
This article covers how to read and locate rotor specifications, what happens when you ignore them, how to measure correctly, and a full reference table for common vehicles.
Brake Rotor Minimum Thickness Specifications: The Exact Numbers You Need

Most drivers only think about brake pads when something goes wrong. But the rotor itself wears every time the pads press against it. Over thousands of miles, that friction steadily reduces its thickness below safe limits.
Understanding the exact minimum thickness specifications for your vehicle’s brake rotors is not complicated. You just need to know where to look and what to do with the numbers.
Common Vehicle Rotor Thickness Reference Table
The values below are general industry references. Always confirm with your vehicle’s service manual or the stamp on the rotor itself.
|
Vehicle / Category |
Rotor Type |
Original Thickness (mm) |
Min. Thickness (mm) |
|
Compact Sedan (e.g., Honda Civic) |
Solid Rear |
8 – 10 |
7 – 8 |
|
Compact Sedan (e.g., Honda Civic) |
Vented Front |
22 – 25 |
19 – 22 |
|
Mid-size Sedan (e.g., Toyota Camry) |
Vented Front |
28 |
25.4 |
|
Mid-size Sedan (e.g., Toyota Camry) |
Solid Rear |
10 |
8 |
|
Full-size Truck (e.g., Chevy Silverado) |
Vented Front |
34 – 36 |
31 – 33 |
|
Full-size Truck (e.g., Chevy Silverado) |
Vented Rear |
28 – 30 |
25 – 27 |
|
SUV (e.g., Ford Explorer) |
Vented Front |
30 – 32 |
27 – 28 |
|
Performance Vehicle (e.g., BMW 3 Series) |
Vented Front |
30 – 32 |
28 |
|
Economy Hatchback |
Vented Front |
20 – 24 |
18 – 22 |
Where to Find the Minimum Thickness Stamp on Your Rotor
Every rotor comes with its minimum thickness cast or stamped directly onto the metal. The tricky part is that road grime, rust, and salt can cover this mark over time.
Here’s where to check:
- On the outer edge or hub flange of the rotor face
- Inside the vanes on vented rotors
- On the hat section near the center bore
- In the vehicle’s factory service manual or OEM workshop documentation
If the stamp is unreadable, cross-reference with your vehicle’s repair manual. For fast lookup, check a factory service manual PDF by VIN to get the exact OEM spec within seconds.
How to Measure Rotor Thickness the Right Way
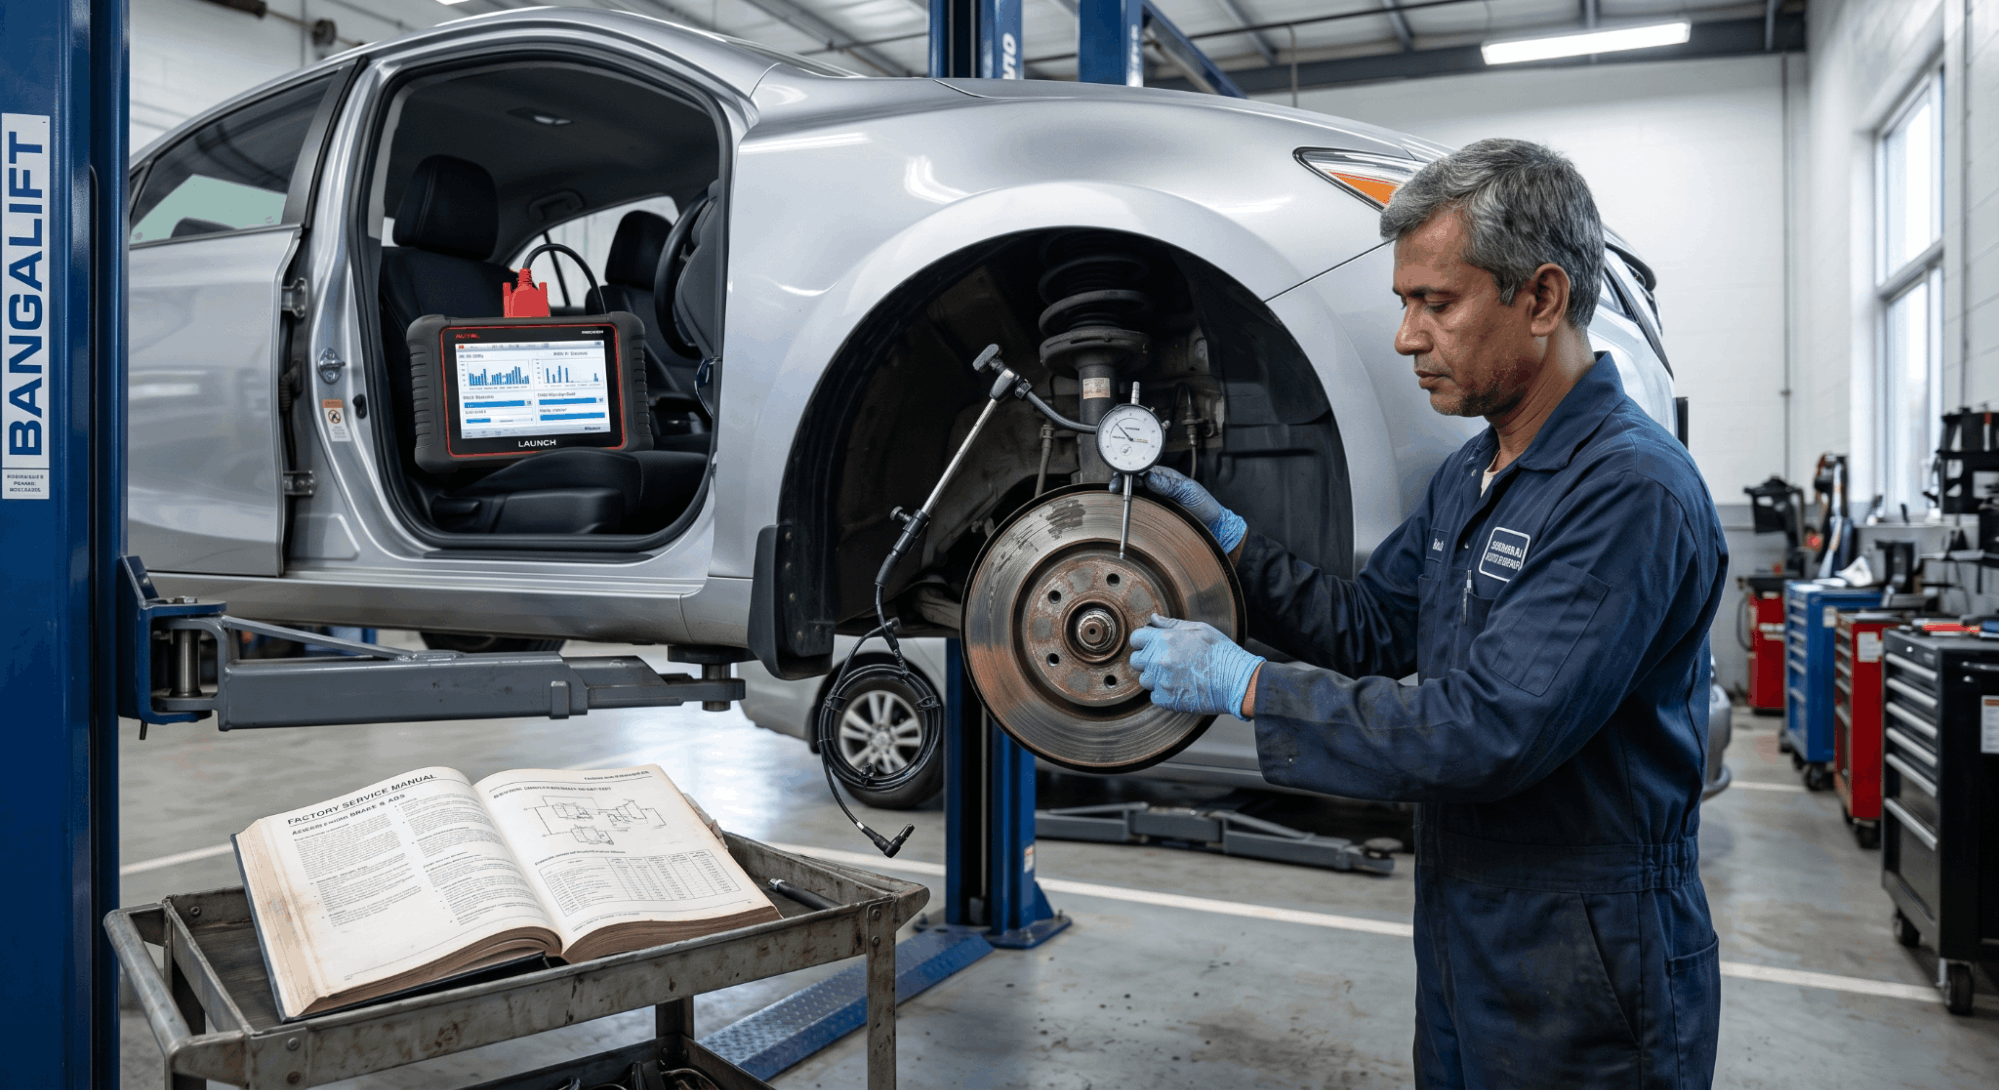
A visual check is not enough. You need a micrometer, not a regular caliper, to get an accurate reading of the remaining rotor thickness.
Follow these steps carefully:
- Step 1: Lift and secure the vehicle safely on jack stands.
- Step 2: Remove the wheel to expose the brake rotor.
- Step 3: Use a wire brush and brake cleaner to remove surface rust from the measurement area.
- Step 4: Place the micrometer at the thinnest contact area where pads meet the rotor.
- Step 5: Measure at 8 to 10 different points around the circumference rotors wear unevenly.
- Step 6: Record the lowest reading. That is your true minimum point.
- Step 7: Compare against the stamped minimum specification. A number at or below that means immediate replacement.
One important note: replace rotors in pairs, even if only one side has dropped below spec. Mismatched rotor thicknesses between sides can cause the vehicle to pull during braking.
What Happens When Rotors Drop Below Minimum Thickness
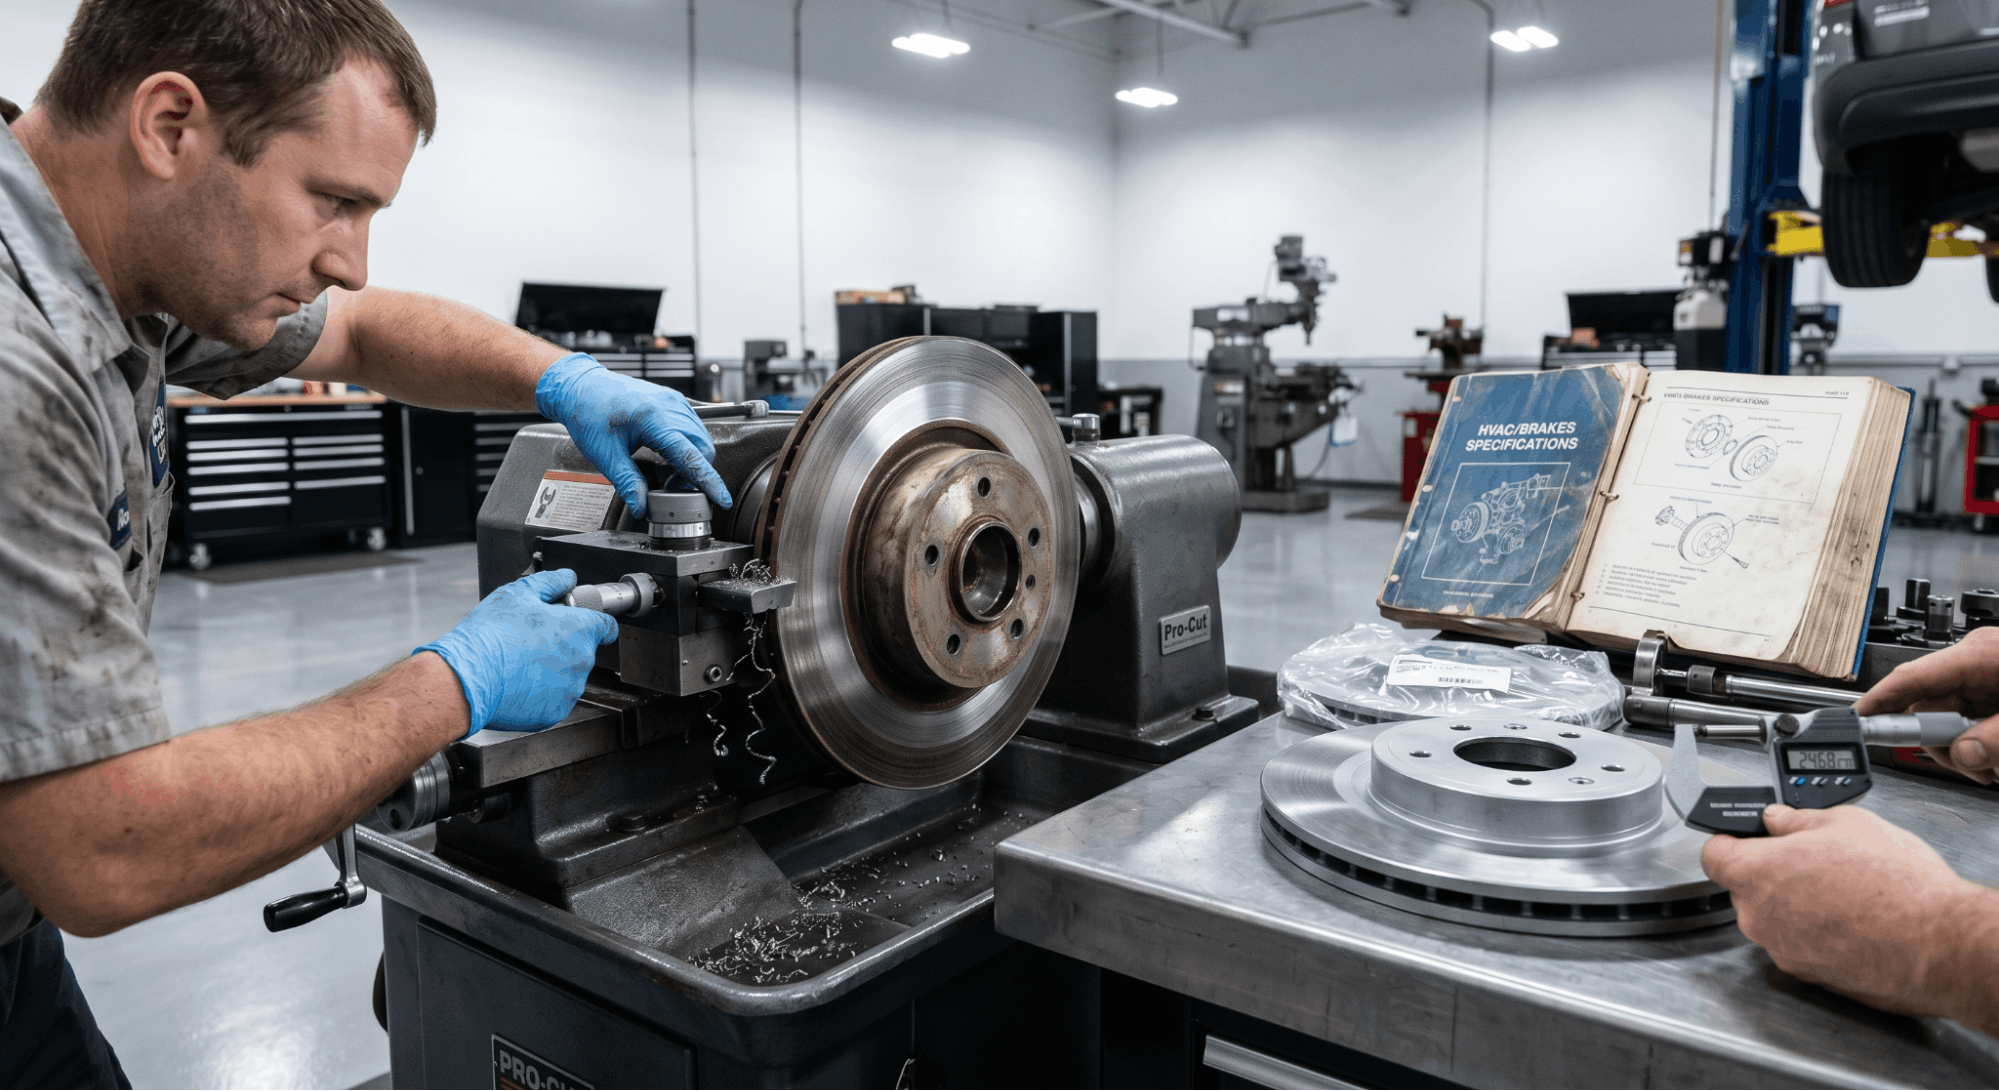
This is not a theoretical risk. Running rotors below their minimum thickness specifications creates a predictable chain of failures, and they tend to build on each other fast.
- Thermal overload: Thin rotors dissipate heat poorly. Brake fluid can reach temperatures above 200°C, causing vapor lock and complete loss of pedal pressure.
- Cracking: Reduced metal thickness can’t handle the mechanical stress of hard stops, leading to surface cracks on the braking face.
- Brake fade: Heat that can’t escape builds up rapidly, reducing friction and braking efficiency exactly when you need it most.
- Increased pedal travel: As the rotor surface thins, caliper pistons extend further to maintain contact, eventually leading to a spongy or unresponsive pedal.
- Pad and caliper damage: A worn rotor will destroy new brake pads faster and can score or damage calipers.
If your vehicle shows a brake warning light alongside vibration or pulling under braking, the rotor condition should be checked immediately. Understanding how to isolate hydraulic vs. electronic brake warning light faults can help you distinguish between a sensor fault and an actual mechanical problem.
Discard Thickness vs. Minimum Thickness: Not the Same Thing
Many drivers confuse these two terms, and shops sometimes use them interchangeably, which causes real problems.
|
Term |
Definition |
Action Required |
|
Original Thickness |
Factory-new rotor measurement |
Reference only |
|
Minimum Thickness (MIN TH) |
Stamped spec minimum to install new pads |
Replace if at or below this number |
|
Discard Thickness |
Absolute safety floor for inspection purposes |
Immediate replacement, no exceptions |
|
Machining Allowance |
Metal removed during resurfacing |
Must stay above MIN TH after machining |
BMW’s technical service bulletins, for instance, define two separate figures: the stamped MIN TH (used when fitting new pads) and a slightly higher inspection minimum (nominal thickness minus 2.4 mm for standard vehicles). Both matter depending on the situation.
When Can You Resurface a Rotor Instead of Replacing It?
Resurfacing or ‘turning’ a rotor on a brake lathe removes a thin layer of metal to restore a smooth friction surface. It used to be standard practice, but modern vehicles have changed the equation.
You can consider resurfacing only if all of these conditions are met:
- The rotor is still above the minimum thickness before machining
- After machining, it will still sit above the discard specification
- There is no surface cracking, heat bluing, or deep scoring
- Lateral runout is within manufacturer tolerance (typically under 0.05 mm)
In most cases today, the cost of machining is close to the cost of a new budget rotor. Given that thinner rotors warp faster and dissipate heat worse, replacement is almost always the better call, especially in high-mileage vehicles or those driven in wet, salty conditions.
How Worn Rotors Affect ABS and Electronic Braking Systems
It’s easy to think of rotor thickness as a purely mechanical concern. But in modern vehicles, thin or warped rotors interact directly with electronic systems.
When a rotor develops uneven wear or thickness variation (DTV), the resulting pulsation can trigger false signals to the ABS module. This can result in ABS activating at low speeds, increased stopping distances, and warning lights that confuse the diagnosis.
If you’re chasing an ABS fault and the mechanical brakes haven’t been inspected, start there first. Detailed guidance on ABS warning light troubleshooting by brake system architecture is available at.
How Often Should You Check Brake Rotor Thickness?
Most manufacturers and technicians agree on a few practical intervals.
- Every 10,000 to 25,000 miles as a standard inspection interval
- At every brake pad replacement without exception
- Immediately, if you feel pedal pulsation, vibration, or pulling when stopping
- After any aggressive driving event, like mountain driving or emergency braking
- Before and after winter in high-salt environments where corrosion accelerates wear
As a general rule, front rotors wear faster than rear rotors because the front axle handles the majority of the braking load. Plan your inspection schedule around the fronts.
Final Takeaway: Specifications Exist for a Reason
Brake rotor minimum thickness specifications are not suggestions. They are the line between controlled stopping and a system failure that can’t be undone.
The number stamped on your rotor represents the result of rigorous engineering testing, the point at which heat dissipation, structural strength, and braking performance can no longer be guaranteed.
Check your rotors at every pad change. Measure properly with a micrometer. And when the spec says replace, replace. Getting the right numbers for your specific vehicle starts with knowing where to look, and for that, a genuine OEM workshop manual is always your most reliable source. You can find verified specs at.
Frequently Asked Questions
You can sometimes spot early signs through the wheel spokes using a flashlight. Look for a wear groove or lip at the outer edge of the rotor. If the outer unworn ridge is noticeably raised compared to the swept surface, the rotor has worn significantly.
That said, visual checks are never reliable enough on their own. The only accurate method is to remove the wheel and use a micrometer to measure at multiple points across the friction surface.
Pay particular attention to symptoms like pedal pulsation, vibration through the steering wheel, or a car pulling to one side under braking. Any of these suggests your rotors need to be measured immediately, not at your next service.
Technically, a vehicle may still stop, but the safety margin is gone. Rotors below their minimum specification have reduced heat capacity, which means a single hard stop under load could push the system into brake fade or vapor lock. That’s a scenario where pressing the pedal results in almost no deceleration.
There’s also the risk of the rotor cracking under pressure. A catastrophic crack during braking at highway speed is not a recoverable situation. Mechanics universally advise against operating a vehicle once you know the rotor thickness has dropped below the stamped minimum.
If you’re in a situation where you must drive briefly before repair, avoid aggressive braking, high speeds, and any loaded conditions, such as towing or carrying passengers. But treat this as emergency mode only, not a deferral strategy.
No. Front and rear rotors are engineered differently because they perform different roles. Front rotors handle more braking force, especially during emergency stops, so they are typically larger, vented, and have a higher original thickness, which also means a higher minimum thickness.
Rear rotors on most passenger vehicles are smaller, often solid rather than vented, and have a lower original thickness. Their minimum specification is also sometimes lower, as little as 7–8 mm, compared to a front spec of 19–22 mm on the same vehicle.
Always look up specifications separately for front and rear when doing an inspection. Applying the wrong figure to the wrong axle is a common mistake that leads to either premature replacement or, worse, riding on rotors that should already have been pulled.
The machining minimum is the thinnest a rotor can be after resurfacing and still have enough material for a full service life with new pads. The discard thickness is the absolute safety floor, the point at which the rotor must be removed from service, regardless of surface condition.
In practice, the discard thickness and the MIN TH stamped on the rotor are often the same number or very close. Some manufacturers list an additional ‘inspection minimum’ that sits slightly above the discard figure, specifically for periodic checks.
For vehicles with perforated or cross-drilled rotors, the rules differ. These rotors typically cannot be machined at all, and new pads may only be installed if the current thickness is strictly greater than (not equal to) the MIN TH stamp.
Disc thickness variation (DTV) happens when a rotor wears unevenly, leaving some areas thicker and some thinner around its circumference. As the rotor spins, the brake pads encounter these high and low spots, creating a fluctuating clamping force.
This translates directly into what drivers feel as pedal pulsation or vibration during braking. Even variations as small as 0.02 mm can be felt under certain conditions, especially at highway speeds during light to moderate braking.
DTV often develops not from simple wear but from uneven heat distribution or improper pad bedding after installation. It’s one reason why measuring at 8 to 10 points matters a single-point measurement won’t catch DTV, and a rotor can pass a basic thickness check while still causing pulsation.