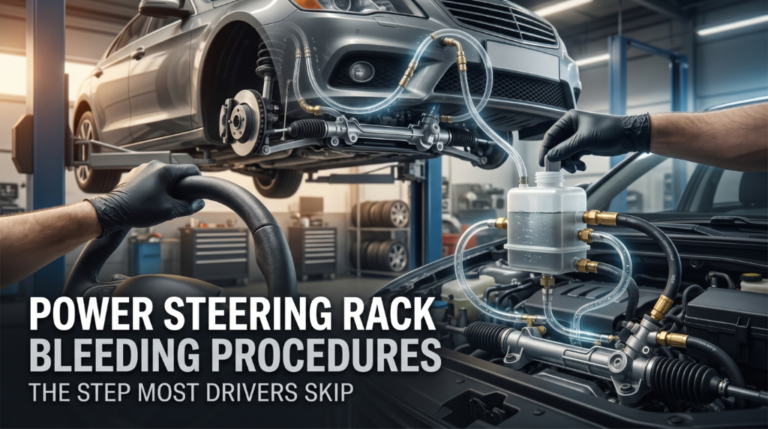
Failing to follow proper power steering rack bleeding procedures is how a simple repair turns into a full rack replacement. Trapped air inside the steering rack causes whining, stiff response, and unpredictable handling that compounds over time.
Effective repair requires vacuum-assisted bleeding and lock-to-lock cycling to purge air pockets. This involves raising the front wheels, filling the reservoir, and cycling the wheel 20-50 times, engine-off, then engine-on, until the bubbles disappear.
This article covers the exact steps, the right tools, and the most common mistakes that can cause the job to fail.
Power Steering Rack Bleeding Procedures: Why Most Attempts Fall Short
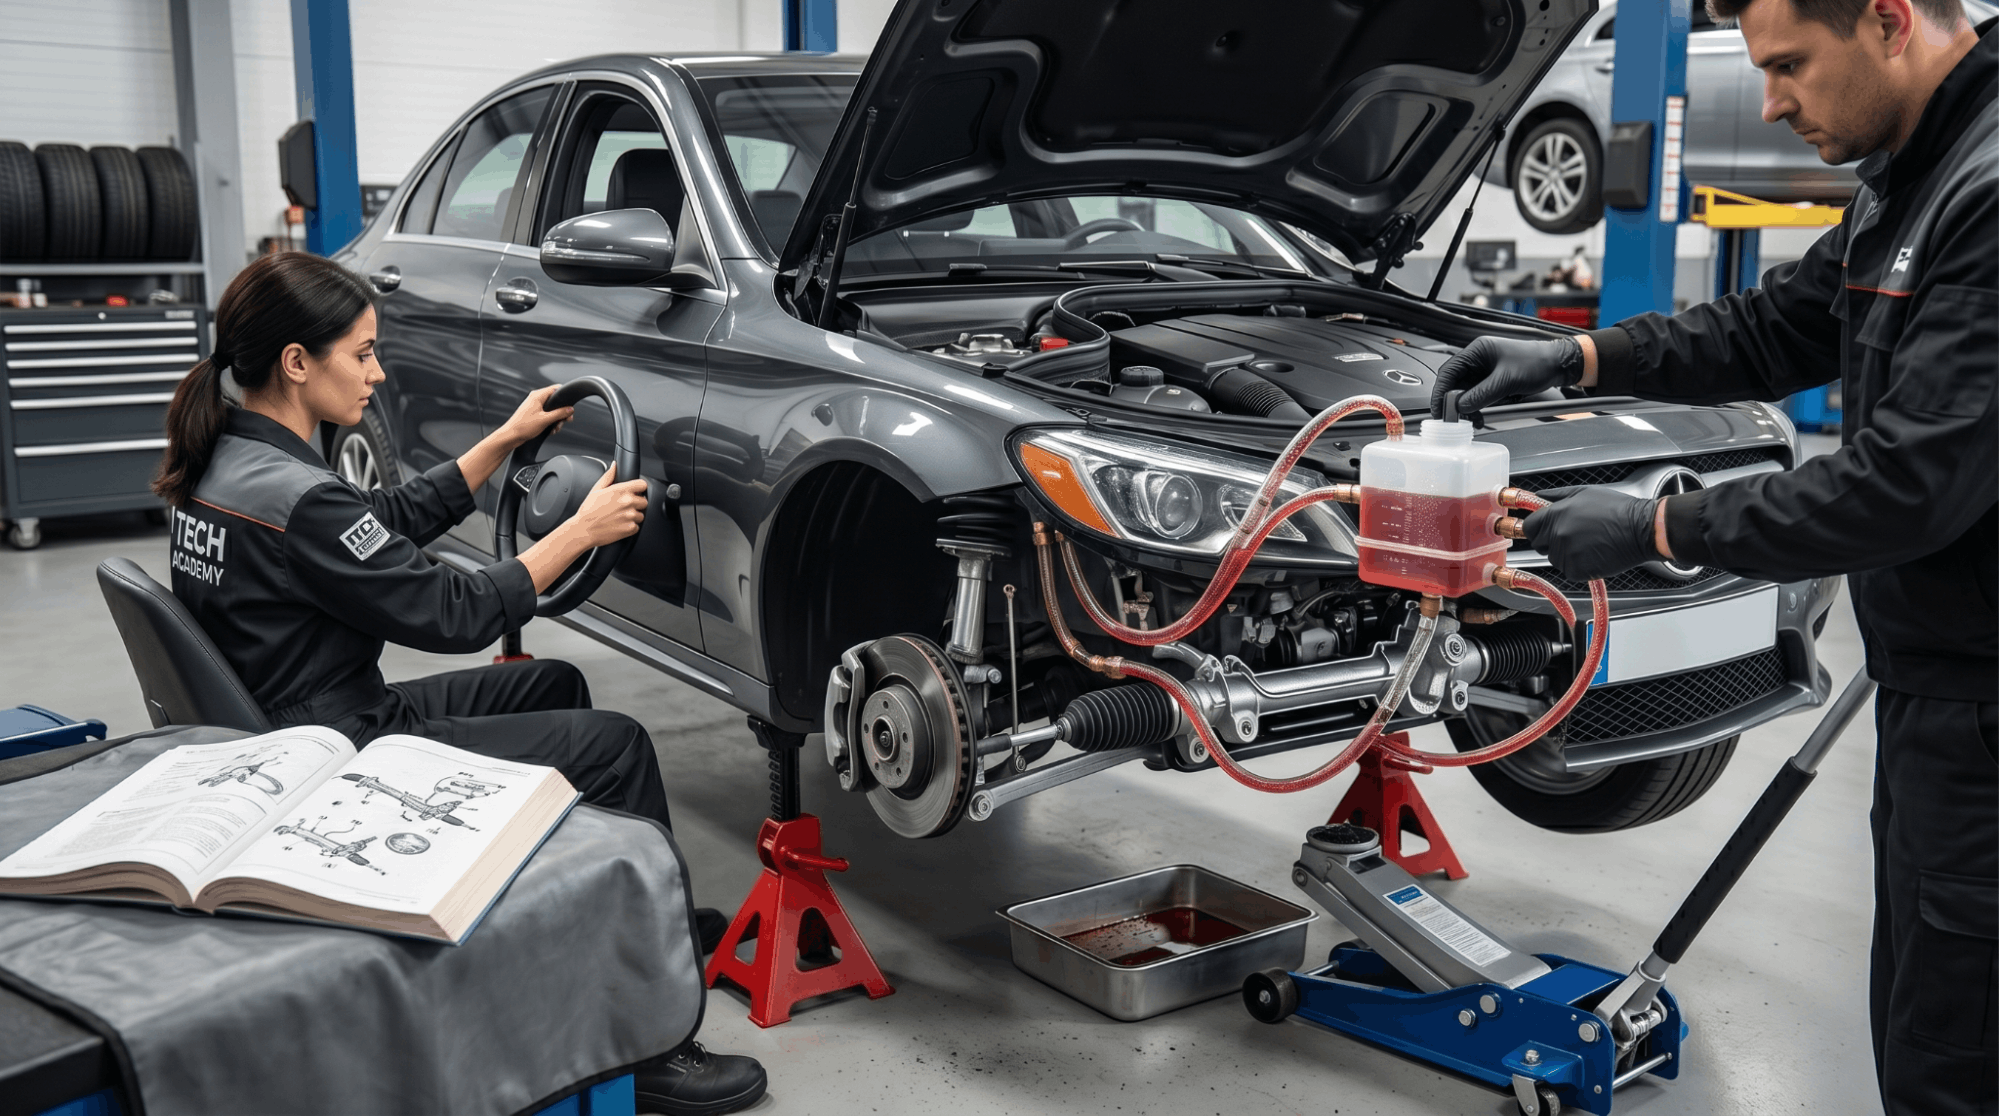
Most drivers top off the fluid reservoir and assume the job is done. But bleeding a power steering rack correctly demands a specific sequence of steps. Air pockets hide deep inside the rack housing, the pump inlet, and the return lines.
Without the right method, the system keeps pulling air back in, and symptoms return within days. This section breaks down every step with precision.
Why Air Gets Into the Rack in the First Place
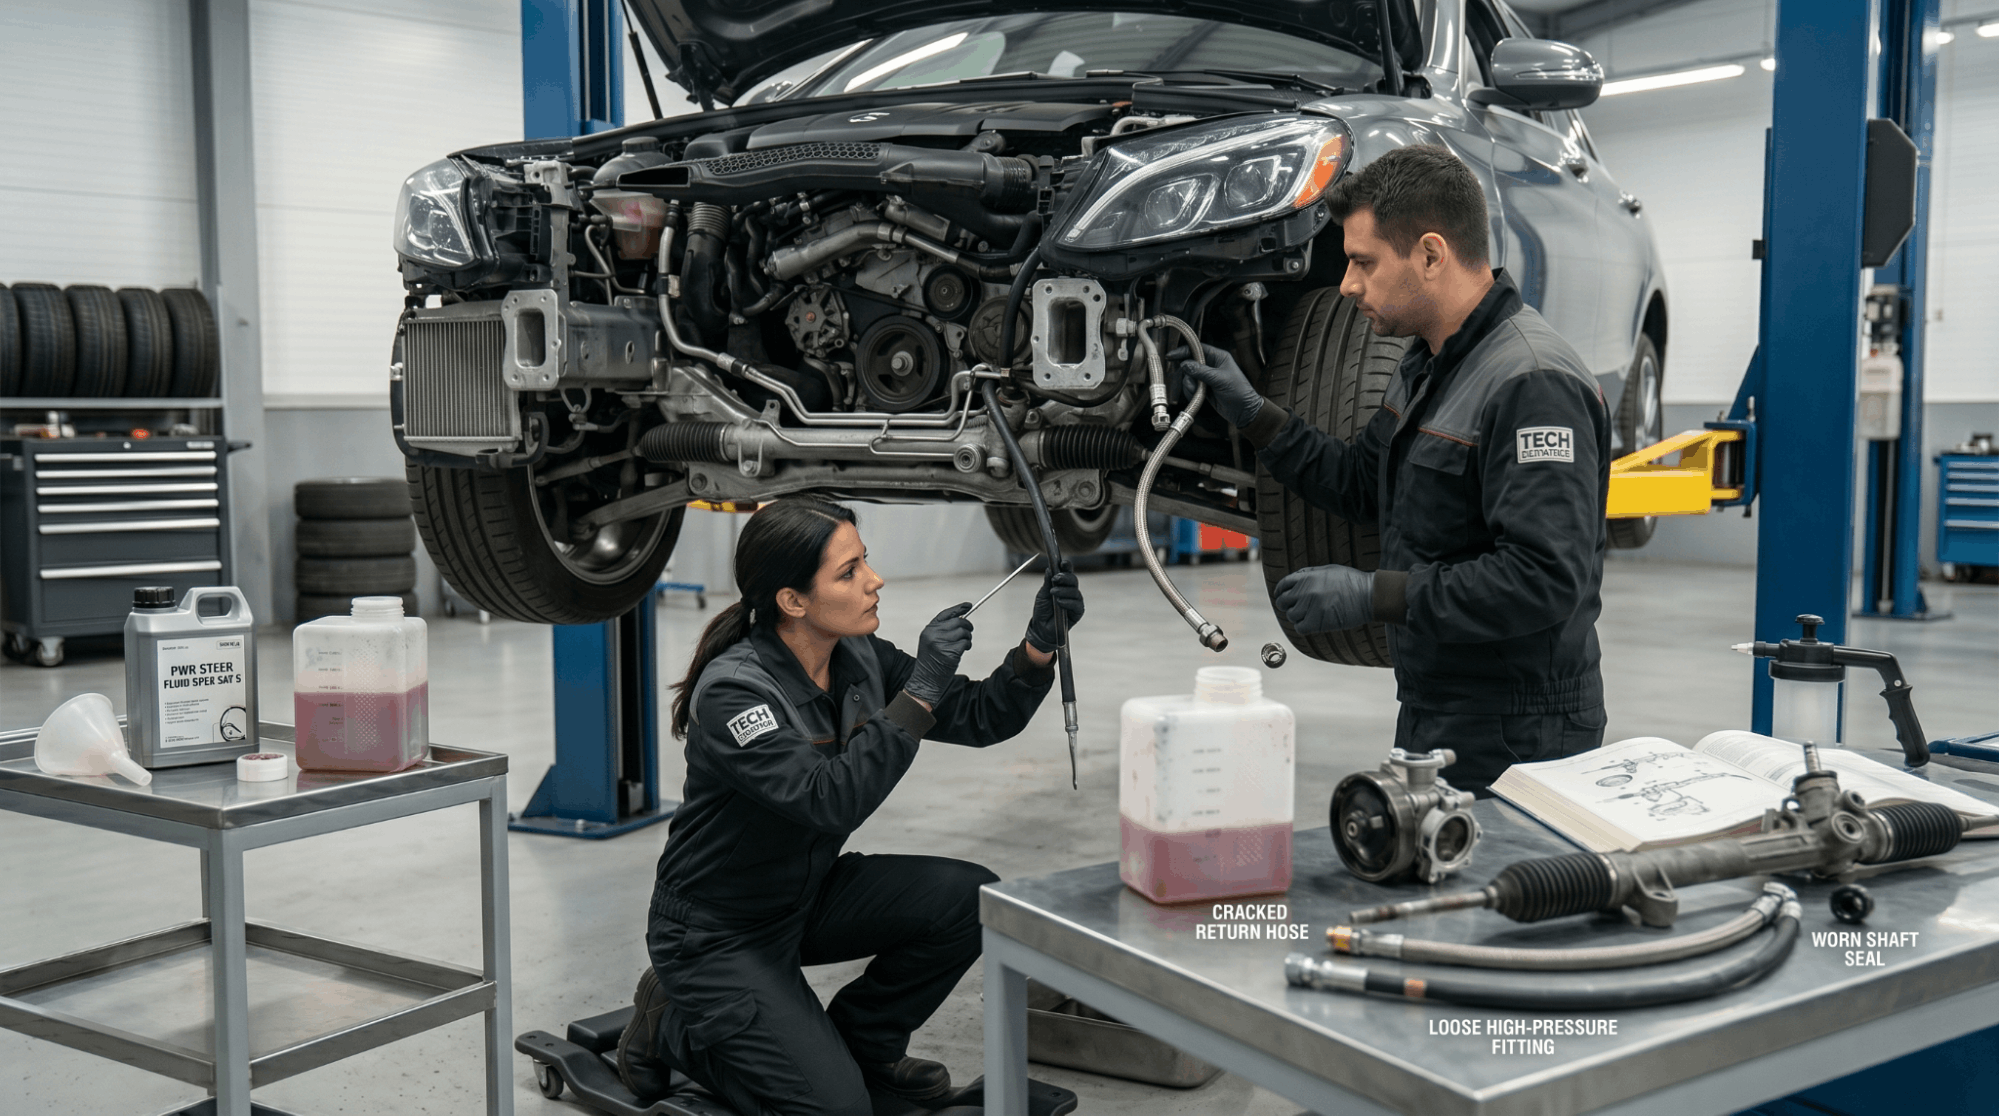
Understanding where air enters helps you prevent it from reentering. Air can intrude during hose replacement, rack removal, pump swaps, or after running the reservoir dry.
Once inside, the air compresses and expands with every steering input. That inconsistency causes groaning, hard spots, and delayed response, mimicking a failing rack. The air circulates through the entire hydraulic circuit; a surface-level fluid top-off makes no difference.
Common causes of air intrusion:
- Running the reservoir empty during a repair
- Loose or improperly seated return line fittings
- Cracked or aged power steering hoses
- Improper rack installation without pre-filling the circuit
- Overfilling and then releasing pressure without cycling
Tools Required Before Starting the Bleeding Process
Having the right tools up front prevents mid-job stops. You need a vacuum bleed kit, a fluid transfer pump, fresh power steering fluid that meets OEM specifications, and a set of clean rags. A floor jack and jack stands are required; bleeding with the wheels on the ground adds resistance and hides incomplete results.
|
Tool |
Purpose |
|
Vacuum bleed pump |
Pull air from the reservoir under negative pressure |
|
Fluid transfer pump |
Extract old or aerated fluid cleanly |
|
OEM-spec PS fluid |
Refill without introducing incompatible additives |
|
Floor jack and stands |
Raise front wheels for unloaded lock-to-lock cycling |
|
Shop rags and a funnel |
Keep the work area clean and prevent contamination |
Fluid type matters more than most people expect. Check your factory service manual PDF by VIN to confirm which spec applies to your vehicle before opening the reservoir.
The Exact Bleeding Procedure: Step by Step
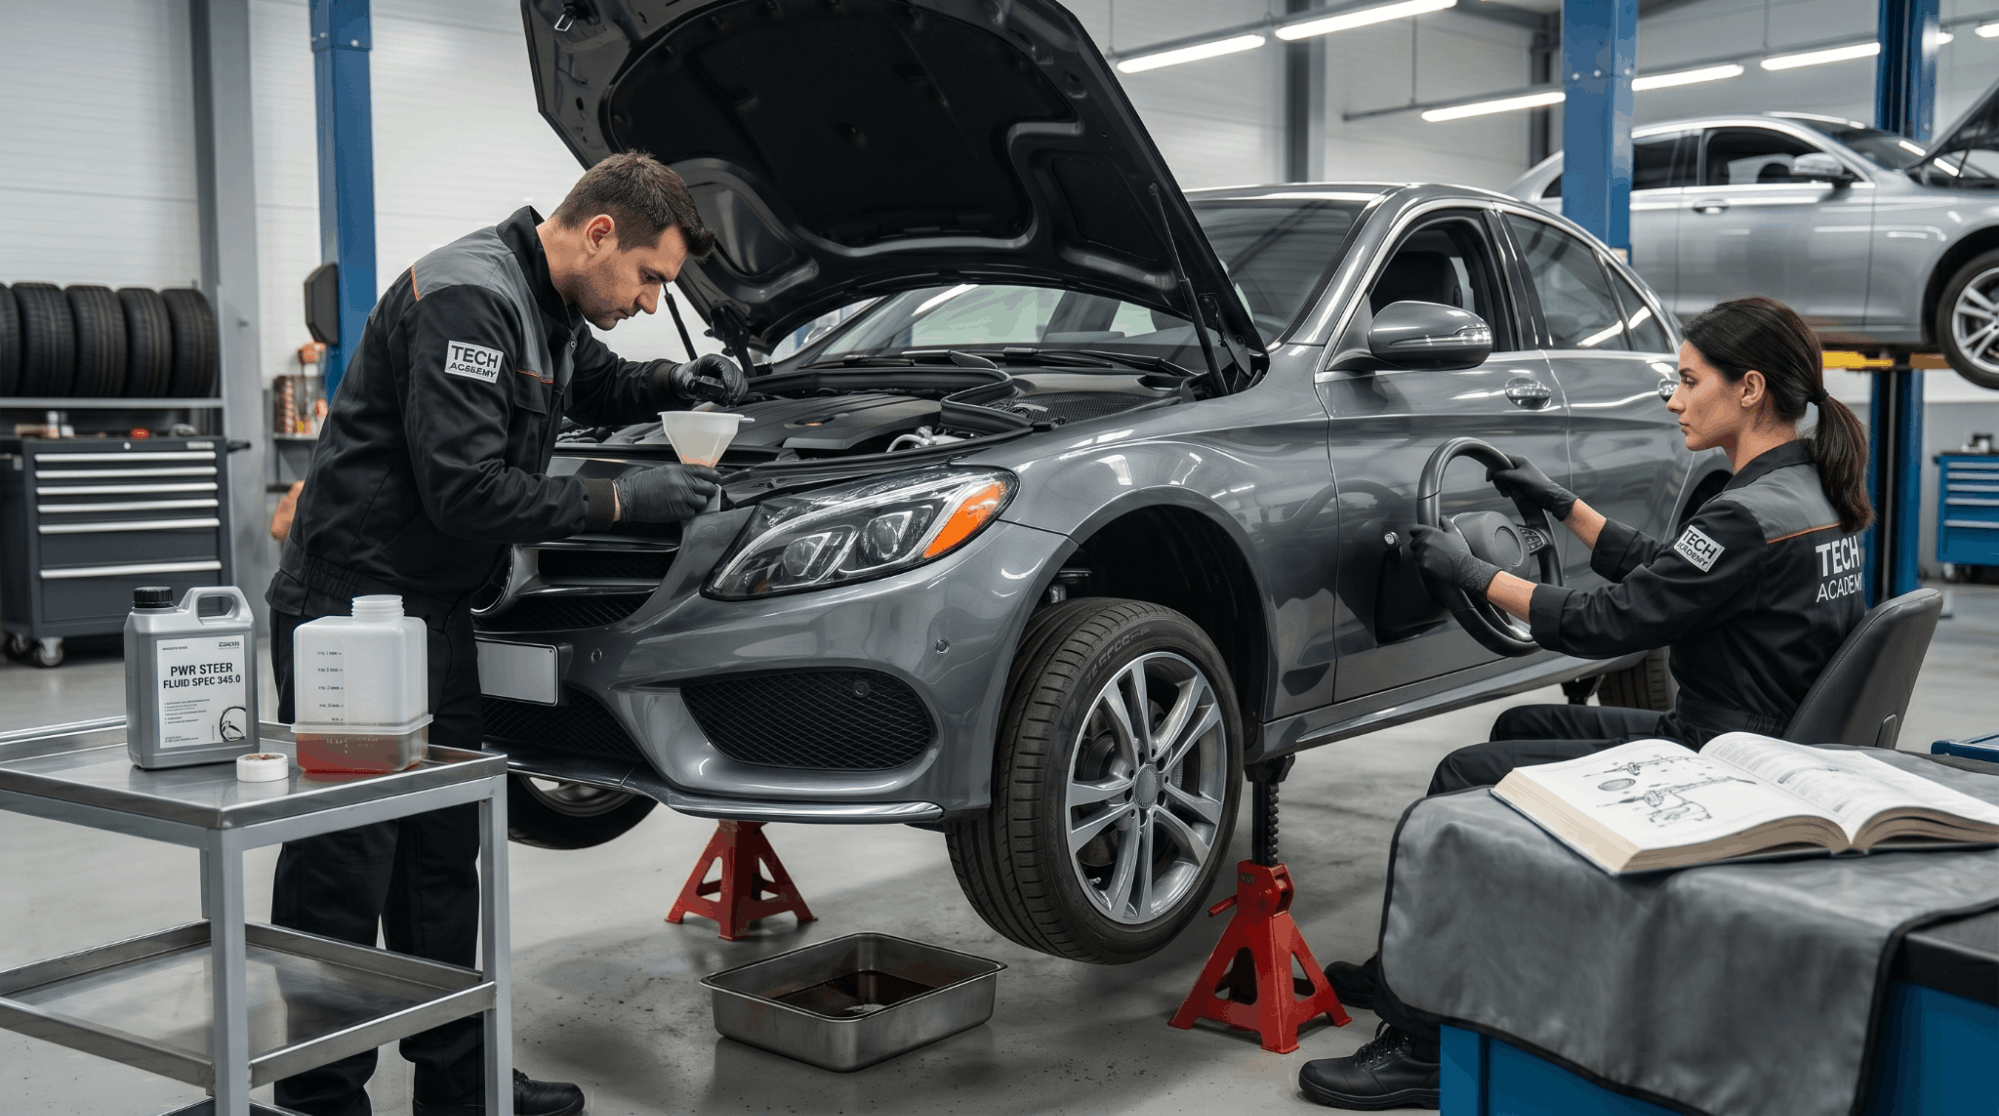
This is where most DIY bleeds fail; the sequence matters more than the effort. Follow these steps in order and do not skip ahead.
Step 1: Raise the front wheels off the ground
Jack up the front of the vehicle so both tires are completely free. This removes road resistance, allowing you to cycle the steering lock to lock without fighting the car’s weight. Bleeding with the wheels on the ground produces unreliable results every time.
Step 2: Check and fill the reservoir
Pull the reservoir cap and check the fluid level. Top off the MAX line using the correct power steering fluid for your vehicle. Refer to a genuine OEM workshop manual if you are unsure which fluid type is required. Never mix fluid types; this causes internal foaming that mimics trapped air.
Step 3: Apply a vacuum to the reservoir
Attach the vacuum bleed pump to the reservoir opening. Pull the vacuum and hold it for 30 to 60 seconds. You will see bubbles rising through the fluid. That is air escaping the system. Release, let the fluid settle, then top off again before the next cycle.
Step 4: Cycle the steering lock to lock with the engine off
Turn the wheel slowly from full left lock to full right lock. Do this 10 to 15 complete cycles. This pushes fluid through the rack and forces trapped air pockets toward the reservoir where they can escape. Do not start the engine yet; manual cycling first clears the bulk of the air.
Step 5: Repeat vacuum and refill
Apply vacuum again after cycling. More bubbles will appear. Repeat the fill-vacuum-cycle sequence until no more bubbles rise during the vacuum hold. This may take two or three rounds, depending on how much air entered the system during the repair.
Step 6: Start the engine and cycle again
Start the engine and let it idle. Turn the wheel lock to lock slowly 3 to 5 full cycles. Watch the reservoir carefully. Foaming or a sharp drop in fluid level indicates air is still present. Top off and repeat. Never hold the wheel at full lock for more than 2 to 3 seconds with the engine running, or you risk overloading the pump seals.
Step 7: Final level check and road test
Shut off the engine. Check the fluid level one final time. It should be at or near the MAX line with no foaming or cloudiness visible. Take the vehicle for a short drive and feel for smooth, consistent steering response across the full range. Any remaining whine or stiffness means another bleeding cycle is needed.
Mistakes That Undo the Entire Bleed
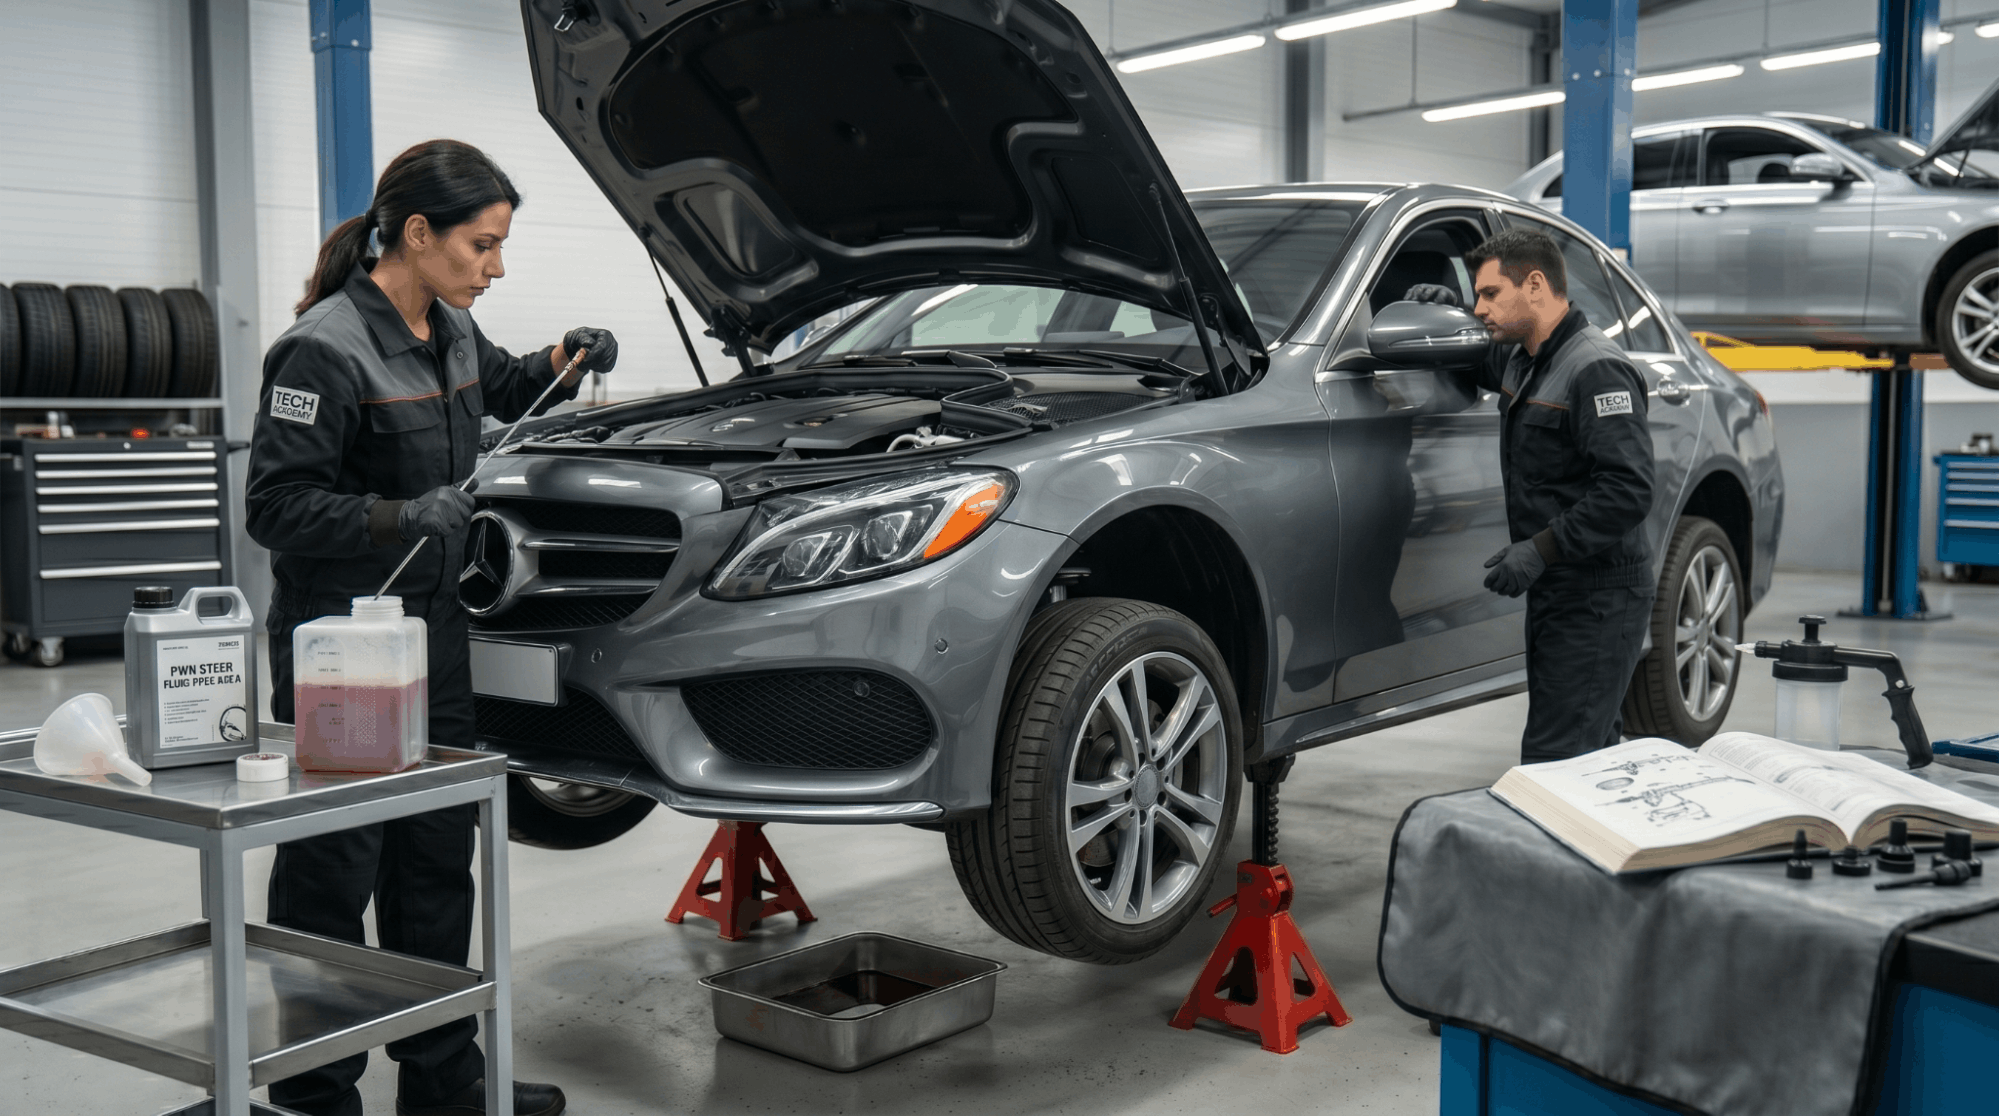
Even with the right tools, small errors ruin the result. The most common is starting the engine too early, before manual cycling clears most of the air. Another frequent mistake is using an incompatible fluid type, which can foam internally and produce symptoms identical to those of trapped air.
Avoid these errors:
- Holding lock-to-lock position with the engine running for more than 2 to 3 seconds
- Skipping the vacuum step and relying on cycling alone
- Mixing fluid types or using a universal substitute without verifying compatibility
- Bleeding with the car on the ground, road resistance masks incomplete results
- Forgetting to re-check the fluid level between each cycle
If your vehicle has also been showing car shaking while driving, along with steering symptoms, that combination sometimes points to a deeper suspension or alignment issue rather than air in the rack alone.
How to Confirm the Rack Is Fully Bled
A properly bled power steering rack feels smooth across the entire steering range. No dead spots. No whine at idle. No groaning during slow-speed turns or parking lot maneuvers.
Signs a successful bleed looks like:
|
Indicator |
Expected Result |
|
Pump noise at idle |
Silent or near-silent |
|
Steering effort |
Consistent across the full lock-to-lock range |
|
Fluid level after a 10-minute drive |
Stable, no drop |
|
Fluid appearance in the reservoir |
Clear, not cloudy or foamy |
|
Return line feel |
No vibration or shudder at low speeds |
If symptoms return after a few days, inspect the return line fittings and rack seals for internal leaks. Air re-entering the system after a completed bleed almost always means a seal is failing, not a procedure error. That pattern also ties into similar principles used in coolant bleeding procedures, where a returning air pocket indicates a leak rather than an incomplete bleed.
Conclusion
Bleeding a power steering rack is not complicated, but it demands patience and the correct sequence. Most failed attempts come from skipping the vacuum step or rushing to start the engine before the manual cycles are finished.
Follow the steps in order, confirm the correct fluid spec, and the system will respond as it should. If symptoms persist after two full bleeding cycles, the rack or pump likely needs professional inspection. Continuing to drive on a compromised system accelerates internal wear fast.
Frequently Asked Questions
A proper bleed typically takes 30 to 45 minutes when done correctly. This includes multiple vacuum pulls, lock-to-lock cycling with the engine off, and repeating those steps with the engine running. Rushing is the main reason symptoms return.
If the system had a major air intrusion, such as after a full rack replacement, budget closer to an hour to make sure all trapped air is fully purged before driving.
Systems that were run dry require extra attention during the initial vacuum hold cycles.
Yes, but it takes longer and produces less reliable results. Without a vacuum pump, you rely entirely on lock-to-lock cycling to move air out.
The process still works, but requires more cycles, often 20 to 30 turns with the engine off before switching to engine-on cycling. The vacuum method is faster and more thorough because it actively draws air out rather than just circulating it.
For a rack that was fully removed and reinstalled, using a vacuum pump is strongly recommended over cycling alone.
Persistent whining after a full bleed usually points to one of three things: air still trapped deep in the rack, a pump cavitating due to a restricted inlet hose, or internal rack wear creating low-pressure zones.
Check the return line and inlet hose for kinks or soft sections first. Also, confirm the fluid level has not dropped; a slow internal leak can reduce the level enough to reintroduce air within a short drive, making it appear as though the bleed failed.
Yes, always. Whenever the power steering rack is removed, the hydraulic circuit is opened, allowing air to enter the lines and fittings.
Even a rack bench-tested before installation will have air in its connection points. Skipping the bleed after a rack replacement risks cavitating a brand-new pump because it runs partially dry or against air pressure during the first drive before fluid fully circulates through the system. This kind of damage is not covered under most warranties.
Always use the fluid specified in your vehicle’s owner manual or a verified OEM source. Many modern vehicles require a specific ATF type or dedicated power steering fluid mixing types, which causes foaming that mimics trapped air and makes diagnosis harder.
Universal fluids work in older systems, but using them in newer racks with synthetic seals can degrade those seals and cause leaks over time. Matching the correct fluid spec before starting the bleed is just as important as the procedure itself.