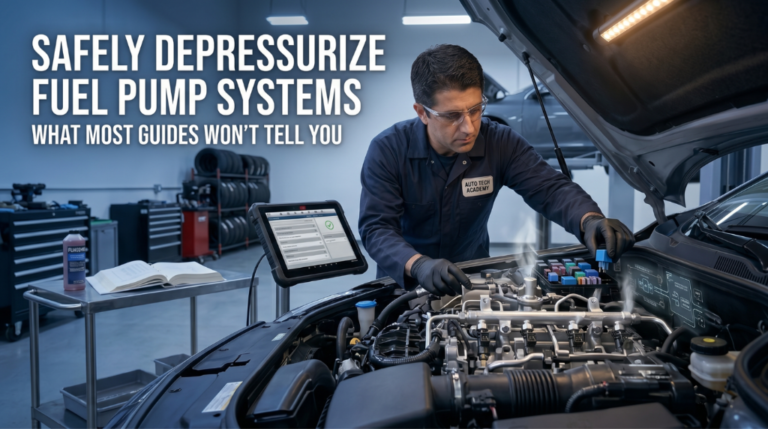
Knowing how to safely depressurize fuel pump systems is not just a best practice. It is the difference between a clean repair job and a dangerous spray of pressurized fuel that can ignite in seconds. Most modern fuel systems hold between 40 and 450 PSI, depending on the engine type, and that pressure does not vanish the moment you turn the key off.
To safely depressurize, remove the fuel pump fuse or relay, start the engine, and let it stall to bleed residual pressure. Verify by checking the fuel rail for pressure. Always work in a well-ventilated space, wear safety glasses, and keep a fire extinguisher nearby.
This guide covers three proven depressurization methods, step-by-step safety prep, fuel system pressure ranges by engine type, common mistakes to avoid, and what to do after the job is done.
Safely Depressurize Systems for Fuel Pumps: The Steps That Actually Work
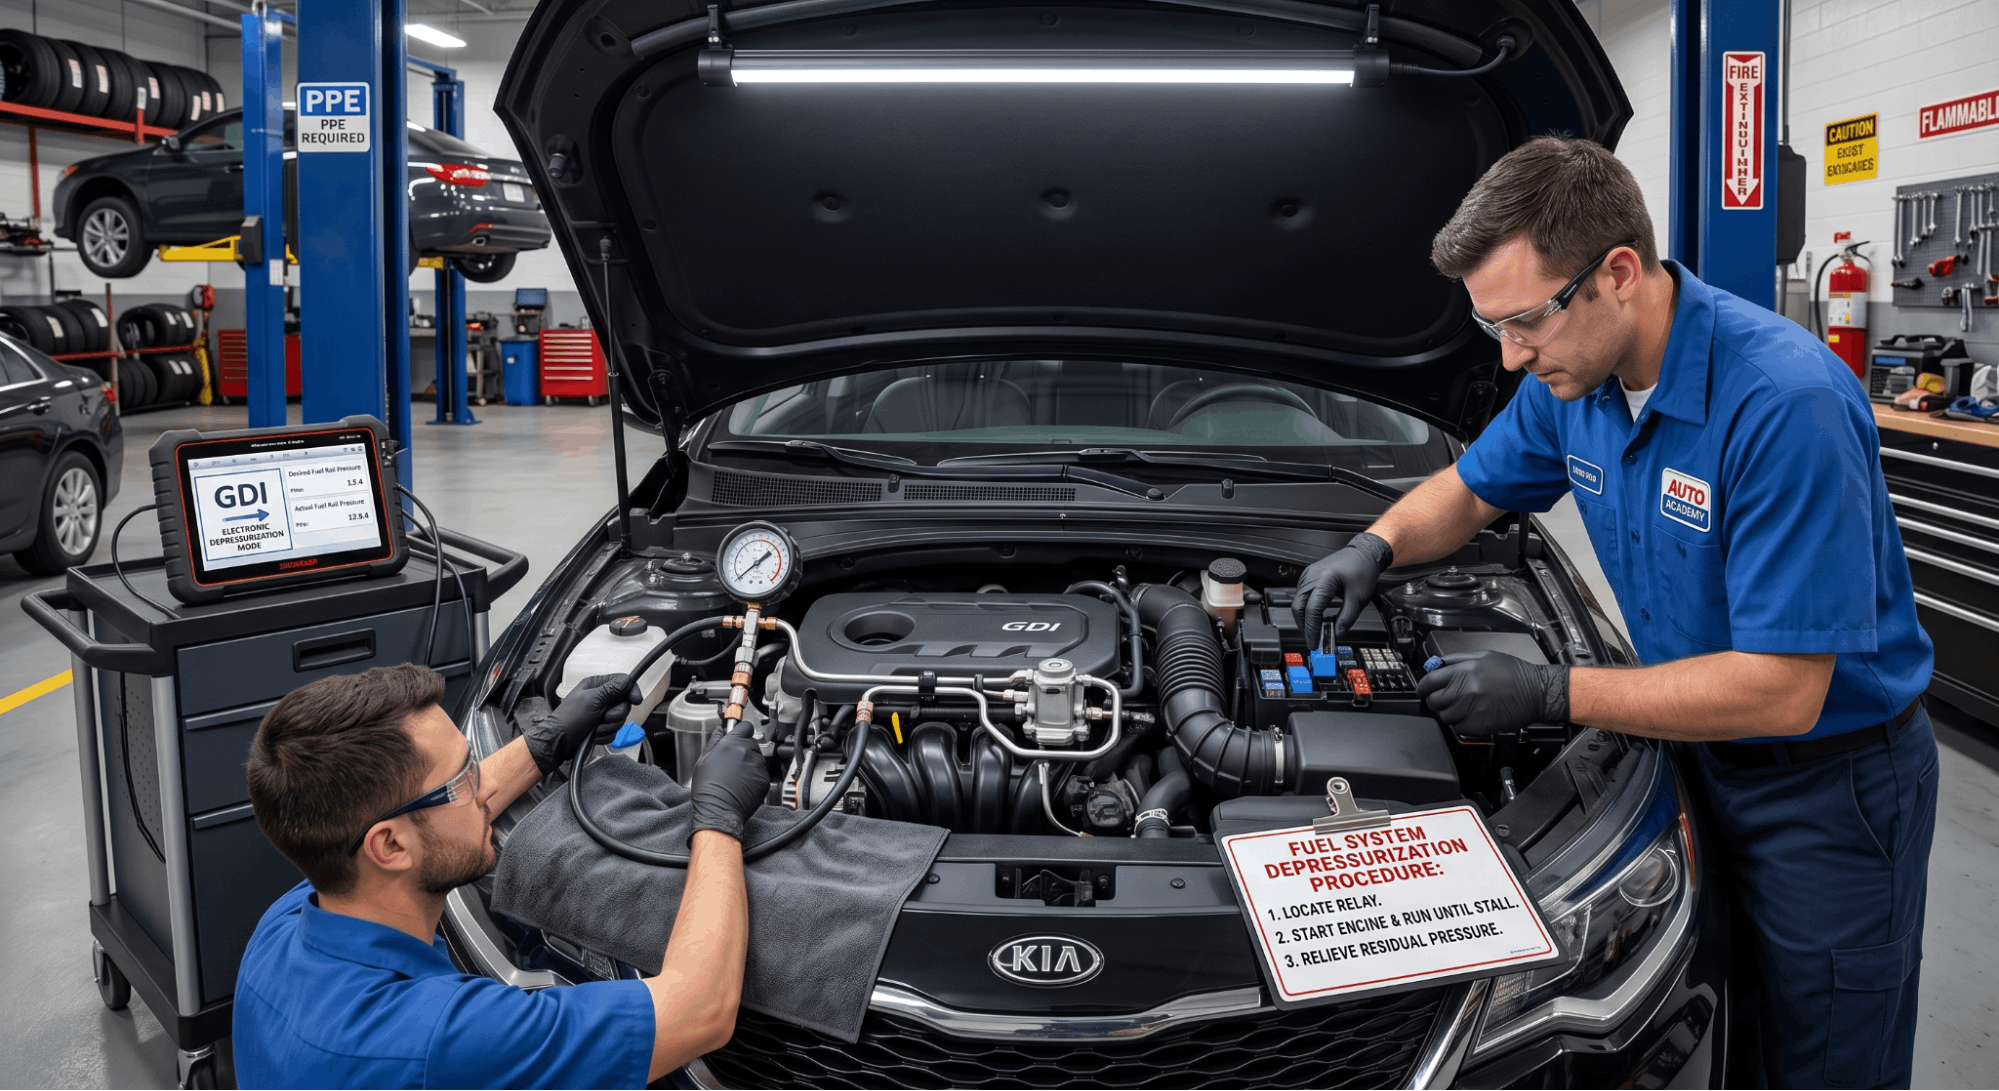
Too many DIY repairs go wrong right here. People skip the pressure relief step, crack open a fuel line, and suddenly get a face full of pressurized gasoline. This section covers every method used by actual technicians, from the standard fuse-pull method to Schrader-valve release and scan-tool depressurization on GDI engines.
Fuel System Pressure Ranges You Should Know First
Before touching anything, understand what you’re working with. Not all fuel systems maintain the same pressure, and the method for safely depressurizing varies by engine type.
|
Engine Type |
Typical Fuel Rail Pressure |
|
Carbureted |
4 to 7 PSI |
|
Port Injection (MPFI) |
35 to 65 PSI |
|
Gasoline Direct Injection (GDI) |
200 to 2,900 PSI |
|
Diesel Common Rail |
10,000 to 30,000 PSI |
GDI systems are the most hazardous to work on without proper depressurization. A scan tool command or factory service procedure is required for these, not just a fuse pull.
If you need model-specific pressure specs, check the correct factory service manual PDF by VIN for the exact value for your vehicle.
Safety Gear and Workspace Setup Before You Start
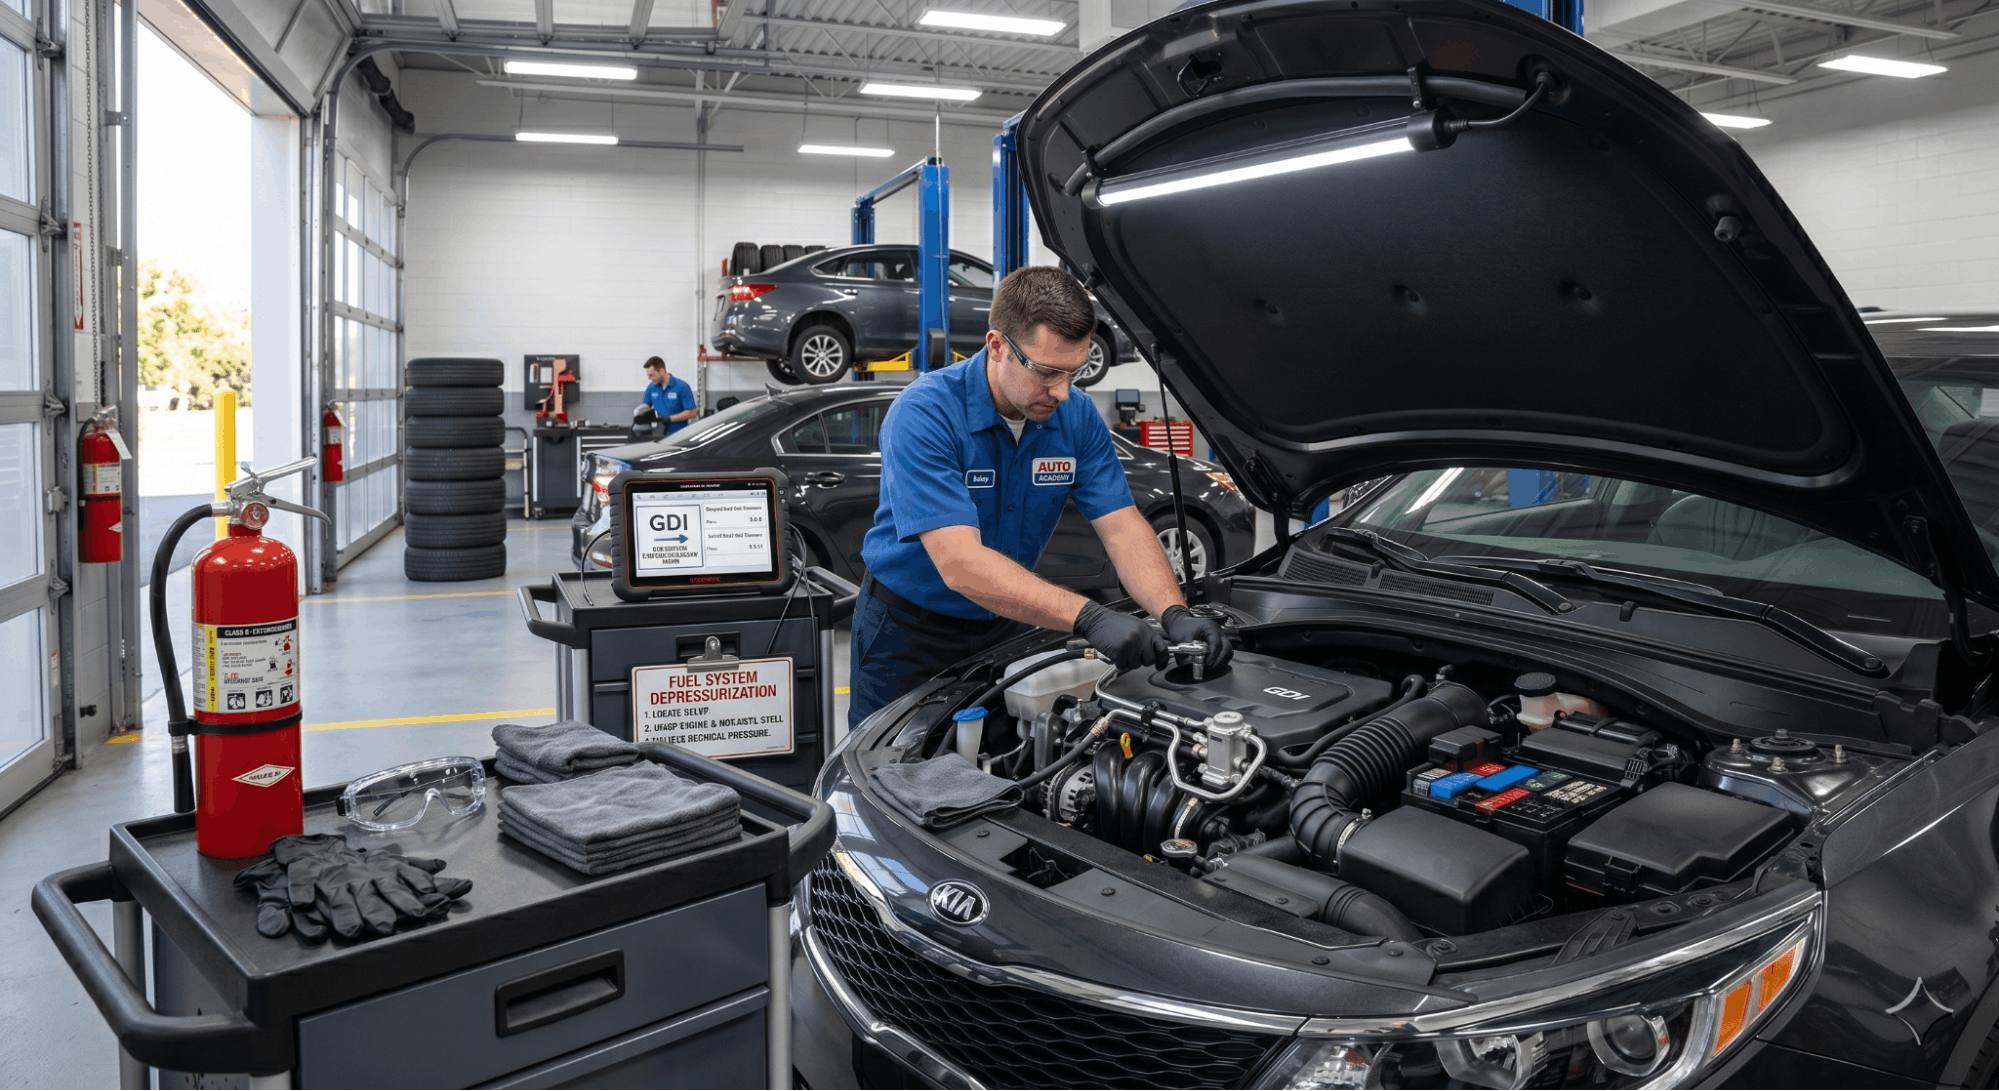
A lot of people skip prep and head straight to the fuse box. That approach tends to end badly. Spend five minutes here, and the rest of the job goes smoothly.
- Work in a well-ventilated area or open garage. Fuel vapors are heavier than air and collect at floor level.
- Wear nitrile gloves and safety goggles. Latex gloves absorb fuel and cause skin irritation over time.
- Disconnect the negative battery terminal before disconnecting any fuel line.
- Keep a fire extinguisher nearby. A Class B extinguisher handles fuel fires.
- Place absorbent shop rags under any connection you plan to open.
- Never smoke or allow open flame near the work area.
These steps apply regardless of which depressurization method you use. Skipping safety gear is how minor jobs turn into emergency room visits.
Method 1: Fuel Pump Fuse or Relay Removal (Most Common)
This is the method most workshop manuals recommend for standard port injection and multi-point fuel systems. It works on the vast majority of vehicles built after 1990.
Step 1: Open the fuse/relay box. Location varies, but it is usually under the hood, near the battery, or inside the cabin, under the dashboard. Check your owner’s manual or a genuine OEM workshop manual for the exact fuse location.
Step 2: Locate the fuel pump fuse or relay. It is usually labeled FP, FUEL PUMP, or similar.
Step 3: With the engine off, pull the fuse or relay out completely.
Step 4: Attempt to start the engine. It will crank, stumble, and stall as residual fuel burns off. Let it crank for about 10 seconds.
Step 5: Try starting it once more. If it won’t fire at all, the system is depressurized.
Step 6: Turn the ignition to OFF. Now disconnect the negative battery cable.
Important note: Some vehicles store a Diagnostic Trouble Code (DTC) when the fuel pump relay is removed while cranking. Use a scan tool to clear it after the repair. You can learn how to read OBD-II codes using manual flowcharts if you need to clear those codes yourself.
Method 2: Schrader Valve Release on the Fuel Rail
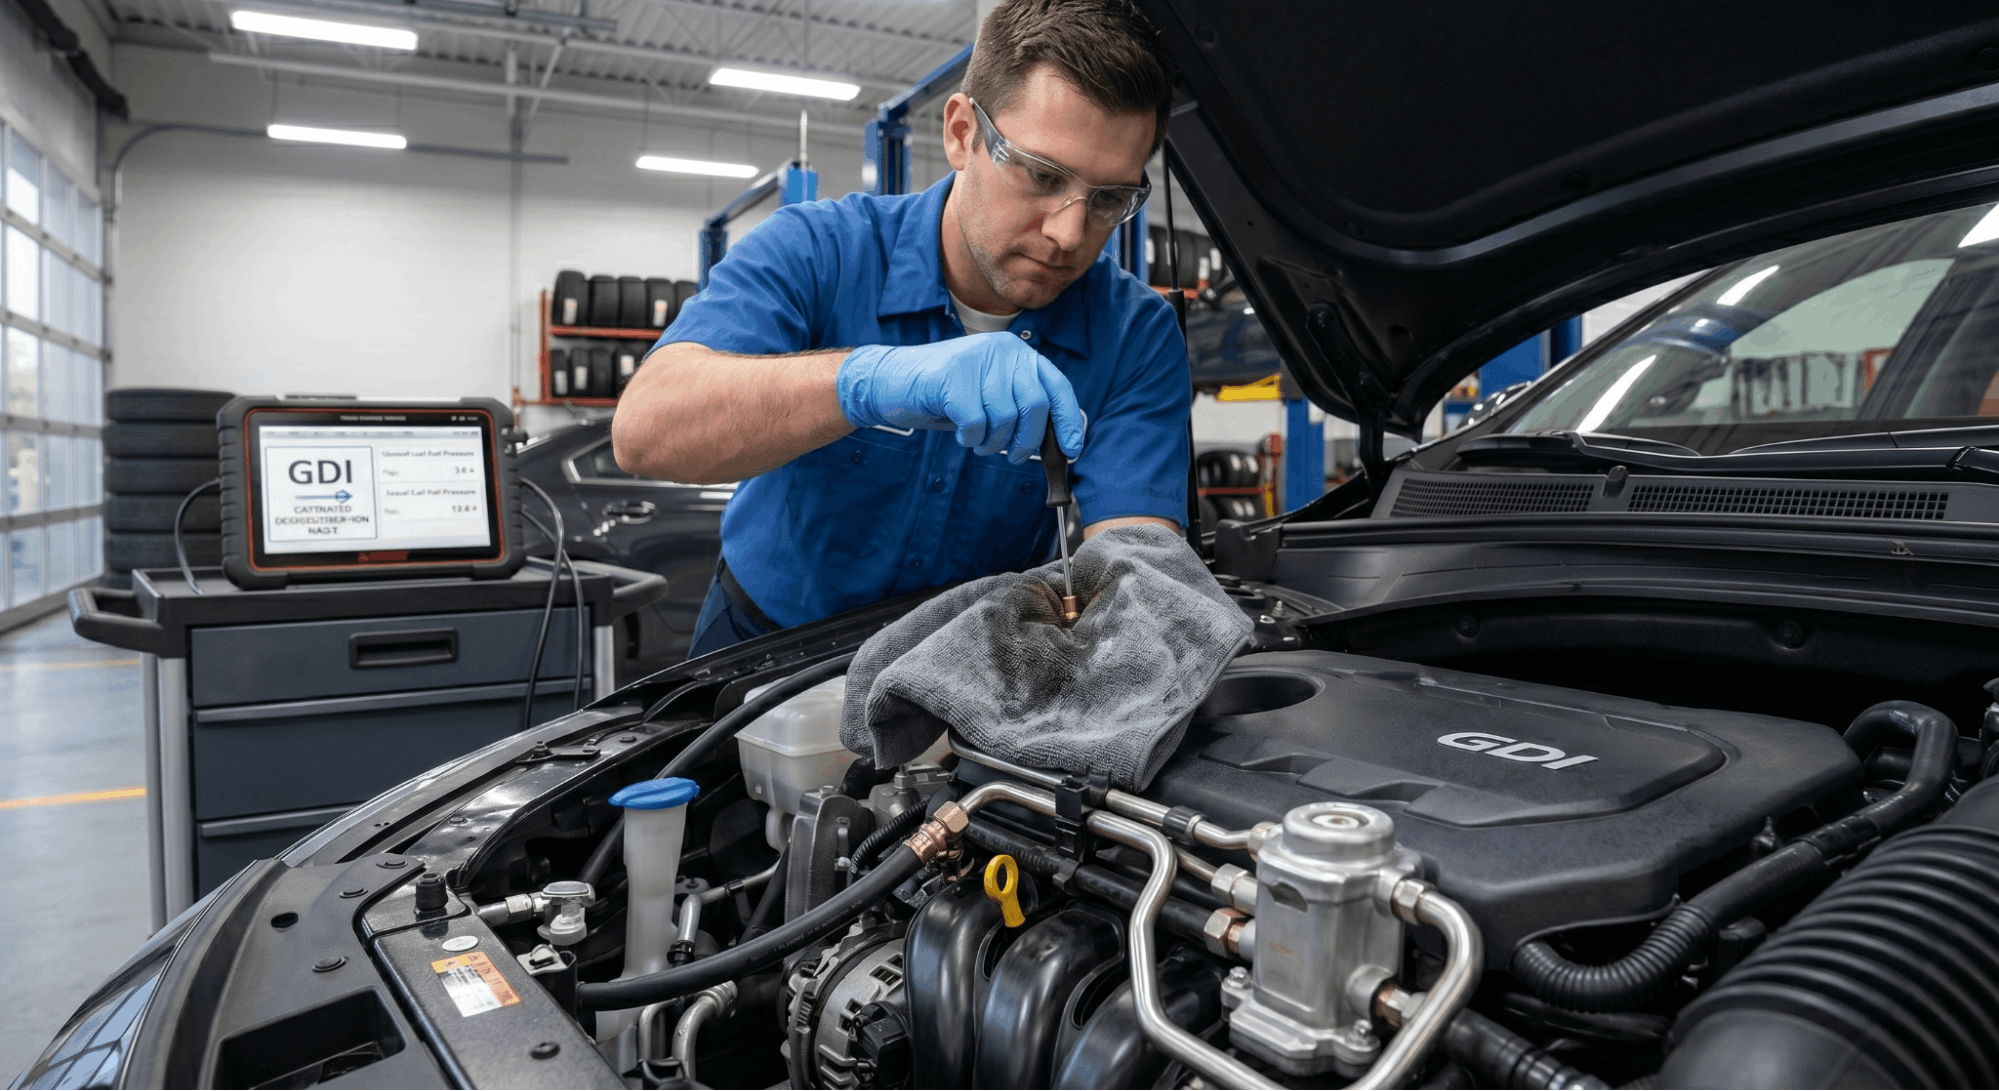
Some vehicles have a Schrader valve on the fuel rail, similar to a tire valve stem. This is often the fastest method when the engine cannot run.
Step 1: Locate the fuel rail on the engine. The Schrader valve is a small metal port, usually capped.
Step 2: Place a rag firmly around the valve to catch fuel spray.
Step 3: Using a small flathead screwdriver, press the valve’s center pin inward.
Step 4: Hold the rag tight. Fuel will spurt out briefly, then slow to a drip. That means pressure has been released.
Step 5: Dispose of the fuel-soaked rag properly. Do not leave it near any heat source.
This method works well for port injection systems but does not fully depressurize a GDI high-pressure fuel system. For those, you still need a scan tool or factory procedure.
Method 3: Scan Tool Depressurization for GDI Systems
Gasoline direct injection engines run at pressures up to 2,900 PSI. A fuse pull alone is not sufficient for these fuel systems. The correct approach is to use a scan tool with bidirectional control capability.
Step 1: Connect a compatible scan tool to the OBD-II port.
Step 2: Navigate to the fuel system or engine control menu. Look for a “depressurize fuel system” function.
Step 3: Enable the command. The engine will run rough as the high-pressure fuel pump is starved, then stall when the pressure nears zero.
Step 4: Monitor the fuel rail pressure sensor PID on the scan tool. Confirm pressure has dropped to near 0 PSI before proceeding.
Step 5: Turn the key off, then disconnect the battery.
For GDI vehicles, always reference the factory procedure. If you use multimeter sensor testing via workshop manuals as part of your diagnosis, those steps also apply when verifying the fuel rail pressure sensor is reading correctly after the repair.
After Depressurization: What to Do Next
The system is now depressurized, but the job is not done yet. Here is what matters before you start pulling components.
- Double-check for residual pressure by pressing a rag against the Schrader valve or slightly loosening a fitting. If fuel sprays, pressure remains.
- Inspect all fuel lines for cracks or brittleness before disconnecting them.
- Never use sparking tools near open fuel lines. Non-sparking tools are the correct choice here.
- After the repair, reprime the system by cycling the ignition key to ON (not start) two to three times, waiting 3 to 5 seconds each time before cranking.
- Check for leaks visually and by smell before fully starting the engine.
One thing many guides skip: after reinstalling a fuel pump, always replace the O-ring or gasket at the tank opening. The old seal has likely hardened and will leak under pressure.
Conclusion
Depressurizing a fuel system before working on a fuel pump is not optional. It is the step that separates a safe repair from a dangerous one.
The relay method handles most standard systems; the Schrader valve works when the engine won’t run; and GDI vehicles require scan tool procedures because the raw pressure is too high to release manually.
Know which method applies to your vehicle, wear the right gear, and always verify pressure is gone before disconnecting anything. The repair itself is often straightforward once the system is safe to open.
Frequently Asked Questions
Yes, and this comes up more often than people expect. If the engine won’t crank, pull the fuel pump relay or fuse first. Then attempt to start the vehicle, even if it won’t fire. The cranking action still cycles residual fuel through the injectors and bleeds off line pressure.
If the vehicle has a Schrader valve on the fuel rail, you can press the center pin with a flathead screwdriver while wrapping a rag tightly around the valve. That releases most of the rail pressure directly without needing the engine to run.
For GDI systems where the engine is completely dead, connecting a scan tool and using a bi-directional depressurization command is the most reliable path. Always disconnect the battery after, regardless of which method you use.
It depends on the vehicle and the condition of the fuel pressure regulator. In most healthy port injection systems, some residual pressure remains in the fuel rail for 30 minutes to several hours after shutdown.
A failing check valve inside the fuel pump can allow pressure to bleed back to the tank much faster, sometimes within minutes. GDI systems typically see faster high-pressure-side dissipation than low-pressure-side dissipation.
Never assume pressure is gone just because the car has been sitting overnight, especially on vehicles with a known history of holding rail pressure well. Always verify fuel rail pressure using a Schrader valve test or a scan tool before opening any connections.
Technically possible on a carbureted engine where pressure is only 4 to 7 PSI. For any fuel-injected vehicle, it is not safe. Port injection systems hold 35 to 65 PSI, and disconnecting a fuel line without depressurizing first will cause a spray of pressurized gasoline that can cover skin, eyes, and the surrounding engine bay.
That creates a serious fire risk, especially near hot surfaces or ignition sources. GDI systems at 2,900 PSI can cause injection-type injuries where fuel penetrates the skin directly. These injuries look minor but are medical emergencies. The short time it takes to properly depressurize is never worth skipping.
The engine may crank and fail to start on the first few attempts, or start briefly and stall. This is because air has entered the fuel lines, and the new pump needs several seconds to fill the lines and build operating pressure.
Cycling the ignition key to the ON position three times, waiting about five seconds each time before cranking, primes the system and pushes air out. On some vehicles, especially diesel engines, air in the fuel system can cause extended cranking or rough running even after the initial startup.
If the vehicle struggles to start after multiple key cycles, check for kinked lines, improper connections, or a faulty new pump before assuming a larger issue.
Yes. A fuel pressure regulator that sticks in the closed position can trap pressure in the fuel rail even after the pump is disabled.
In those cases, the fuse-pull method may not fully bleed the system because pressure cannot return to the tank through the regulator return line. You would still see elevated rail pressure when testing the Schrader valve.
The fix is to confirm regulator function before the repair, or use the Schrader valve method directly to manually release rail pressure regardless of regulator condition.
If you are diagnosing a suspected regulator issue alongside a fuel pump replacement, a free online repair manual is a starting point, though it is always worth knowing whether free online car repair manuals are safe to use before relying on one for technical procedures.