Timing belt replacement assembly sequencing is the one thing most DIYers get wrong, and the consequences hit hard. A single step out of order can bend valves, destroy pistons, and turn a $300 job into a $3,000 engine rebuild.
Precise assembly sequencing ensures synchronization and prevents damage. The correct procedure requires setting Top Dead Center (TDC), locking the camshaft and crankshaft before belt removal, and starting the new belt installation at the crankshaft sprocket. Errors typically occur in these critical nuances rather than in basic parts swaps.
This guide walks through the full assembly sequence step by step, covering timing marks, tensioner setup, torque specs, and what to double-check before you button everything back up.
Timing Belt Replacement Assembly Sequencing: Why Order Controls Everything

Most timing belt jobs fail not because of bad parts, but because of a bad sequence. Getting the order right is the difference between an engine that starts clean and one that never runs again.
This section covers the full assembly sequencing process from the moment you pull the old belt off to the final rotation check. Every step matters, and the order is non-negotiable, especially on interference engines.
Step 1: Set the Engine to TDC Before Touching the Belt
Before anything comes off, you need the engine locked at Top Dead Center (TDC) on cylinder number one’s compression stroke. This is the foundation of the entire replacement job.
Rotate the crankshaft clockwise using a breaker bar on the crankshaft pulley bolt. Watch the timing mark on the crankshaft sprocket and align it to the pointer on the oil pump or block, depending on your engine. At the same time, the camshaft sprocket marks should align with their reference points on the rear timing cover or cylinder head.
- Rotate the engine by hand, never with the starter motor
- Confirm both cam and crank marks are aligned before proceeding
- On DOHC engines, both camshaft sprockets must be aligned simultaneously
- Use a paint marker to highlight the timing marks for better visibility
If the marks are even slightly off when you start removing the belt, you’re already working out of sequence. Stop and correct it first.
Step 2: Lock the Camshaft and Crankshaft in Position
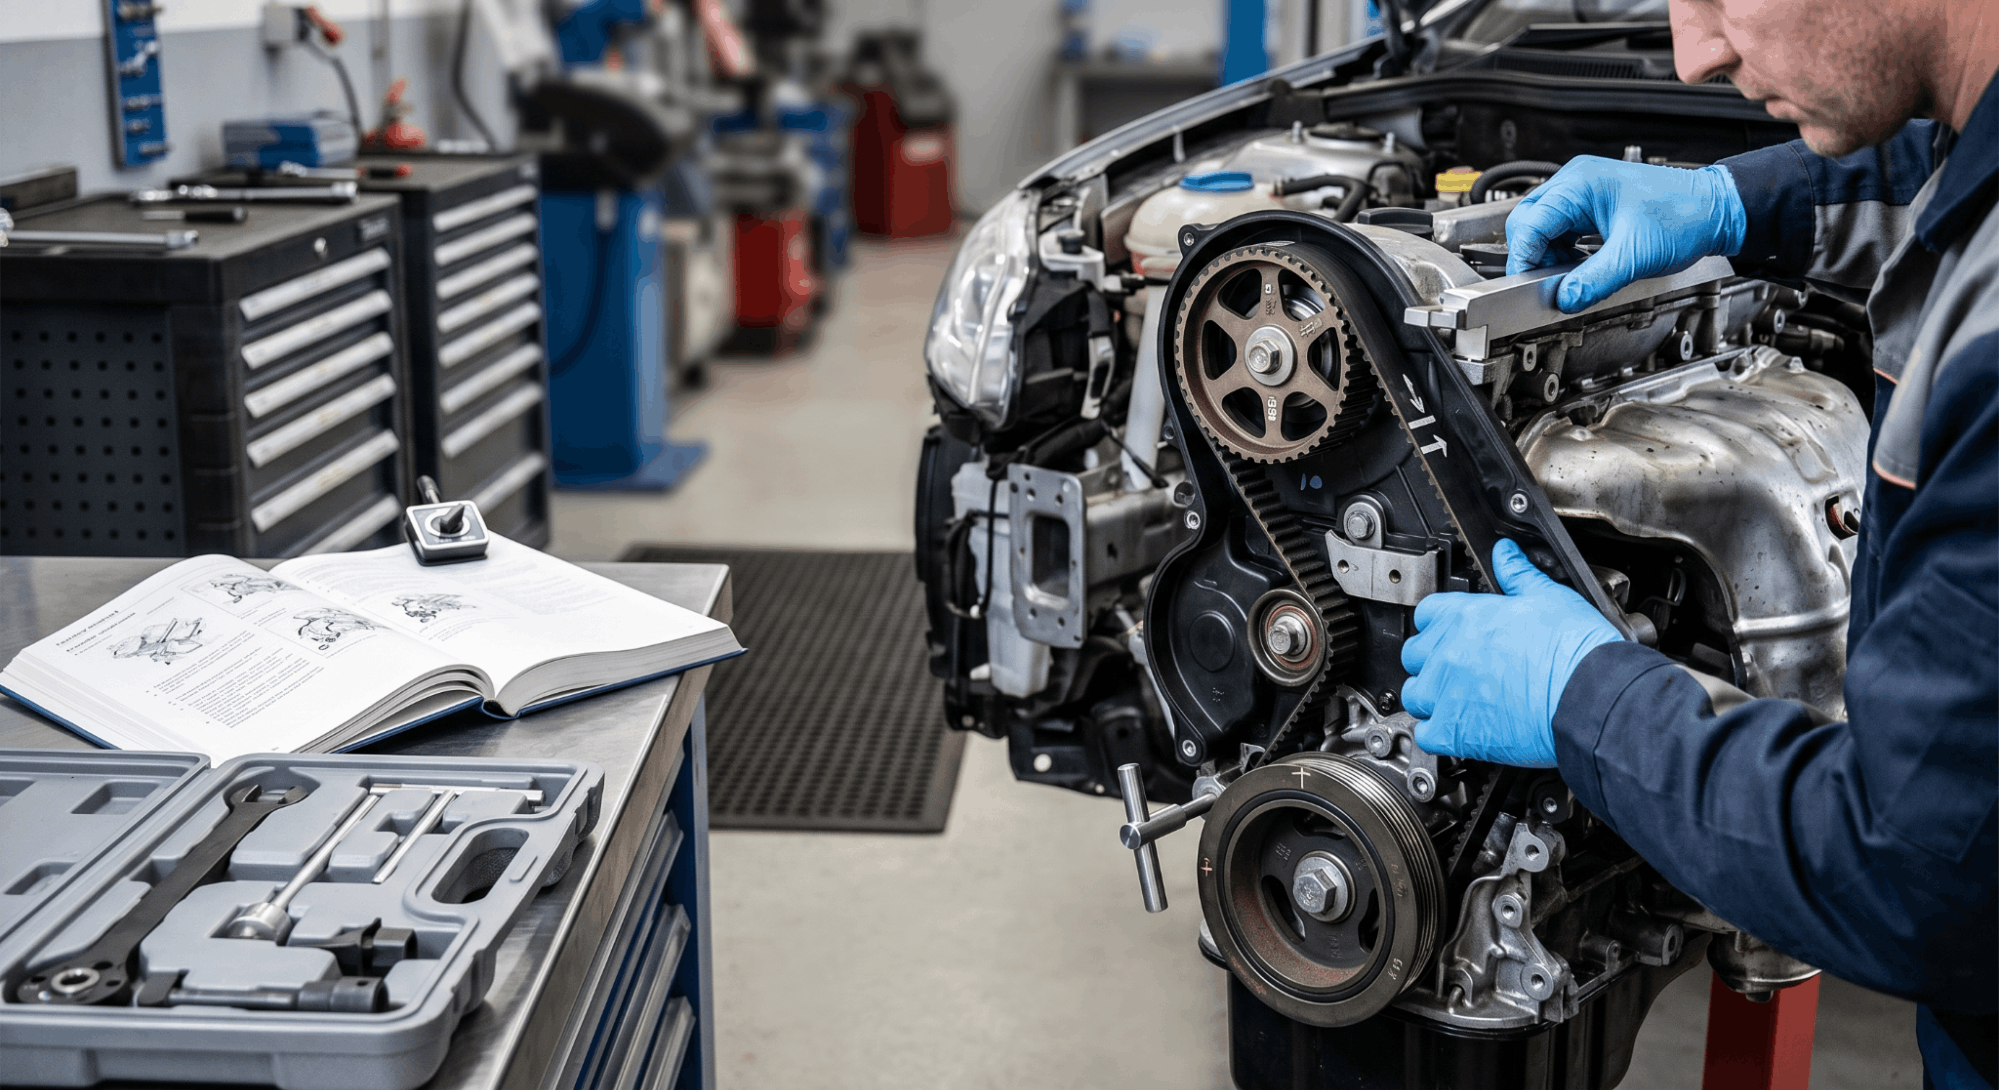
Once TDC is confirmed, lock everything in place. Most OEM factory service manuals specify a camshaft locking tool that slots into the back of the cam. Without it, any small rotation while the belt is off can cause valve and piston contact on interference engines.
If you don’t have the factory locking tool, you can use a flat bar resting across the camshaft sprocket against a solid reference, but this is not recommended for precision work. The OEM method is always safer.
- Insert the cam locking bar into the slot at the rear of the camshaft
- Insert the crankshaft locking pin through the block hole to hold the crank
- Do not rotate either the camshaft or crankshaft with the belt removed
- Mark the old belt’s rotation direction with a marker before removal
Locking prevents the engine from rotating due to spring tension from open valves. This step is short, but skipping it is one of the most common causes of botched timing belt jobs.
Step 3: Release Tensioner and Remove the Old Belt
With the engine locked, you can now release the tensioner. Loosen the tensioner pulley bolt approximately half a turn to allow it to pivot and release pressure from the belt. On engines with an auto-tensioner, you’ll need to compress the hydraulic piston and hold it with a locking pin.
Slide the belt off the sprockets in this order: tensioner pulley first, then idler, then camshaft sprockets, then crankshaft sprocket last. Never pry the belt off with a screwdriver. Forcing it can damage the pulley teeth and crack the tensile cords inside.
- Loosen, do not remove, the tensioner bolt to release belt slack
- Slide the belt off without prying or forcing
- Inspect the old belt for unusual wear patterns, cracking, or missing teeth
- Note any oil or coolant contamination, which signals a seal leak to fix before installing the new belt
This is also the right time to check the water pump for shaft play or bearing noise. Replacing it now, while the assembly is open, saves significant labor later. Many experienced techs also swap the idler pulley and tensioner pulley at this point, regardless of their condition.
Step 4: Inspect and Prepare Before Installing the New Belt
You should never rush to install the new belt immediately after pulling the old one. Take a few minutes to inspect everything within the timing assembly before the new belt goes on.
Check the crankshaft seal and camshaft seals for any oil weeping. A new timing belt running in contaminated oil will fail well before its normal lifespan. If the seals look questionable, replace them now. Clean the sprocket faces and housing area thoroughly.
|
Component to Inspect |
What to Look For |
Replace If |
|
Camshaft Seals |
Oil seepage or weeping |
Any visible leak |
|
Crankshaft Seal |
Oil contamination around the sprocket |
The belt shows oil residue |
|
Water Pump |
Shaft play, bearing noise, and leak |
Any of these present |
|
Tensioner Pulley |
Rough bearing feel, wobble |
The bearing feels rough |
|
Idler Pulley |
Bearing noise or play |
Any roughness felt |
You can find a comprehensive breakdown of how to verify drive belt tension specs in OEM manuals, including the steps for checking factory tolerances prior to the last tensioning stage, at the following link.
Step 5: Route and Install the New Belt in the Correct Sequence
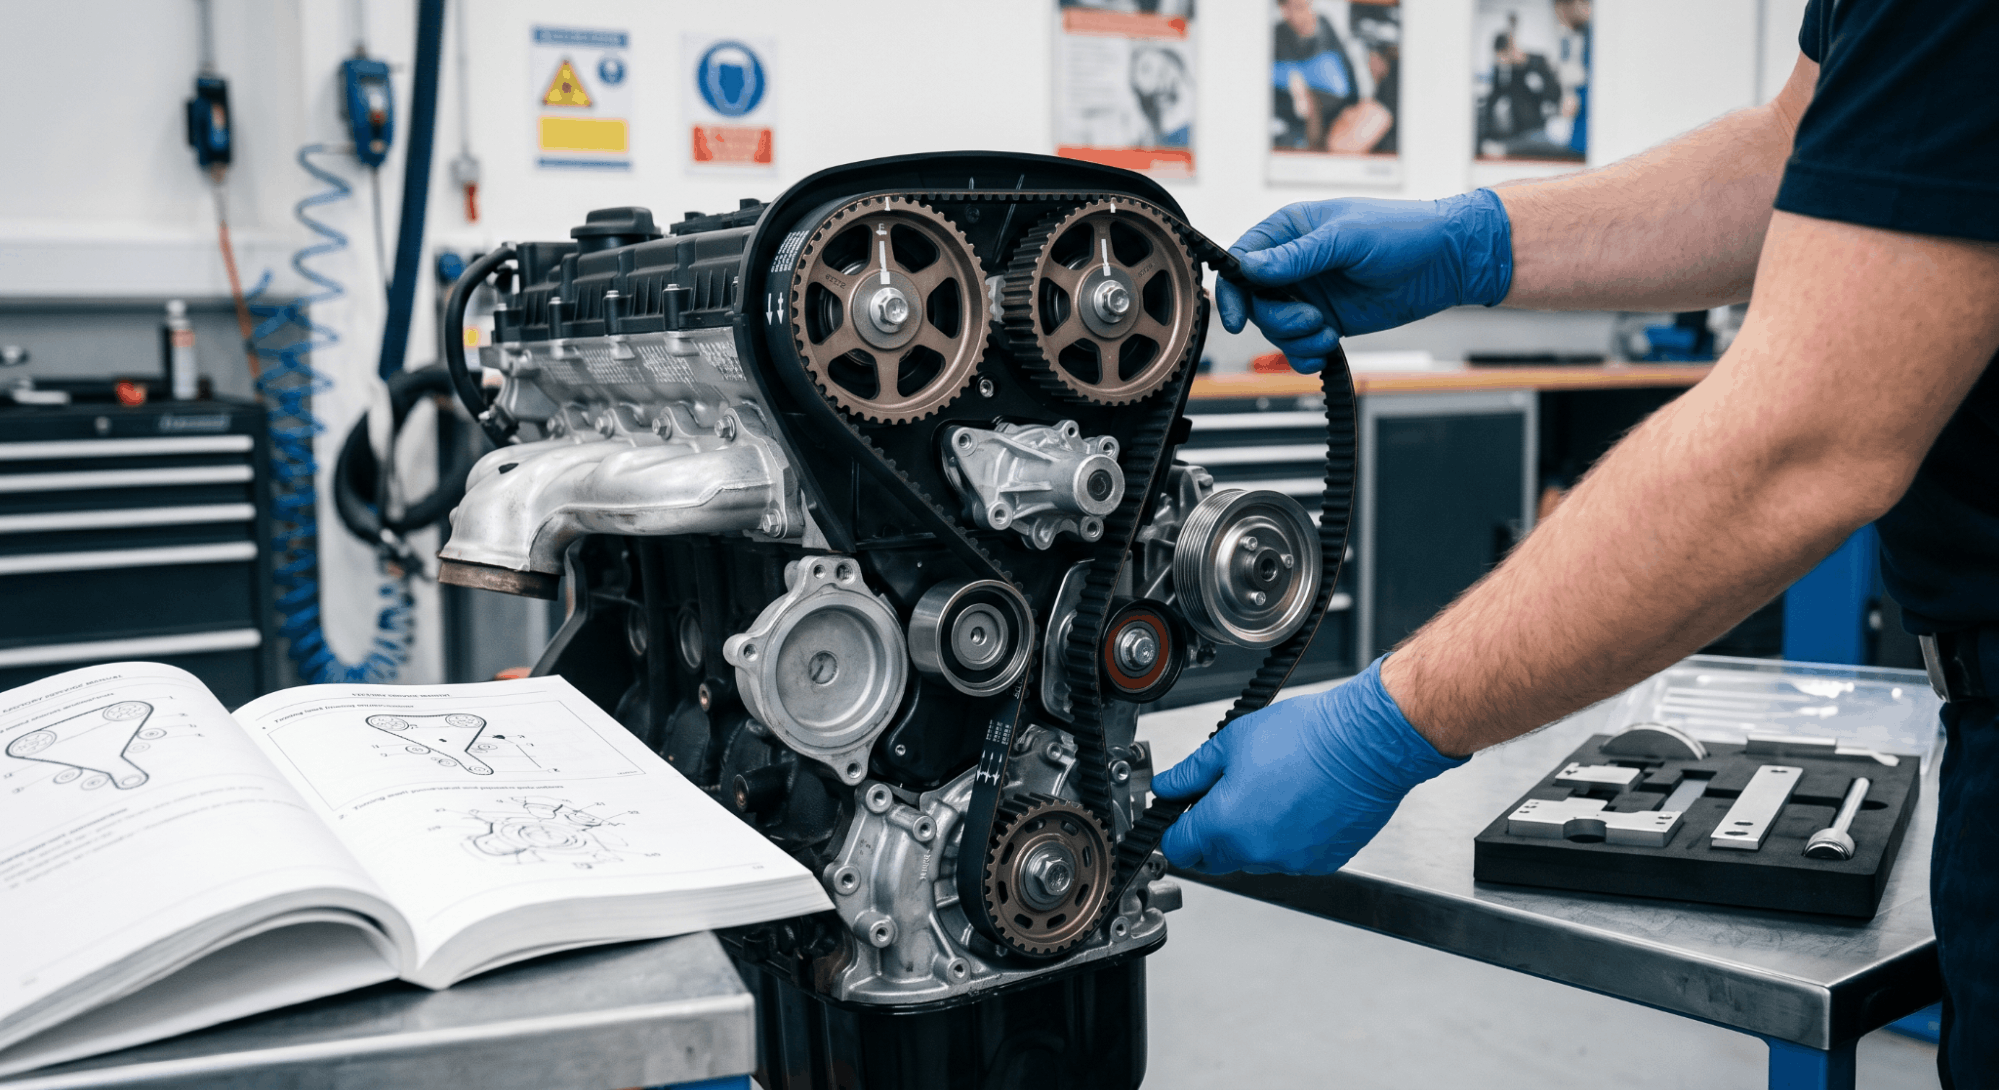
Here is where the assembly sequencing truly matters most. The routing order is not optional. Install the new timing belt in this exact sequence:
- Crankshaft sprocket first keep the tension side of the belt taut
- The front or intake camshaft sprocket maintains tension as you route upward
- Water pump pulley (if belt-driven)
- Idler pulley
- Tensioner pulley last do not tighten yet
This sequencing keeps the belt slack concentrated on the tensioner side, exactly where it belongs. Starting at any other sprocket disrupts alignment and creates uneven slack, pulling timing marks out of position.
- Never force or stretch the belt during installation
- Confirm the front face of the belt (marked with arrows) faces the correct direction
- Keep constant light tension on the loaded side of the belt as you route it
- Do not let the belt drop below the sprocket grooves at any point during routing
If your engine has balance shaft sprockets, route those in between the cam and crank steps per your factory service manual. These vary by engine, and skipping them causes vibration and noise even if the main timing marks look correct.
Step 6: Set Tensioner and Verify Timing Marks
Once the belt is routed, it is time to set the tensioner. For spring-loaded tensioners, simply loosen the tensioner bolt and allow the spring to push it against the belt. For auto-tensioners, remove the locking pin and let the hydraulic pressure set itself.
Torque the tensioner bolt to the OEM specification for your engine. Do not guess at this. Using incorrect torque either over-tensions the belt (causing premature wear on the belt and bearings) or leaves it too loose (causing slip and timing error).
- Torque the tensioner pulley bolt to spec, typically in the 30 to 43 ft-lb range, depending on the engine
- Verify the belt can be twisted approximately 90 degrees at the longest free span
- Confirm all timing marks on the cam and crank sprockets are still aligned
- Rotate the crankshaft by hand two full clockwise turns and stop at TDC
After two full rotations, stop at TDC and recheck every timing mark. They must all realign perfectly. If any mark is off by even one tooth, remove the belt and restart the installation sequence. One tooth off on a DOHC engine can result in valve contact at startup.
For understanding how torque values apply to related engine work, see this detailed guide on engine torque specs for cylinder heads.
Step 7: Reassemble in Reverse Order and Final Check
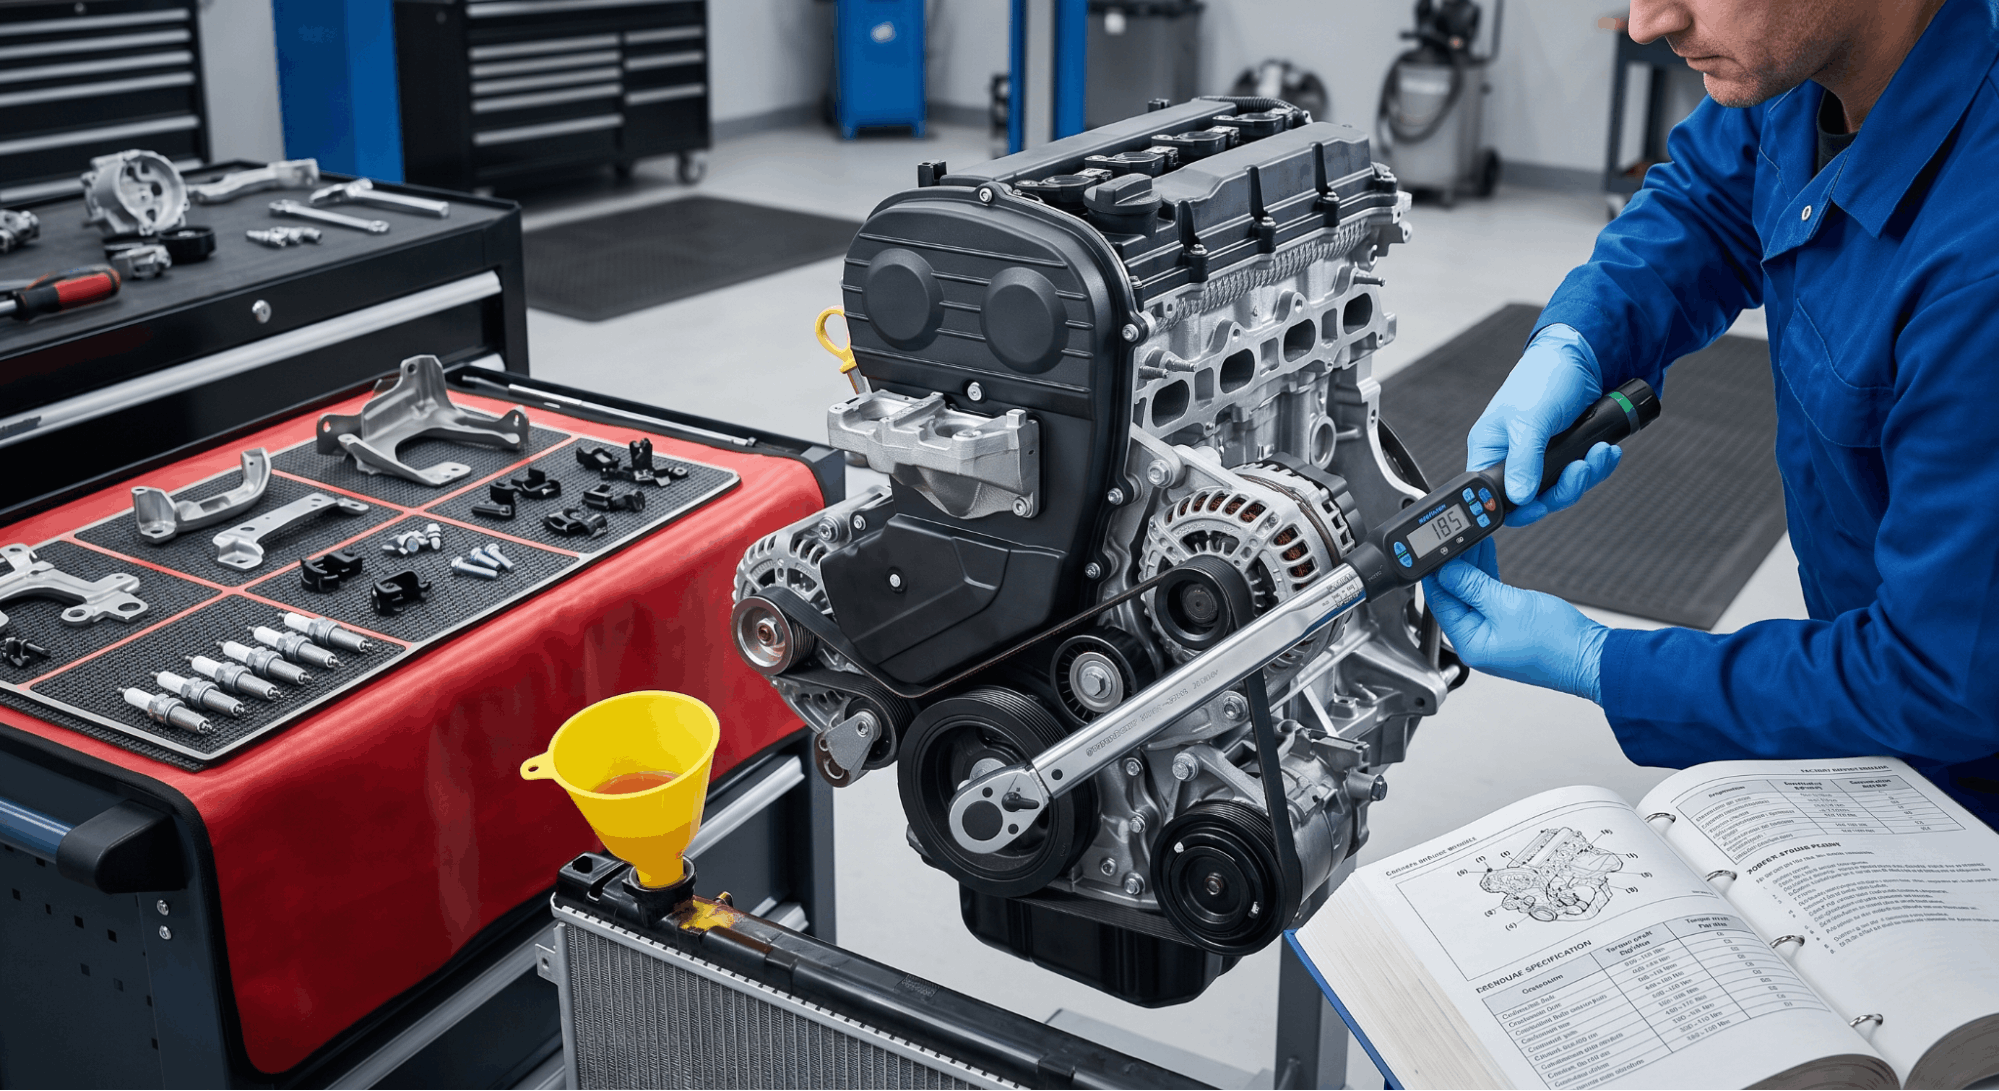
With timing confirmed, reassemble the engine in reverse of the disassembly sequence. Install the lower timing cover first, then the crankshaft pulley, then the upper timing cover. Torque the crankshaft pulley bolt to the high specification listed in your service manual. This bolt typically requires 80 to 120 ft-lb of torque, depending on the engine.
Reinstall the serpentine belt and any removed accessory belts. Reconnect anything that was removed for access: the motor mount, if applicable, the power steering pump, the alternator bracket, and any wiring harness clips.
- Reinstall spark plugs if they were removed for engine rotation
- Refill the coolant if the water pump was replaced
- Start the engine and listen for any squealing, ticking, or unusual rhythm from the timing cover area
- Perform a final idle check and scan for any fault codes
To verify your specific assembly diagrams and torque specifications, you may need to find the appropriate factory service manual PDF by VIN, a procedure detailed at.
Common Sequencing Mistakes That Cost Real Money
Even experienced mechanics make sequencing errors when rushing a timing belt job. These are the ones that come up most often.
|
Mistake |
Consequence |
|
Skipping TDC confirmation |
Timing marks are misaligned from the start |
|
Not locking cams before belt removal |
Cam rotates from spring tension |
|
The routing belt starts at the cam instead of the crank |
Uneven slack, alignment error |
|
Releasing the tensioner before routing is complete |
Belt slips off sprocket mid-install |
|
Skipping the two-rotation verification |
Misaligned belt installed without knowing |
|
Ignoring oil contamination on pulleys |
New belt fails prematurely |
Consulting your valve clearance tolerances is crucial during this procedure, especially if the cylinder head has been removed or seals are being swapped. Ensuring these specifications are cross-referenced with your official factory manual is a vital step in the process.
Conclusion
Getting timing belt replacement assembly sequencing right comes down to one principle: respect the order. Every step builds on the one before it, and every shortcut compounds into a larger problem.
Start at TDC, lock your cams and crank, remove the old belt without prying, inspect everything before the new belt goes on, route from the crankshaft sprocket first, tension last, and always verify with two full rotations before buttoning it up.
This is not a job that rewards speed. It rewards patience and precision. Get the sequence right, and the engine will run cleanly for another 60,000 to 100,000 miles. Get it wrong, and you are looking at a parts list that makes the timing belt cost look like pocket change.
Acquiring authentic OEM workshop manuals is the most critical preparatory step if you lack the official documentation for your engine. This essential resource can be accessed at.
Frequently Asked Questions
Yes, it does differ. On a SOHC engine, you are aligning one camshaft sprocket and one crankshaft sprocket, which simplifies the routing order slightly. On a DOHC engine, both camshaft sprockets must be locked and aligned simultaneously before the belt is routed.
Skipping one cam alignment on a DOHC engine will cause the belt to be off by multiple teeth even if the crank mark looks correct. Always follow the specific routing diagram in your OEM service manual, since even two DOHC engines from the same manufacturer can have different belt routing paths depending on whether a balance shaft or auxiliary sprocket is involved.
Installing the timing belt one tooth off shifts the valve timing, which means valves open and close at the wrong point in the engine cycle. On a non-interference engine, this causes rough idle, misfires, and poor fuel economy, but the engine can still run.
On an interference engine, even one tooth of misalignment can result in piston-to-valve contact at startup, causing bent valves and potential piston damage. This is why the two-rotation hand-turn verification after installation is not optional. It is the only way to catch a one-tooth error before the engine starts.
Most professional mechanics and OEM documentation strongly recommend replacing the water pump at the same time as the timing belt, especially if the water pump is belt-driven.
The water pump works at the same load intervals as the belt and typically has a similar service life. Labor cost is the main reason to do both together, since the pump is accessible when the timing covers are already off.
Installing a new belt on an old pump that fails a few months later means tearing the entire assembly apart again. Replacing it proactively is cheaper in the long run and prevents unexpected coolant failure.
Proper tensioning depends on the tensioner type. For spring-loaded tensioners, loosen the tensioner bolt to allow the spring to automatically apply the correct force, then torque the bolt to spec.
For manual tensioners, set the belt deflection by applying a measured force at the center of the longest belt span and adjusting until it matches the OEM value, typically around 0.5 inches.
For hydraulic auto-tensioners, releasing the locking pin allows the hydraulic piston to expand and self-set tension. After setting, rotate the engine two full turns and recheck. If the belt can be twisted more than 90 degrees at the longest span, it is too loose.
Technically, you can reuse a timing belt that shows no visible cracking, missing teeth, glazing, or oil contamination, but most experienced mechanics advise against it.
Once a timing belt is removed, it loses its break-in seating on the sprockets, and the internal fiber cords may have micro-stress that is not visible externally.
The cost of a new belt is minor compared to the labor involved in the job. More importantly, the belt’s remaining service interval becomes completely unknown after it is removed and reinstalled.
If the belt is anywhere near its replacement mileage, there is no justification for reusing it.