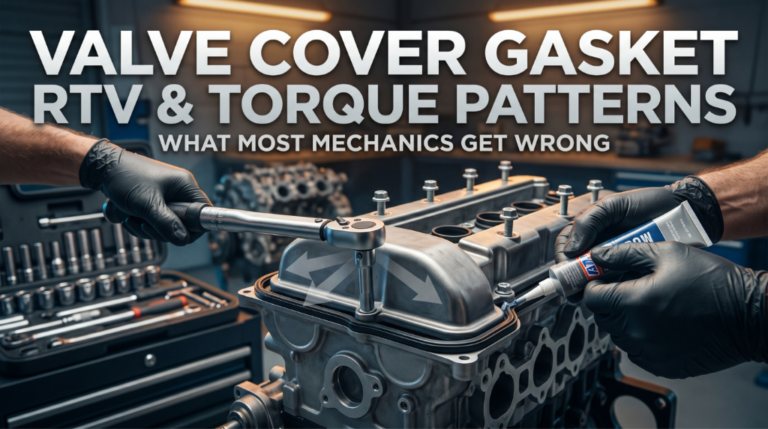
A leaking valve cover gasket is one of the most common oil leak sources in any engine — and the fix seems simple until it isn’t. Most failed repairs trace back to two things: incorrect RTV placement and a rushed torque sequence. Get either one wrong, and you’re back under the hood in two weeks.
To ensure a lasting seal, apply high-temperature RTV sparingly only at sharp corners, T-joints, or half-moon seals. Tighten bolts using a center-out crisscross or spiral pattern in multiple stages. Typical torque specs range from 7-12 Nm (62-106 in-lbs); following these prevents cover damage and gasket failure.
This guide covers the exact steps experienced mechanics follow: where to apply RTV on the gasket sealing surface, how to read a torque spec, and the patterns that prevent warping and uneven compression.
Valve Cover Gasket RTV & Torque Patterns: The Details That Decide If It Leaks Again
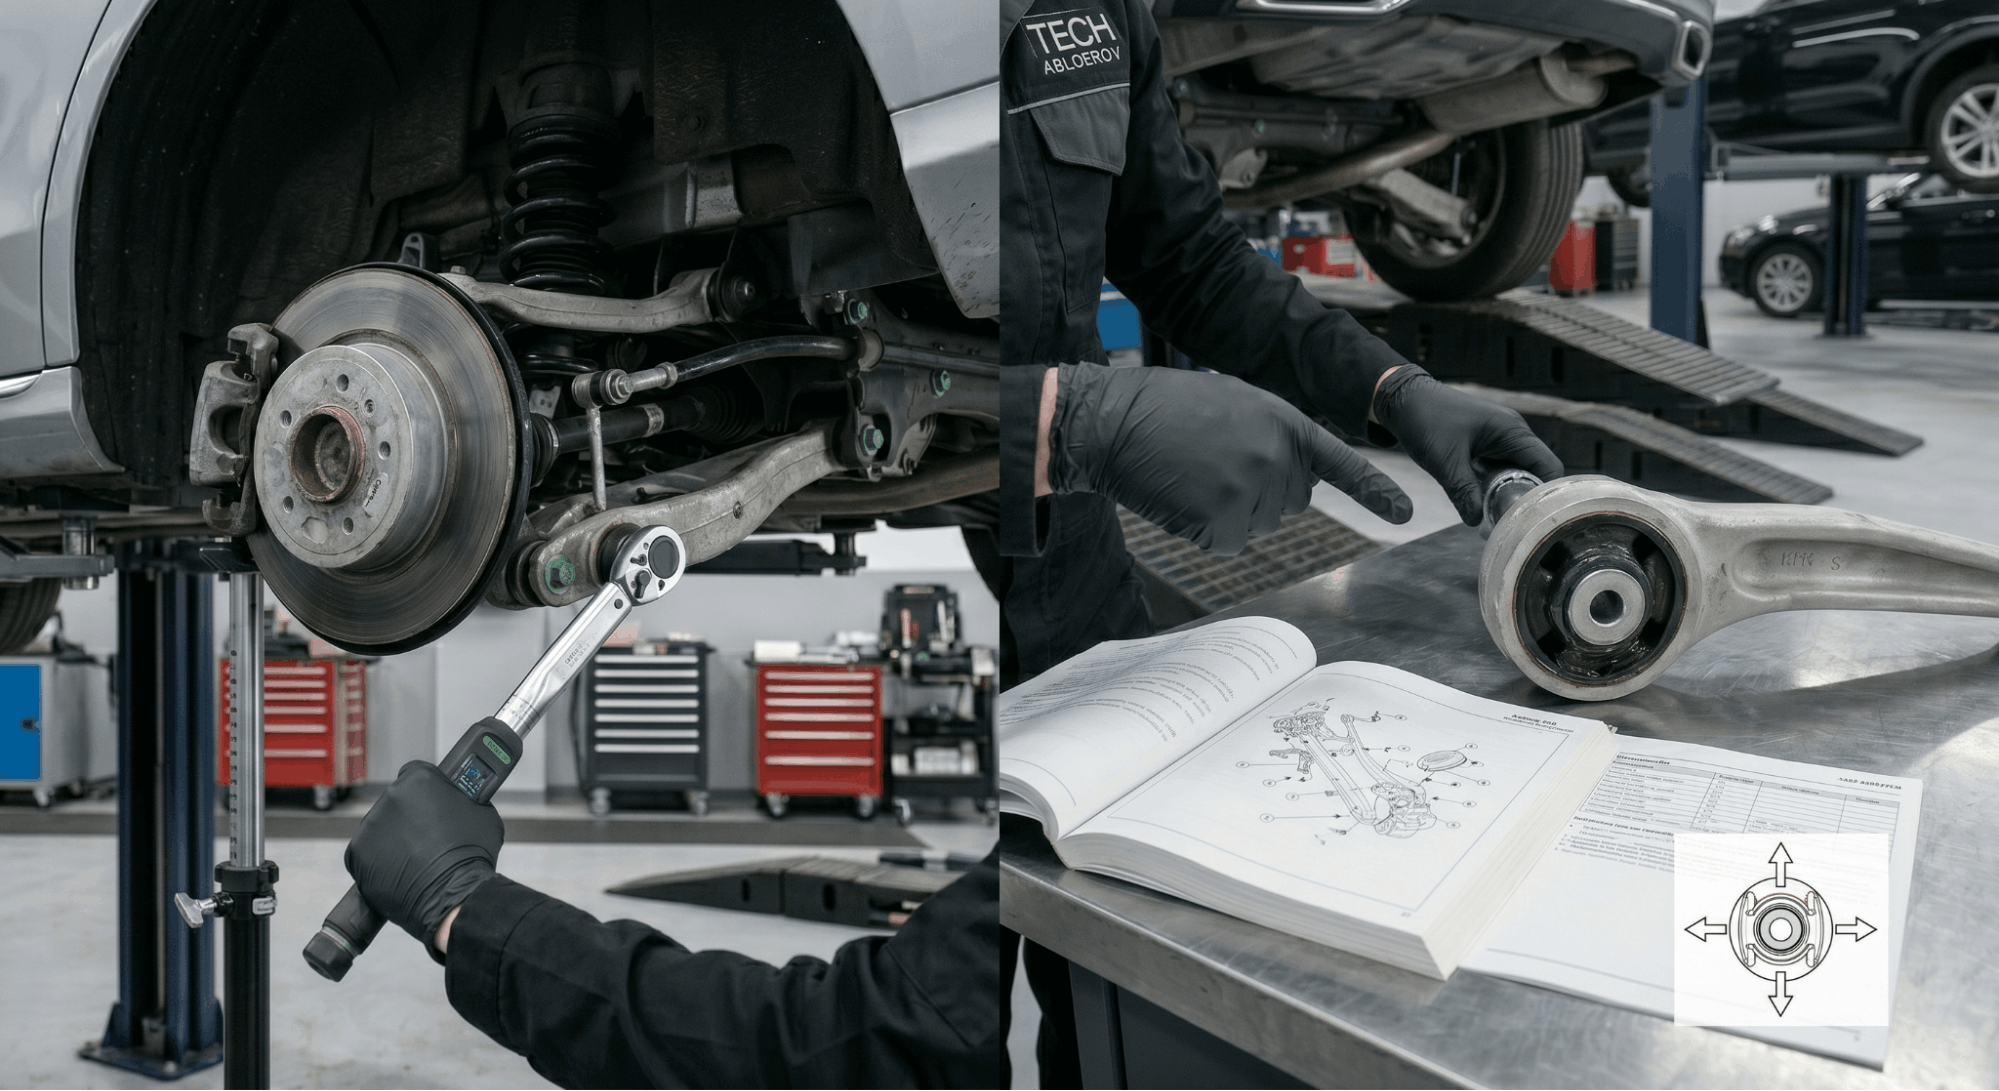
Most valve cover jobs fail not because of a bad gasket, but because of how it was installed. Understanding the relationship between RTV sealant, gasket material, and torque patterns is what separates a professional result from a frustrating repeat repair. This section covers everything from surface prep to final torque verification, so you don’t revisit this job.
Step 1: Surface Prep Decides Everything Before You Begin
Before any gasket or RTV touches metal, the mating surfaces on both the valve cover and cylinder head must be spotless. Old gasket material, dried sealant, and oil film are the primary reasons new gaskets fail.
Use a plastic scraper, not a metal one, on aluminum surfaces to avoid gouging. Follow up with brake cleaner or isopropyl alcohol on a clean rag. The surface should be completely dry and residue-free before proceeding.
Key prep checklist:
- Remove all traces of the old gasket and any hardened RTV from both surfaces
- Check the valve cover flange for warping. A warped cover will never seal correctly, regardless of torque
- Degrease with alcohol and allow to fully dry before applying new sealant
- Inspect spark plug tube seals and cam plugs while the cover is off
A warped cover flange is more common than people expect, especially on aluminum covers that were over-torqued beforehand. If you find one, the flange needs to be straightened or the cover replaced. No amount of extra RTV will fix a physically distorted sealing surface.
Step 2: Where to Apply RTV on the Valve Cover Gasket
This is where most DIY repairs go wrong. The common mistake is applying RTV all the way around the gasket, which is usually unnecessary and can actually push the gasket out of position when the bolts are tightened.
RTV sealant should be applied only at specific transition points, not along the entire perimeter. The locations that consistently need it are:
- 90-degree corners where the timing cover meets the cylinder head
- Cam journal cap joints, where the cam caps meet the head casting
- Half-moon plug recesses at the front and rear of the head
- Any stepped joint where two different castings meet under the valve cover
Apply a bead roughly 3mm in diameter at these points. At sharp corners or cam cap transitions, go slightly thicker around 3.5 to 4mm. Don’t flood these areas. Excess RTV that squeezes inward can break off after curing and travel into oil passages, causing blockages downstream.
If you’re using a Fel-Pro or similar pre-formed rubber gasket, those are generally designed to install dry. RTV is applied to the head at the specific spots above, not to the gasket itself. Always confirm with the manufacturer’s instruction sheet that comes with the gasket kit.
|
Location |
RTV Needed? |
Bead Size |
|
Straight gasket run |
No |
N/A |
|
90-degree corners |
Yes |
3–4mm |
|
Cam cap joints |
Yes |
3–3.5mm |
|
Half-moon plugs |
Yes |
3.5–4mm |
|
Around bolt holes |
Manufacturer-dependent |
2–3mm |
Step 3: Gasket Seating and Cover Placement Done Right
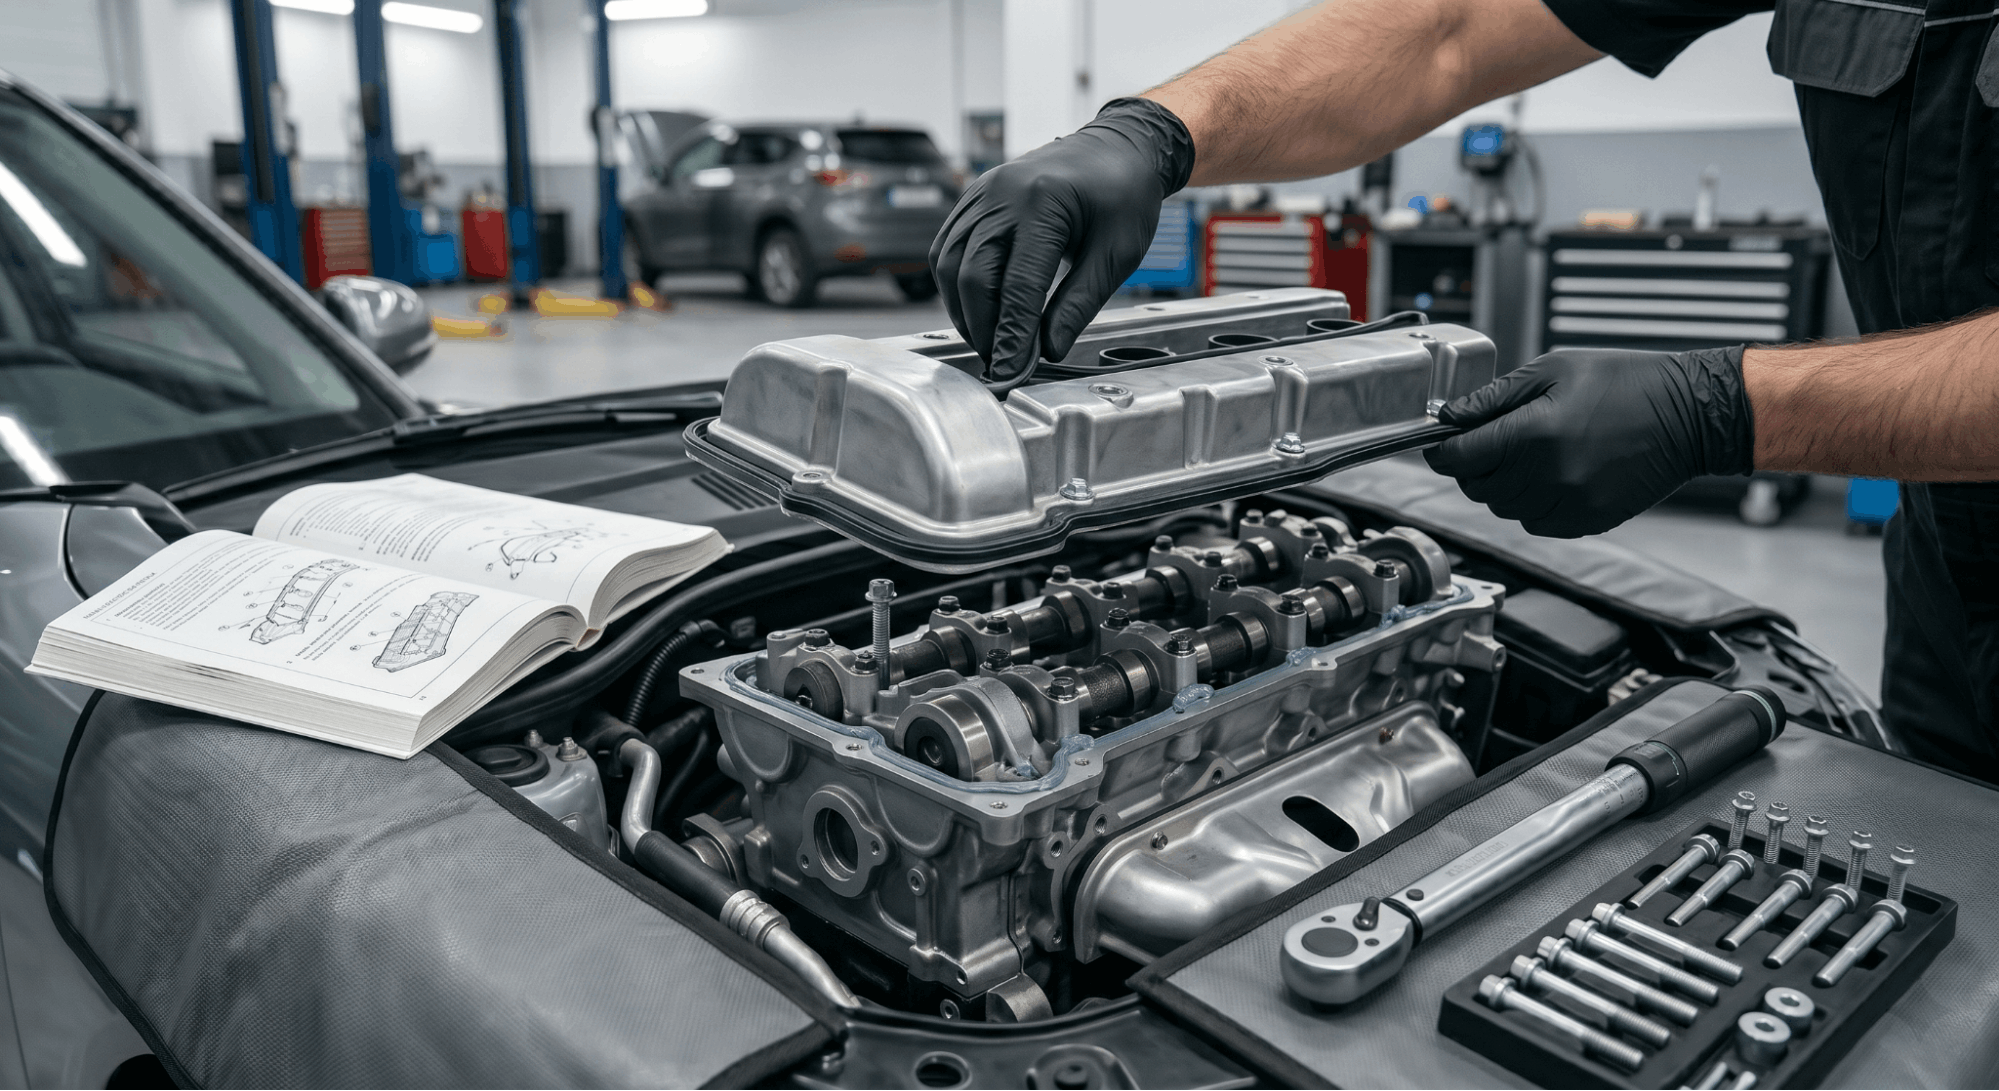
Once RTV is applied at the correct spots, seat the gasket firmly and evenly into the groove molded into the valve cover. Press it in from one point and work around the perimeter. Don’t stretch or force it.
Lower the cover straight down onto the cylinder head without sliding it. Sliding will smear the RTV at the transition points and compromise the seal before a single bolt is tightened.
Important details at this stage:
- Don’t let the RTV fully cure before placing the cover assembly should happen within 5 to 10 minutes of application
- Some techs prefer to let the RTV skin sit slightly for 10 to 15 minutes before seating. This works too, but don’t exceed that window
- Once the cover is in position, hand-start every bolt before applying any torque
Hand-starting all bolts first is non-negotiable. It prevents cross-threading and ensures the gasket compresses evenly as torque is applied in sequence.
Step 4: The Torque Pattern That Prevents Warping
The torque sequence is just as important as the final spec. Tightening bolts in the wrong order creates uneven pressure across the gasket, which leads to localized crushing on one side and inadequate sealing on the other.
The correct approach is always center-out, working in a crisscross or alternating pattern toward the outer edges. For longer covers, use an outward spiral starting from the center bolts.
Staged torque process:
- Pass 1: Hand-tight only all bolts finger-snug in sequence
- Pass 2: 30% of final torque value, center-out pattern
- Pass 3: 60% of the final torque value, same sequence
- Pass 4: 100% of the final torque value, verify with the torque wrench
For an 8 N·m target, that looks like: 2.5 N·m, then 5 N·m, then 8 N·m. Never skip straight to full torque in one pass.
Typical valve cover torque ranges by engine type:
|
Engine Type |
Torque Range |
|
Most 4-cylinder passenger cars |
7–12 N·m (62–106 in-lbs) |
|
V6 engines |
8–10 N·m (70–89 in-lbs) |
|
V8 performance/truck engines |
10–15 N·m (89–133 in-lbs) |
|
Small utility engines (Kohler, etc.) |
6.2 N·m (55 in-lbs) |
Always confirm the exact spec in your vehicle’s factory service manual. Torque values are engine-specific and fastener-size dependent. For accurate engine torque specs for cylinder heads and related fasteners, cross-reference them before starting the job.
Step 5: Post-Torque Checks and Re-Torque Timing
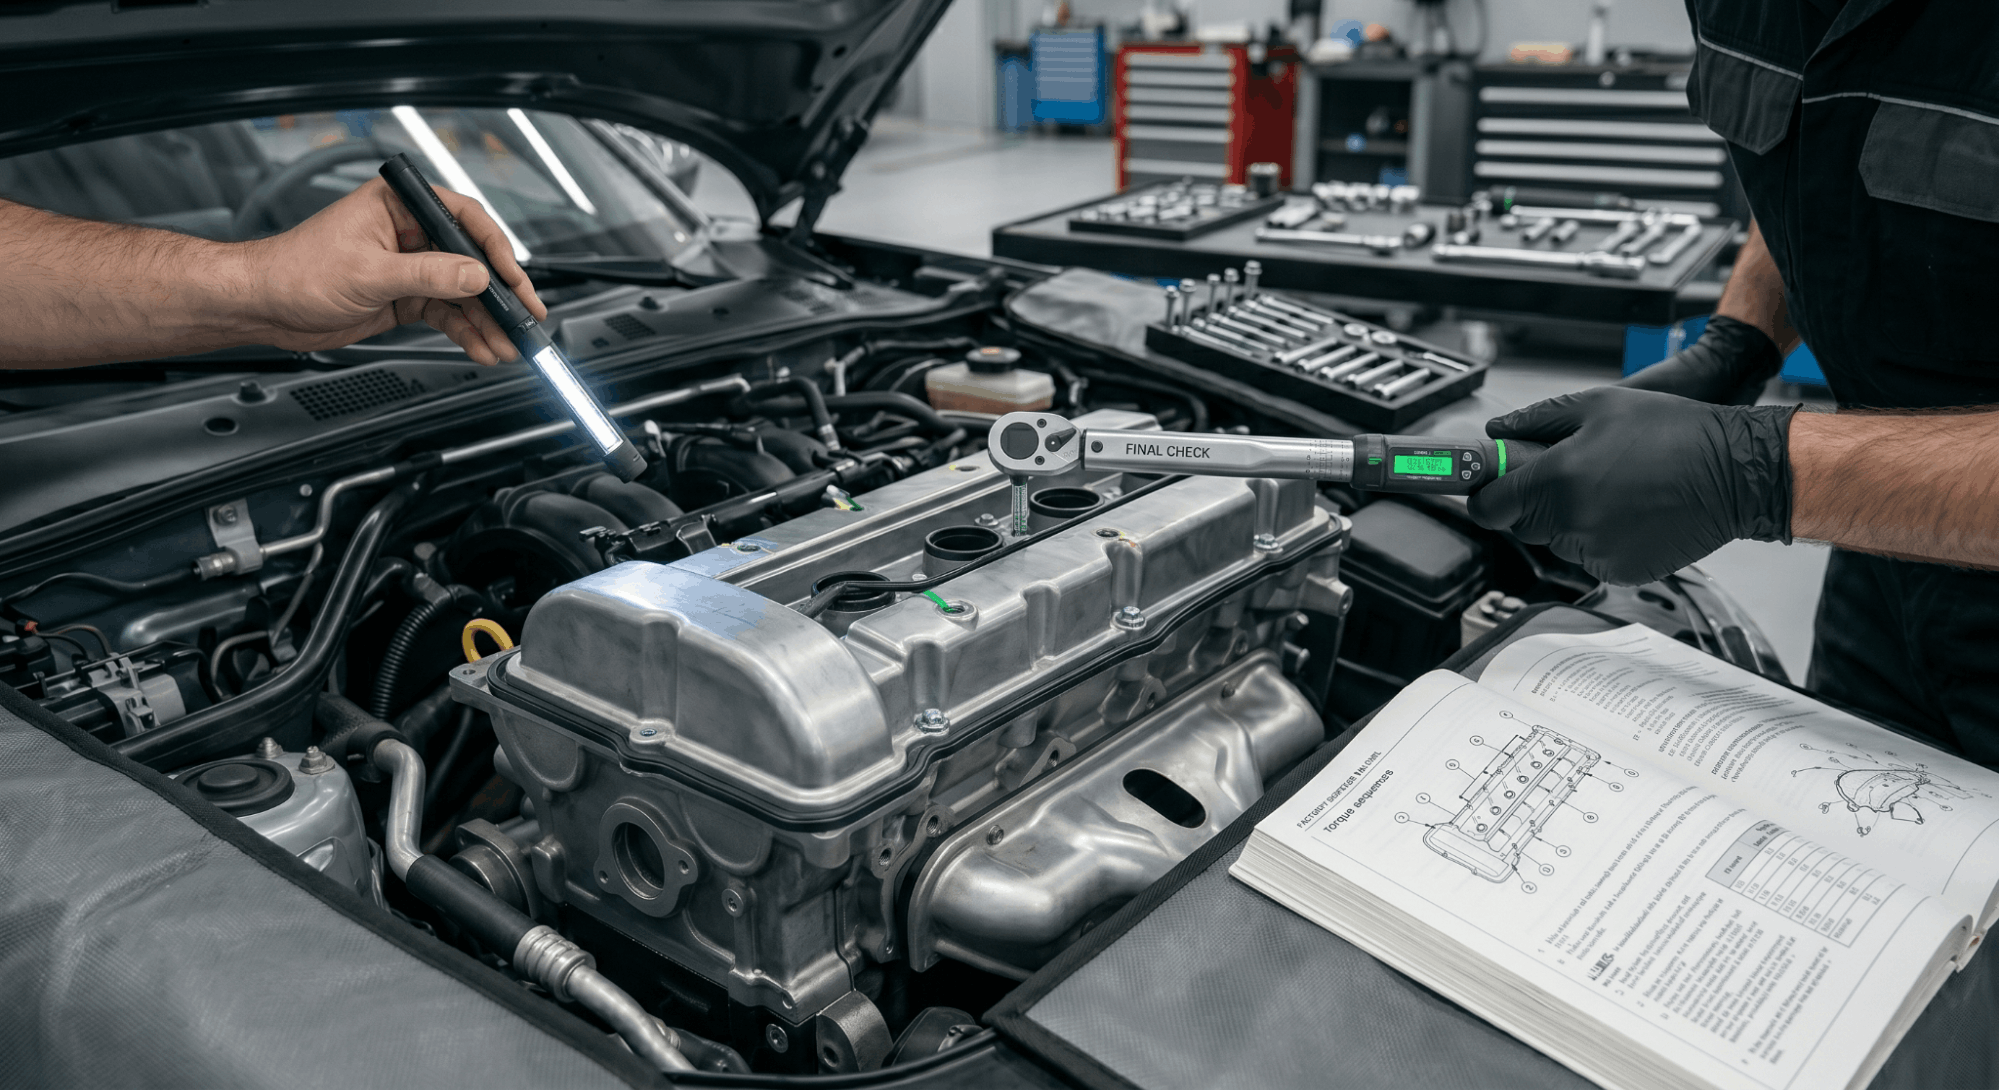
Once the valve cover is fully torqued, don’t start the engine right away. Allow at least one hour for the RTV to reach its initial cure stage. Full cure typically takes around 24 hours, so avoid high-load driving in that window if possible.
After the first few heat cycles, check the torque again, especially on rubber gaskets, which compress slightly as the engine reaches operating temperature. Recheck the torque spec and snug down any fasteners that have loosened.
Also, check the oil fill cap, any spark plug tube seals, and the perimeter of the cover for seeping oil. A small amount of RTV squeezing out at the corners is normal. What you don’t want is oil weeping from the gasket face itself, which points to inadequate surface prep or an incorrect torque sequence.
If you’re working from a factory service manual PDF for your specific vehicle, you’ll find both the bolt torque sequence diagram and the exact RTV application points illustrated clearly. You can find your factory service manual PDF by VIN to get the exact specs for your engine without guessing.
Common Mistakes That Cause Valve Cover Gaskets to Leak Again
Even experienced mechanics repeat some of these errors. Knowing them up front saves a second disassembly.
- Over-torquing: Crushing the gasket beyond its designed compression range destroys the seal. Always use an inch-pound torque wrench for specs under 20 N·m; a foot-pound wrench is too inaccurate at these low values.
- Applying RTV to the full gasket perimeter: Unnecessary on most modern rubber gaskets and can cause the gasket to shift during bolt tightening.
- Letting RTV fully cure before assembly: Fully cured RTV loses its ability to bond to the opposing surface.
- Skipping the center-out torque pattern: Starting at one end and working across will bow the cover and cause localized leaks.
- Reusing a compressed gasket: Once a valve cover gasket has been torqued and heat-cycled, it won’t return to its original shape. Always replace it.
For additional reference on how factory tolerances affect sealing components, it is helpful to understand valve clearance tolerances as described in factory manuals. Tolerances across multiple sealing surfaces interact more than most people realize.
Conclusion
Getting the valve cover gasket right comes down to three non-negotiable things: clean mating surfaces, RTV applied only where the engine design actually needs it, and a staged center-out torque pattern. Skipping any one of these is why most repeat leaks happen.
The torque spec is almost secondary to the sequence. A properly patterned installation at a slightly lower torque will outlast a fully torqued job done in the wrong order.
Take your time with each pass, verify with a quality torque wrench, and re-check after the first heat cycle. That’s the approach experienced mechanics use, and it’s what makes the repair last.
Frequently Asked Questions
Some older engines and small utility engines were designed to use only RTV with no separate gasket. For these, a continuous bead is applied, the cover is seated, and it cures for 24 hours before startup.
On modern engines designed for a formed gasket, this approach isn’t recommended.
The gasket provides a defined, consistent compression surface that RTV alone can’t replicate reliably. Removing the gasket and relying only on RTV increases the risk of oil seepage at uneven surface points, especially on high-mileage engines where the cover flange may have minor distortion.
Over-torquing a valve cover is one of the fastest ways to guarantee a leak. Excess torque crushes the gasket beyond its designed compression range, distorts the cover flange, and can strip the bolt threads in the head. Once a cover flange is warped from over-torquing, the damage is often permanent without machining.
The irony is that tighter doesn’t mean better here. The correct torque range is intentionally low, usually under 15 N·m, because the goal is even, controlled compression, not maximum clamping force.
Most silicone RTV products require at least 1 hour before the engine is started, and full cure takes approximately 24 hours. Starting the engine too early can disrupt the bond before it vulcanizes properly, causing the sealant to peel away from the surface.
High-temperature RTV formulations, such as Permatex Ultra Black or Ultra Copper, are preferred for valve cover applications because they maintain flexibility and adhesion through repeated heat cycles. Always check the product datasheet for the specific cure time, as formulations vary.
Yes, even on smaller engines. A valve cover on a compact 4-cylinder is often narrower and longer relative to its bolt count, which makes it more prone to bowing during tightening if bolts are torqued from one end to the other.
The center-out torque pattern distributes clamping force evenly from the middle of the gasket outward, preventing the cover from tilting or arching in the middle.
Even a slight bow in the cover creates a low-pressure zone where oil will eventually find its way out. The pattern matters regardless of engine displacement.
Yes, and on some engines it’s recommended. Rubber and composite gaskets compress slightly under heat, which can cause bolts to loosen marginally after the first few heat cycles.
Checking the torque spec after three to five heat cycles is a professional habit that catches this early. However, don’t over-retorque on the assumption that tighter compensates for any seepage.
Stick to the factory spec on the re-check pass. If bolts are already at spec and you still see weeping oil, the issue is likely surface prep or an improperly seated gasket, not insufficient torque.