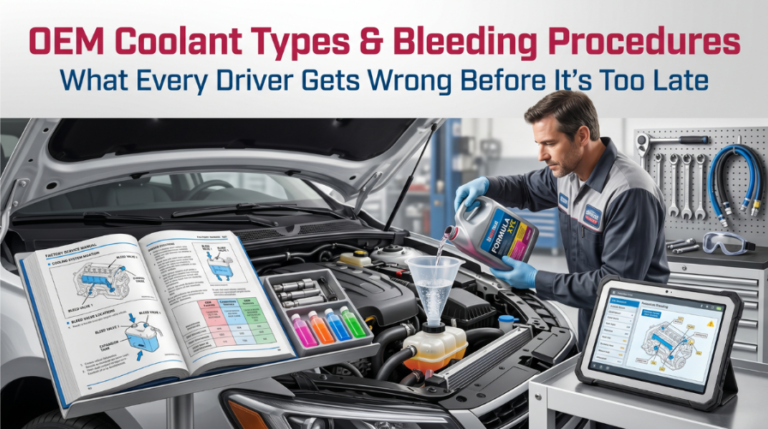
Using the wrong OEM coolant types and skipping proper bleeding procedures can silently destroy your engine within weeks. Most drivers never check coolant chemistry compatibility, and that single oversight causes failures that no flush can reverse.
For lasting protection, use the exact OEM coolant and thoroughly purge the system of air. Modern engines need specific additives to manage heat and resist corrosion, making the manufacturer’s formula essential.
This guide covers all major OEM coolant types, how to read your vehicle’s spec, and the step-by-step bleeding procedures mechanics actually use in the shop.
OEM Coolant Types & Bleeding Procedures: The Details Most Mechanics Skip
Most cooling system failures trace back to two mistakes: using a generic formula instead of the OEM-specified coolant and leaving air in the system after a service. Understanding the differences between IAT, OAT, HOAT, Si-OAT, and P-HOAT is not a bonus skill.
It’s what separates a healthy engine from a cracked head gasket three years too early. Getting both the coolant type selection and the bleeding procedure right is non-negotiable.
Why OEM Coolant Chemistry Differs by Manufacturer
Every automaker designs its cooling system around a specific coolant chemistry. Using a universal formula might seem like a safe shortcut, but it often leads to aluminum corrosion, seal degradation, and silicate dropout in your radiator.
OEM coolant types are classified by their corrosion inhibitor chemistry, not by color. Here is a breakdown of the major types:
|
Coolant Type |
Full Name |
Common OEM Users |
Service Life |
|
IAT |
Inorganic Additive Technology |
Older GM, Ford, Chrysler |
2 yrs / 30K miles |
|
OAT |
Organic Acid Technology |
GM Dex-Cool, VW G12+ |
5 yrs / 150K miles |
|
HOAT |
Hybrid OAT |
Ford, Chrysler, modern BMW |
5 yrs / 150K miles |
|
Si-OAT |
Silicated OAT |
Mercedes-Benz, Audi, Porsche |
5 yrs / 250K miles |
|
P-HOAT |
Phosphated HOAT |
Toyota, Honda, Nissan, Subaru |
5–10 yrs |
- IAT coolants use silicates and phosphates for fast protection, but deplete quickly.
- OAT coolants use carboxylate chemistry for longer life with slower initial film formation.
- HOAT blends both for balanced performance across American and European platforms.
- Si-OAT is standard for premium European vehicles with aluminum-heavy engines.
- P-HOAT is the dominant spec across Japanese and Korean OEM platforms.
Mixing these types, even in small amounts, causes chemical incompatibility that accelerates corrosion and forms gel-like deposits. Always verify your spec in your factory service manual before purchasing any coolant product.
How to Confirm Your Vehicle’s OEM Coolant Spec
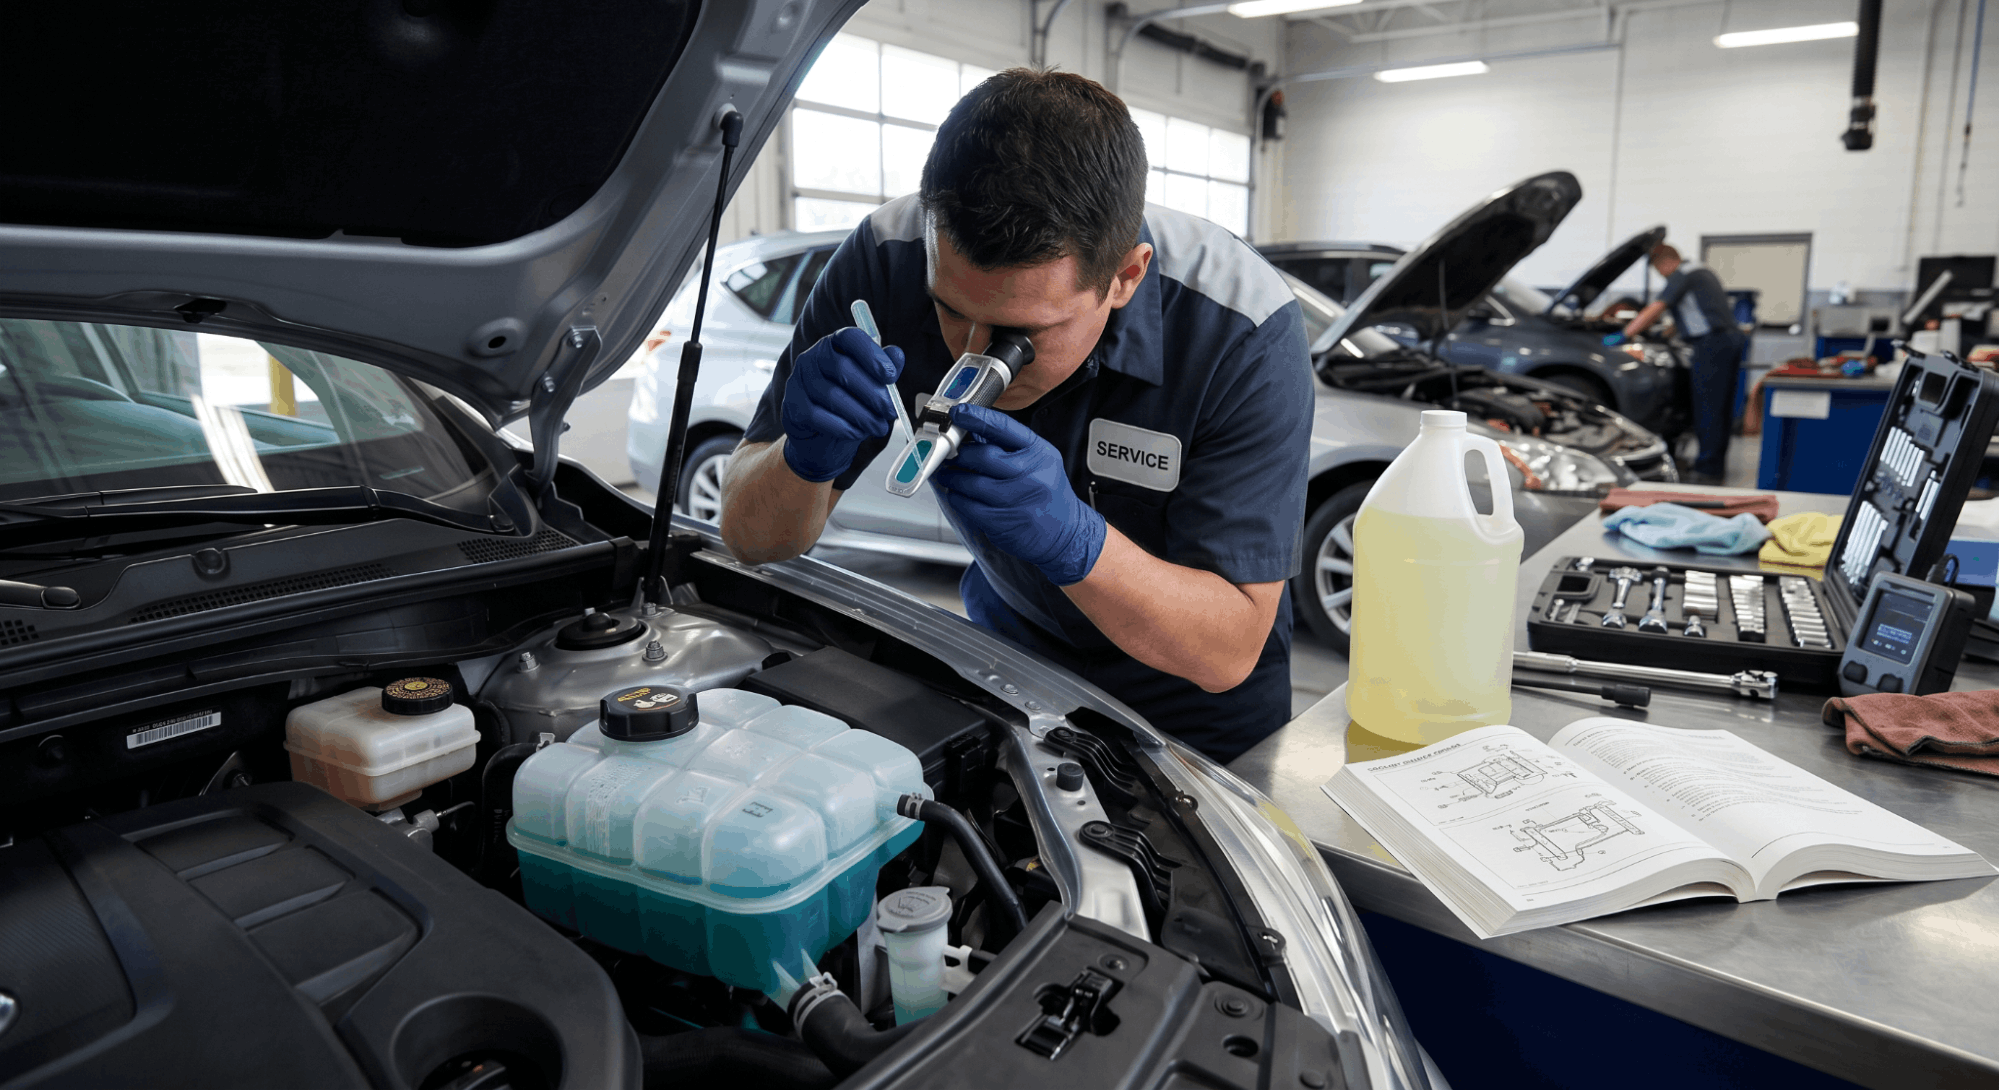
Guessing your coolant type by color is one of the most expensive mistakes in DIY maintenance. Color is a dye choice by the manufacturer, not a chemistry indicator. The same shade of orange can represent completely different OEM formulas.
Here is how to confirm the exact OEM coolant your vehicle requires:
- Check the owner’s manual. The coolant specification page lists the exact standard, such as ASTM D3306, Ford WSS-M97B51-A1, or Toyota FL-22.
- Read the reservoir cap label on most vehicles from 2010 onward, and print the coolant type directly on the cap.
- Use your VIN to cross-reference it against a genuine OEM workshop manual to confirm the factory spec precisely.
- Test what is already in the system, use a refractometer to check the freeze point and pH. This helps determine if the existing coolant has been mixed or degraded.
Never trust color alone. Toyota’s P-HOAT is pink. Some Honda coolants are blue. Several Si-OAT formulas used by Mercedes are blue-green. The same color, different chemistry, and mixing them causes real damage.
Step-by-Step OEM Coolant Bleeding Procedures
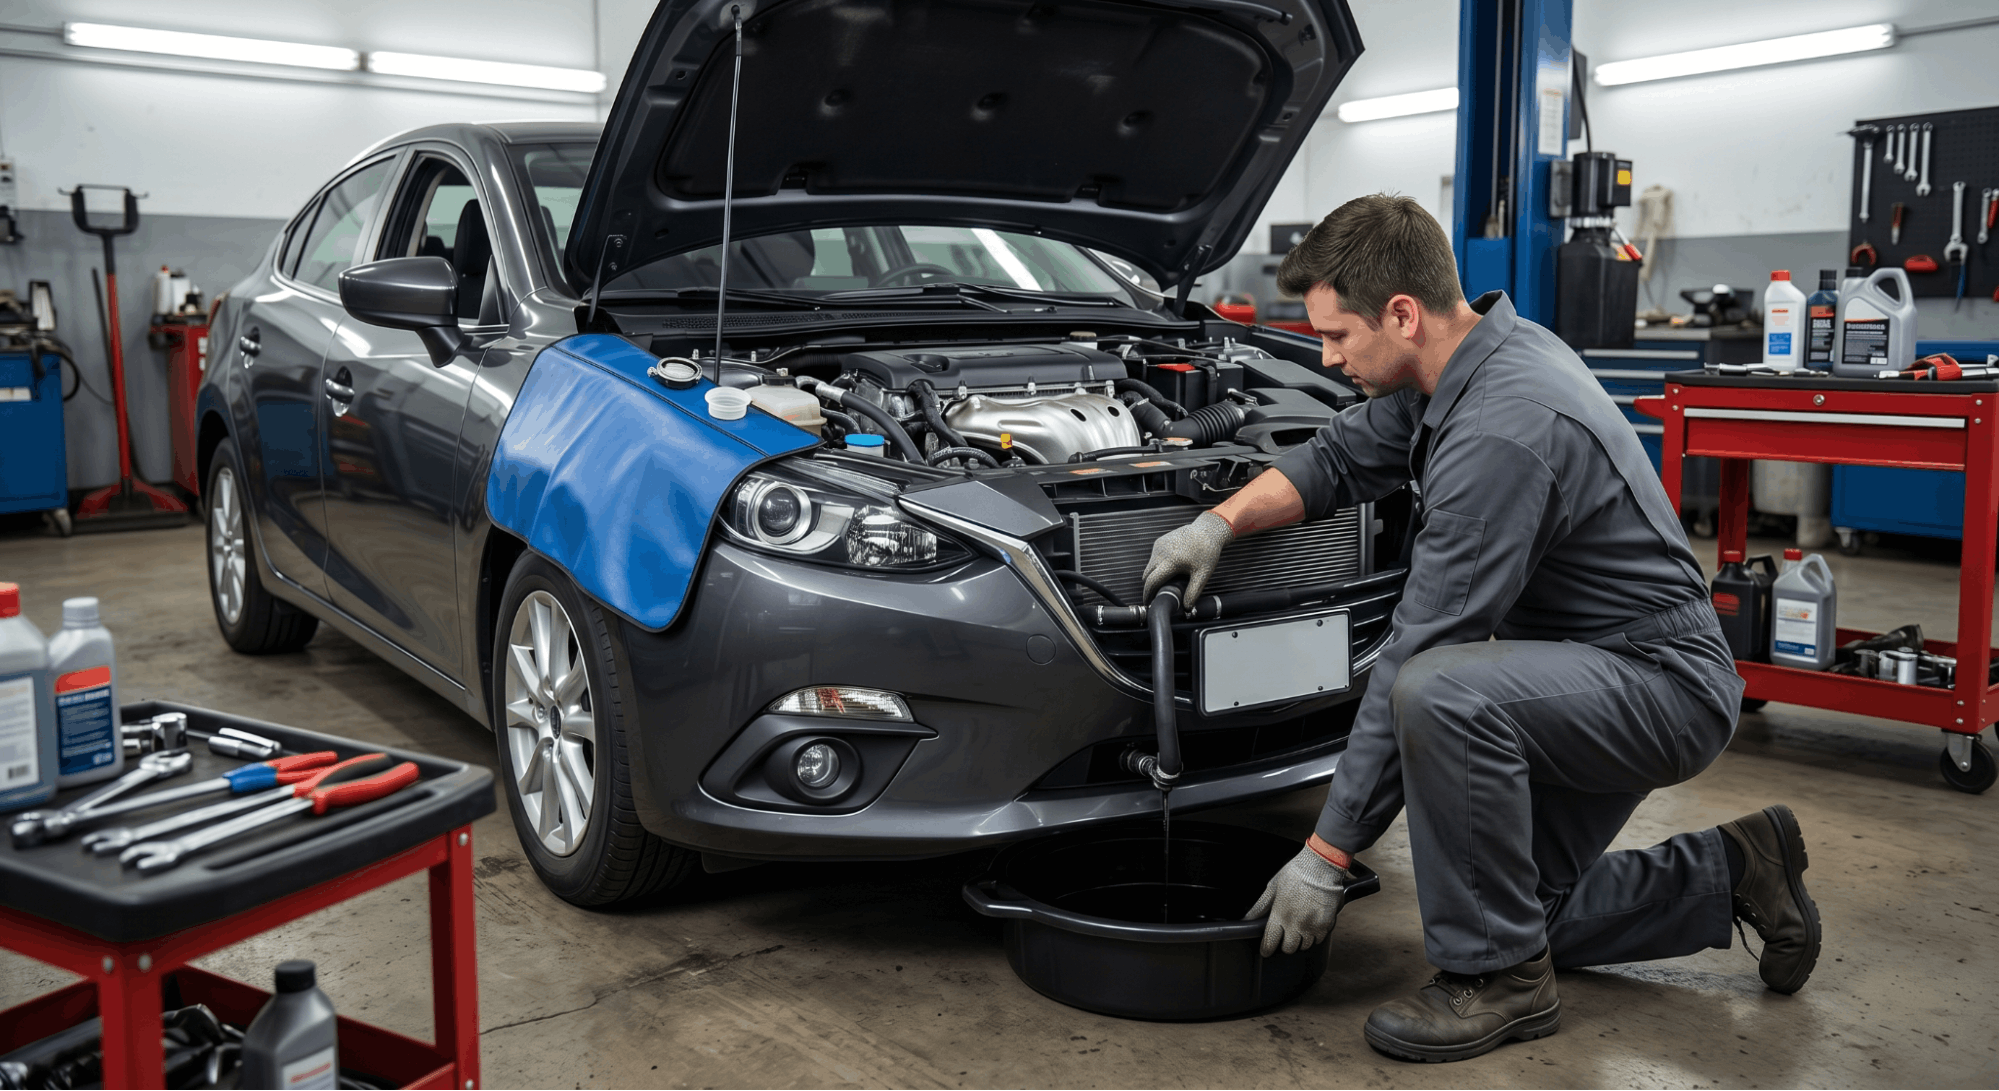
Air pockets trapped after a coolant service are one of the leading causes of localized overheating and thermostat failure. Proper bleeding procedures eliminate those air locks completely and restore full circulation to every circuit in the cooling system.
Follow these bleeding procedures precisely:
Step 1: Prepare the Vehicle
- Park on a completely level surface and let the engine cool to ambient temperature.
- Remove the radiator cap and the coolant reservoir cap.
- Place a drain pan under the drain plug or the lower radiator hose.
Step 2: Drain the Old Coolant
- Open the radiator drain valve or loosen the lower hose clamp.
- Let the system drain fully before proceeding.
- If the old coolant shows discoloration, gel particles, or rust, flush with distilled water before refilling.
Step 3: Fill with the Correct OEM Coolant
- Mix coolant with distilled water at the ratio your OEM specifies, most are 50/50, but some climates call for 60/40 coolant-to-water.
- Fill slowly through the radiator neck, not the reservoir, to minimize air introduction from the start.
- Leave both caps off during the initial fill phase.
Step 4: Run the Engine and Purge Air
- Start the engine with the cabin heater set to maximum heat and the fan on high.
- Watch the coolant level at the radiator neck it will drop noticeably as air escapes.
- Top up the coolant as the level drops. If your vehicle has a bleeder screw on the thermostat housing or the upper hose, open it slightly to manually vent trapped air.
Step 5: Cycle the Engine to Full Temperature
- Let the engine reach full operating temperature while watching the temperature gauge closely.
- The thermostat will open, drawing more coolant through the system, and top up again when the level drops.
- Repeat this warm-up and cool-down cycle two to three times for complete air purging.
Step 6: Final Check and Seal
- Once the level holds stable and the temperature gauge reads normally, reinstall both caps.
- Check all connection points for leaks: drain valve, hose clamps, bleeder screws, and the water pump area.
Incomplete bleeding is a primary cause of car overheating shortly after a coolant service. If your temperature gauge spikes within the first few drives after a flush, trapped air is almost certainly the reason.
Bleeding Mistakes That Quietly Damage Engines Over Time
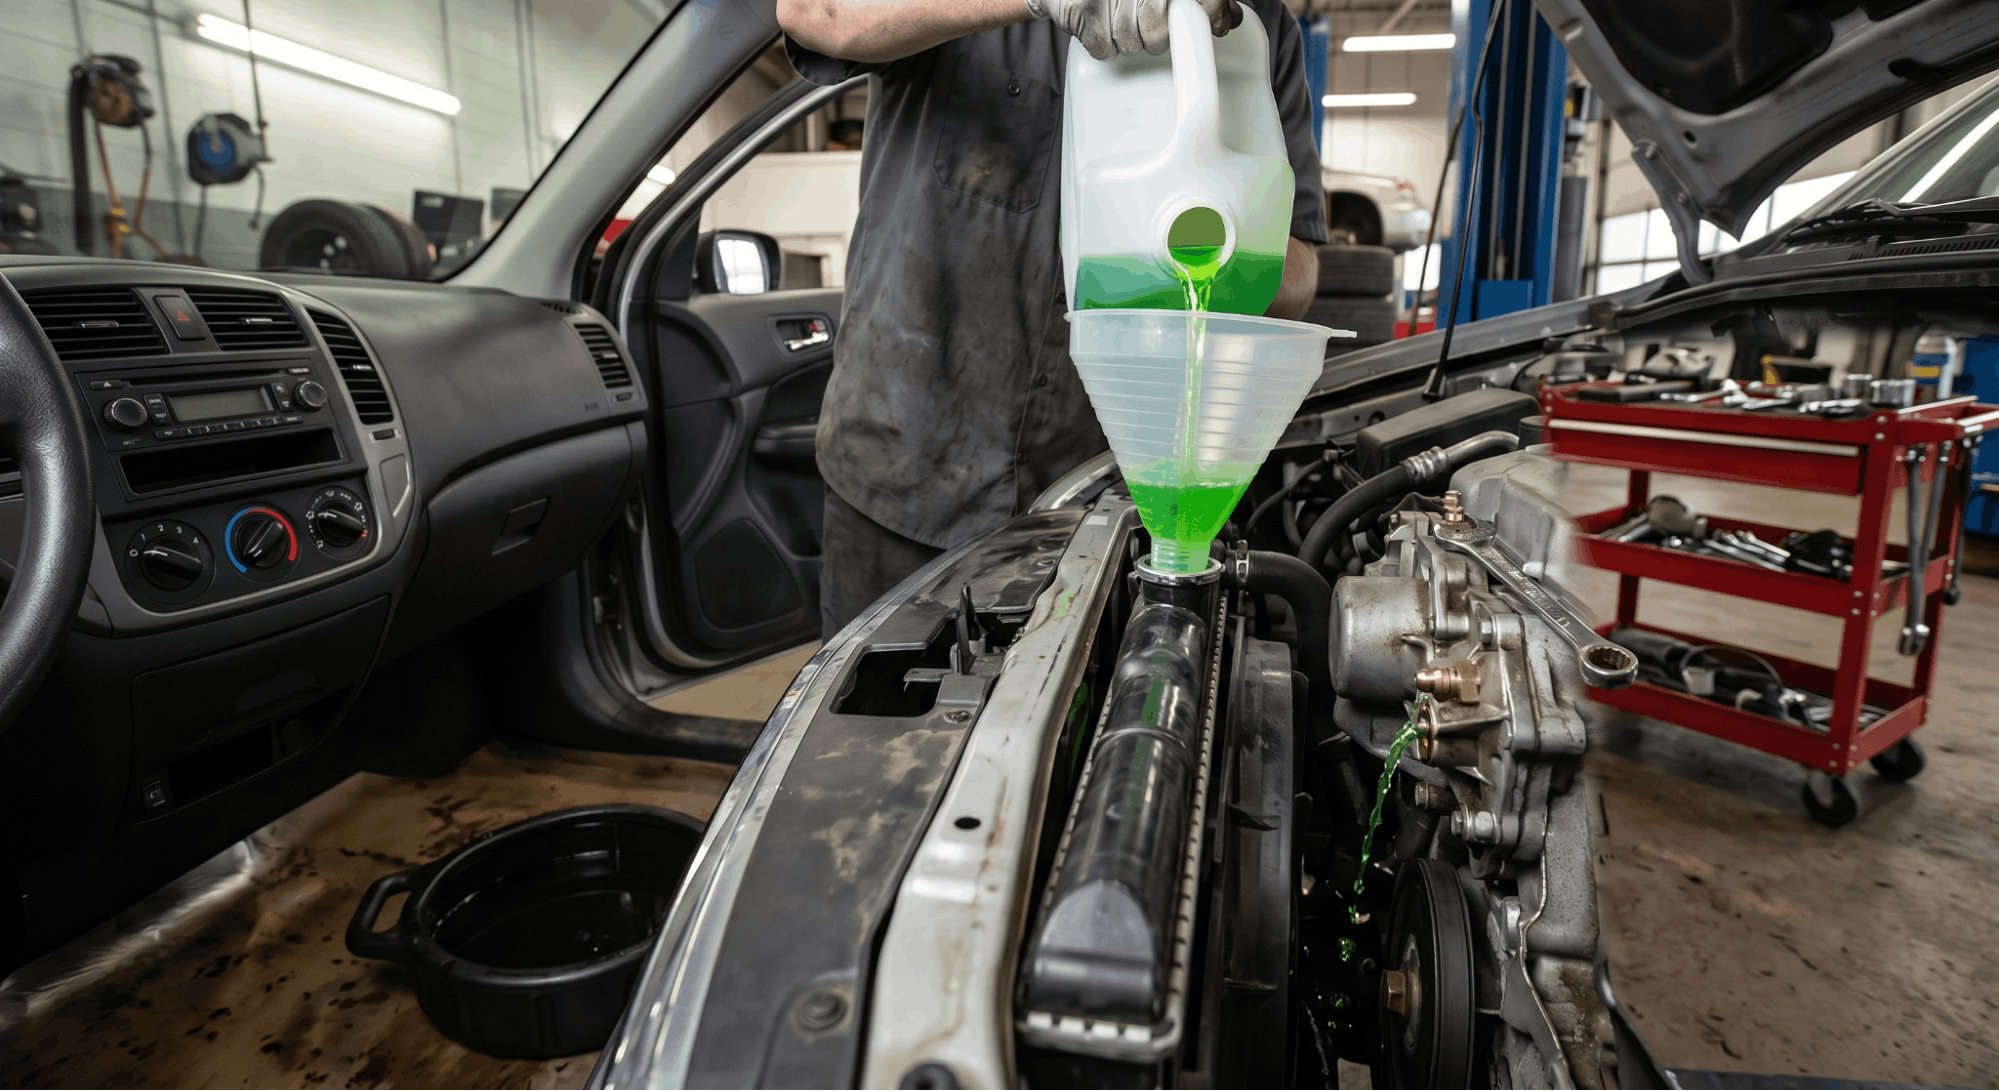
Even experienced DIYers make errors during coolant bleeding that don’t surface immediately. These mistakes create chronic thermal stress that accumulates over months and shortens engine life faster than neglected oil changes.
Watch for these critical errors:
- Filling only the reservoir, the reservoir is an overflow tank, not the primary fill point. Always fill the radiator first, then top off the reservoir.
- Running the engine without the heater on, the heater core remains isolated from circulation and traps a significant volume of air.
- Using tap water for mixing introduces minerals that accelerate scale buildup, especially in OAT and HOAT systems that depend on pH stability.
- Ignoring bleeder screws, vehicles from BMW, Mercedes, Volvo, and several Asian platforms have dedicated bleeder points that must be opened during bleeding procedures. Skipping them leaves air permanently trapped.
- Mixing OEM coolant types, even a partial introduction of IAT into an OAT system, can cause silicate precipitation and gel formation within weeks.
For turbocharged, hybrid, or luxury vehicles with complex cooling circuits, consult the specific bleeding procedures documented in your OEM workshop manual.
Some turbocharged engines require purging the turbo cooling loop separately, and certain hybrids require a separate bleeding cycle for the electric motor’s cooling circuit.
OEM Coolant Replacement Intervals by Type
Sticking to the right change interval matters almost as much as selecting the right coolant type. Running degraded coolant past its effective life strips away corrosion protection from aluminum components faster than most drivers expect.
|
Coolant Type |
Replacement Interval |
Key Indicator |
|
IAT |
2 years / 30,000 miles |
pH below 7.0, rust tint |
|
OAT |
5 years / 150,000 miles |
pH below 7.5, color change |
|
HOAT |
5 years / 150,000 miles |
pH below 7.5, depleted additive test |
|
Si-OAT |
5 years / 250,000 miles |
Silicate depletion on the test strip |
|
P-HOAT |
5–10 years |
pH drop, phosphate depletion |
Test your coolant annually with a refractometer and test strips, regardless of the scheduled interval. Contamination from a small coolant leak or a bad head gasket degrades fluid faster than any calendar-based schedule predicts.
For a full breakdown of service fluid intervals by vehicle, check the transmission fluid capacities by the manual as a reference for how OEM fluid specs translate into real-world maintenance schedules.
Conclusion
Getting OEM coolant types and bleeding procedures right is precise work, but it is not complicated once you know the rules. The chemistry must match your manufacturer’s exact specification, and every pocket of air must be purged after any coolant service.
Skipping either step creates a risk that builds quietly until an overheating event or a gasket failure forces a much larger repair. Use your factory documentation, follow the step-by-step process above, and your cooling system will stay clean and fully protected for years.
Frequently Asked Questions
Universal coolants are marketed as compatible with all vehicles, but they typically use a generic HOAT formula that doesn’t precisely match every OEM chemistry.
For older GM vehicles requiring IAT, or Japanese and Korean vehicles needing P-HOAT, a universal coolant can accelerate corrosion of aluminum components and degrade water pump seals faster than expected.
The cost difference between OEM-spec coolant and a universal product is minor compared to the expense of a water pump or head gasket repair. Always confirm your spec and use the correct coolant type for your platform.
The clearest sign is a temperature gauge that climbs higher than normal, especially in the first few drive cycles after a coolant service. You may also notice erratic heater output, hot then cold, which signals that air is blocking circulation through the heater core.
Gurgling sounds from the dashboard area are another indicator. Running the bleeding procedures again, including two full warm-up and cool-down cycles with the heater on maximum heat, usually resolves the issue.
Persistent overheating after proper bleeding points to a failing thermostat or a compromised head gasket.
No. Coolant color is purely a dye decision made by the manufacturer and has no universal correlation to chemistry. Toyota’s P-HOAT is pink. Several OAT formulas are orange. Some Si-OAT coolants used in European platforms are blue-green.
Relying on color to determine compatibility is a common and costly assumption. Always confirm coolant type through the specification code in your owner’s manual, the part number, or your factory service manual before mixing or topping off your cooling system.
Free repair resources online vary widely in accuracy. Many aggregate generalized bleeding procedures don’t account for vehicle-specific bleeder screw locations, turbo cooling loop requirements, or hybrid circuit differences.
For work that directly affects engine safety, using a verified OEM source is the safest route. Understanding whether free online car repair manuals are reliable before starting any cooling system service is an important first step.
Factory documentation always takes priority over third-party compiled guides for procedures this precise.
Mixing coolant types, even in part, can trigger chemical incompatibility, which varies in severity depending on the formulas involved. Mixing IAT into an OAT system, for example, can cause silicate precipitation that forms gel-like deposits in the radiator, heater core, and water pump passages.
These deposits reduce flow and cause localized overheating. In some cases, the reaction also raises pH beyond safe limits, accelerating corrosion of aluminum engine components.
If a mix occurred, the only way to restore system integrity safely is to flush the system with distilled water, then refill it with the correct OEM coolant type.