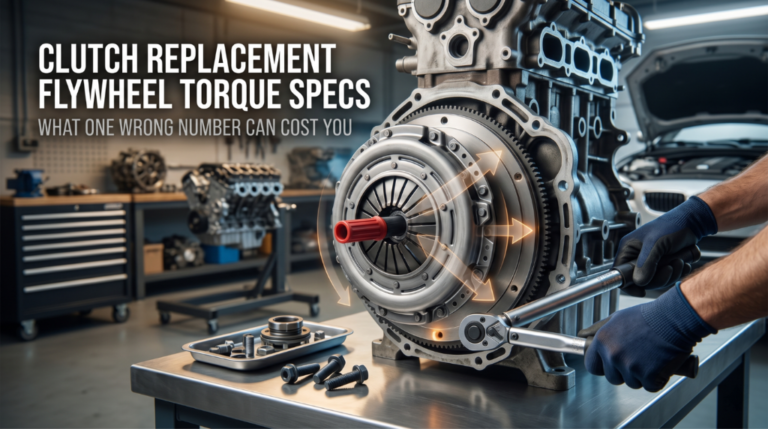
Getting your clutch replacement right starts and ends with the flywheel torque specs. Miss them, and you’re looking at a warped flywheel, a destroyed pressure plate, or worse, bolts backing out at highway speed. These are not the kind of mistakes you want to make twice.
Typically, flywheel-to-crankshaft bolts require 44–96 ft-lbs and pressure plate bolts 13–35 ft-lbs, applied in star patterns and multiple passes. Passenger vehicles often range from 55–105 ft-lbs depending on engine type. Performance engines may exceed 88 ft-lbs. Always use new bolts and threadlocker.
This guide covers the exact torque specs by vehicle type, the correct tightening sequence, bolt prep, and the most common mistakes that send people back to the shop.
Clutch Replacement Flywheel Torque Specs: The Numbers That Actually Matter
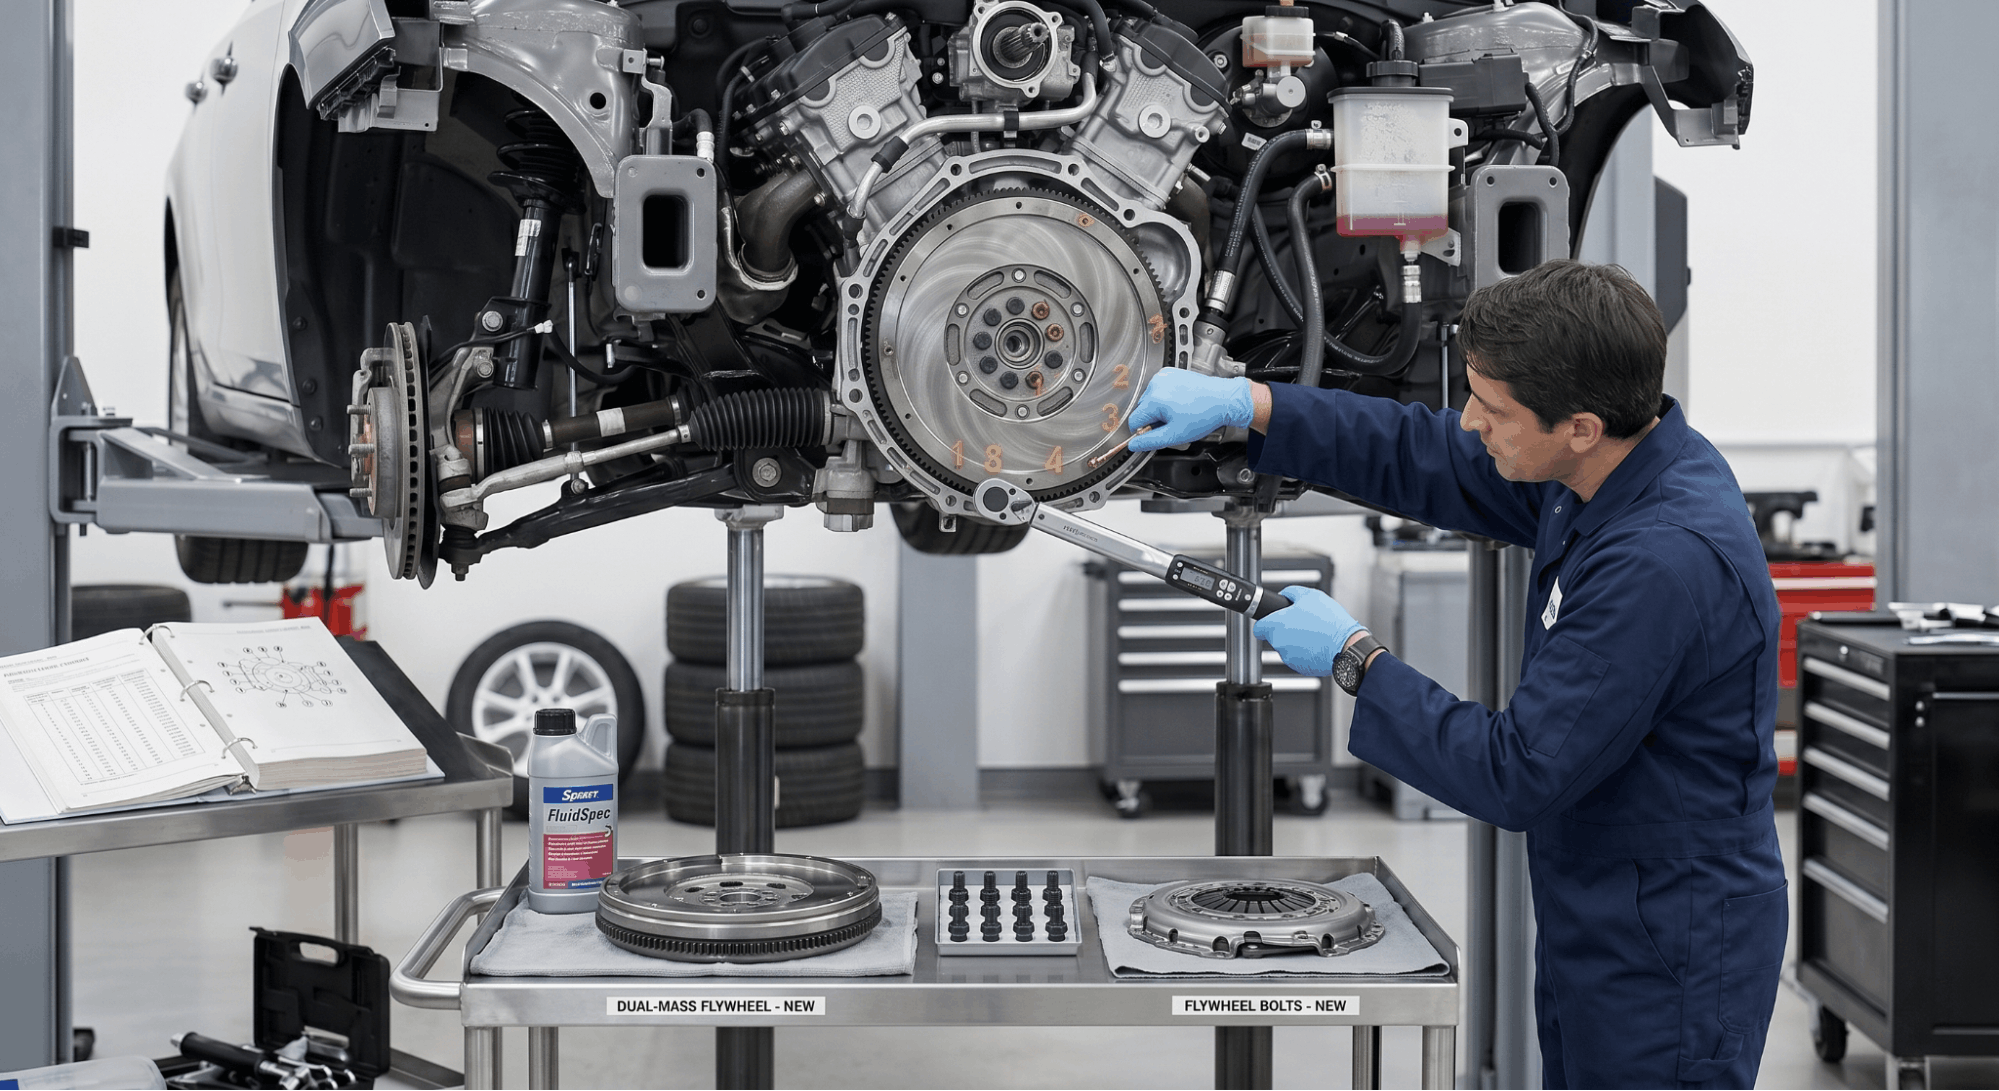
Most guides throw out one number and call it done. That’s not how this works. Flywheel torque specs vary by engine family, bolt grade, and flywheel type, and getting the right number for your specific application is the only thing that matters here.
The table below covers the most commonly searched vehicles and platforms. Cross-reference this with your factory service manual PDF by VIN before you put a wrench on anything. OEM specs are always the authority.
Flywheel Bolt Torque Reference by Platform
|
Vehicle / Platform |
Flywheel-to-Crank (ft-lbs) |
Pressure Plate (ft-lbs) |
Passes |
|
GM LS1 / GTO |
74 (in 3 passes: 15, 37, 74) |
52 (in 4 passes: 7, 18, 30, 52) |
Multi-pass |
|
Ford SBF 289/302 |
75–85 |
18–24 |
2–3 passes |
|
BMW E46 325xi |
77 ft-lbs (105 Nm) |
16 ft-lbs (22 Nm) + 90° |
Angle torque |
|
Audi Dual-Mass |
44 ft-lbs (60 Nm) + 90° |
16 ft-lbs (22 Nm) + 90° |
Angle torque |
|
Honda Prelude (H22) |
76 |
19 |
Star pattern |
|
Volvo S60R M66 |
33 ft-lbs + 65° |
22 |
Angle torque |
|
Toyota RAV4 (1AZ) |
96 |
18–22 |
Crisscross |
|
Geo Metro / Suzuki |
54–57.5 |
13.5–20 |
Star pattern |
|
Mitsubishi DSM (4G63) |
94–101 (in 3 steps: 60, 80, 100) |
14–17 |
Star pattern |
|
Chevy Big Block 454 |
60 (75 with ARP bolts) |
35 |
Star pattern |
|
SVT Focus / Cobra |
63 |
33 ft-lbs + 60° |
Angle torque |
Important: Always verify against your specific year, engine code, and transmission variant. These numbers are general references; they are not a substitute for your OEM service manual.
Why Torque Sequence Matters as Much as the Number
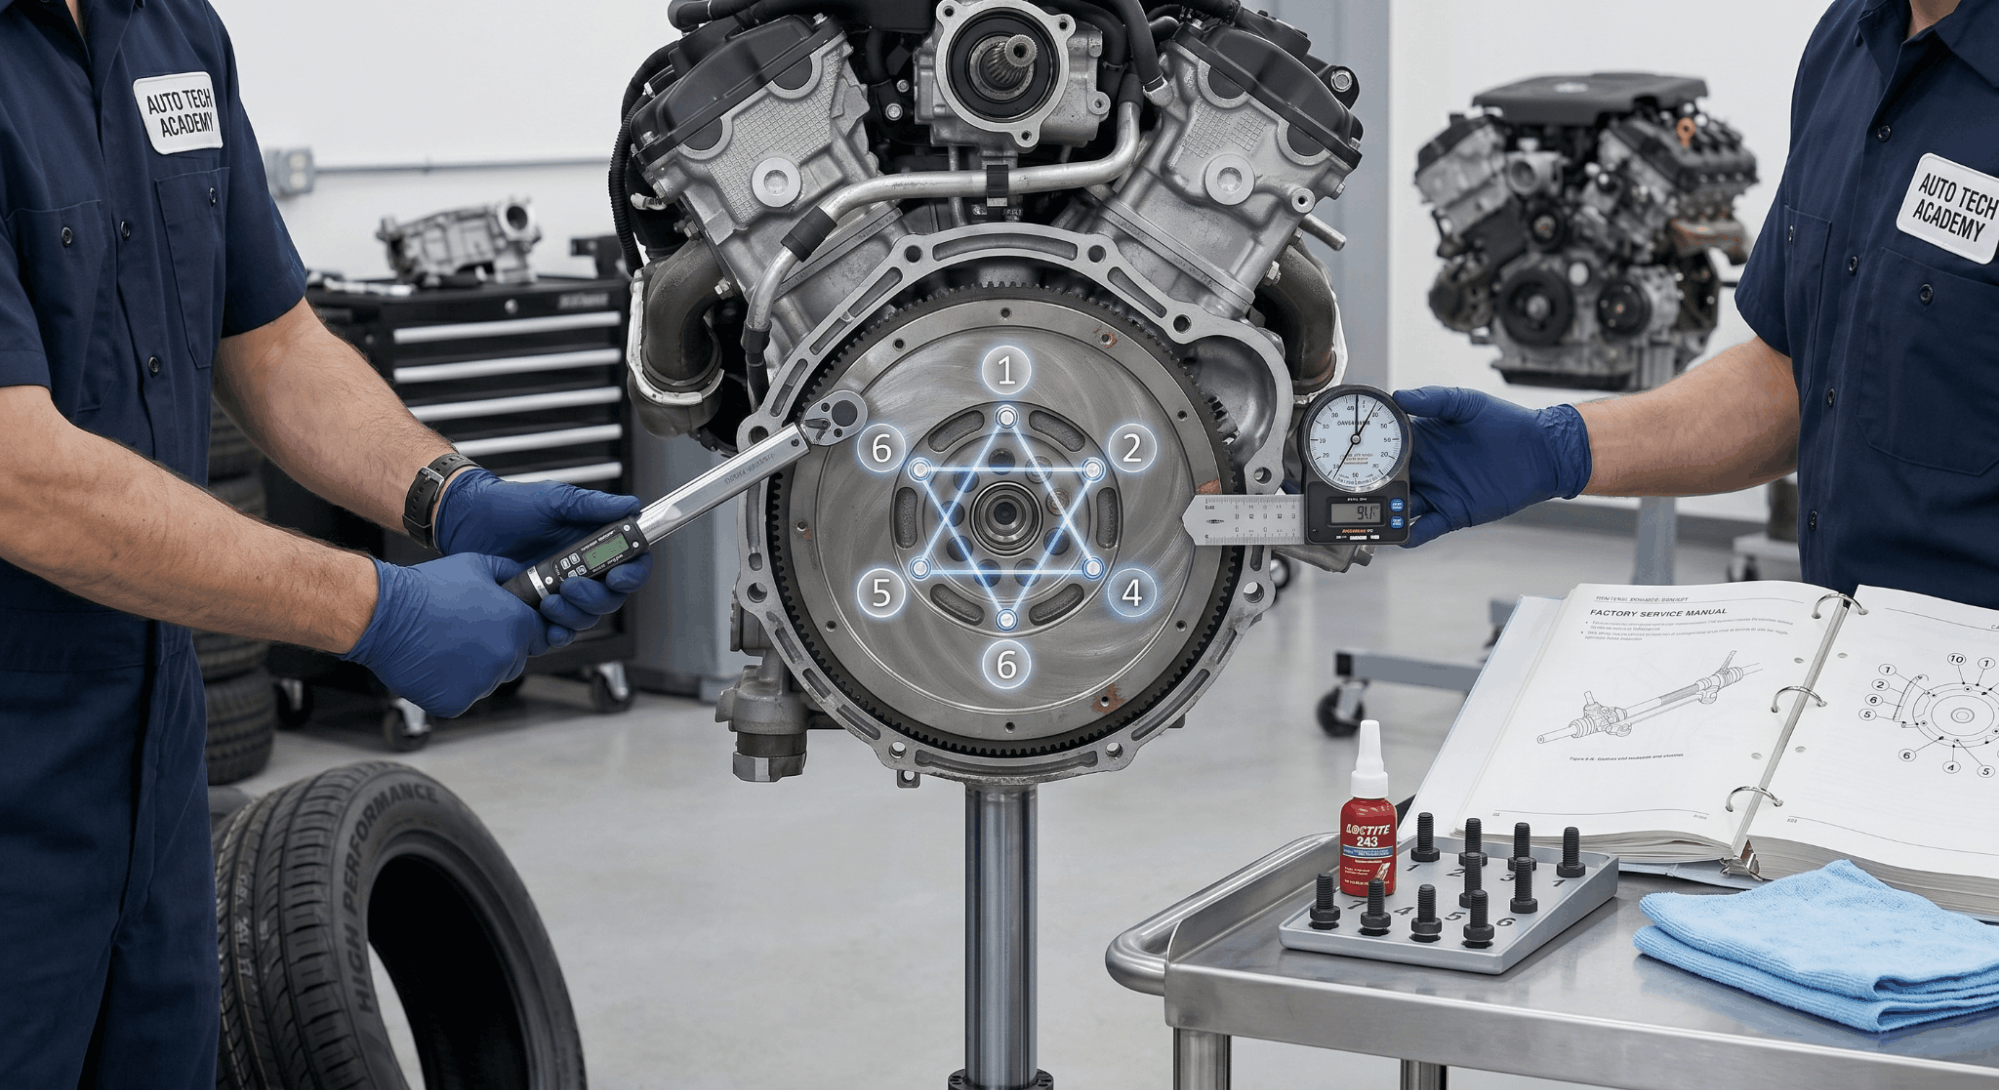
Many techs focus solely on the torque value and skip the sequence. That’s a mistake.
Tightening flywheel bolts in a single pass or random order creates uneven clamping force. On a rotating mass spinning thousands of times per minute, that imbalance becomes a real problem fast. Vibration, stress cracking, and eventually bolt fatigue are what follow.
Here is the correct approach for flywheel bolt installation:
- Clean the bolt threads and crankshaft holes thoroughly before installation
- Apply thread sealant (not just Loctite) on bolt holes that open into the crankcase, common on Ford 289/302 engines
- Use red Loctite on flywheel-to-crank bolts, given the high rotational forces involved
- Tighten in a star or crisscross pattern, working across the bolt circle diagonally
- Never reach final torque in one pass, use at least two passes, three for multi-pass specs like GM LS platforms
- For angle-torque specs (like Audi and BMW applications), use an angle gauge, not guesswork
The 6-bolt flywheel sequence goes: 12 o’clock, 6 o’clock, 2 o’clock, 8 o’clock, 4 o’clock, 10 o’clock. That 180-degree opposing pattern is the correct one for even seating.
Pressure Plate Torque Steps You Cannot Skip

The pressure plate bolts are frequently undertorqued because they look small. Do not let that fool you.
An unevenly torqued pressure plate will warp the diaphragm spring, cause premature clutch disc wear, and produce the classic shudder on engagement. Here is how to do it right:
- Install all bolts finger-tight first before touching the torque wrench
- Tighten in quarter-turn increments, rotating around the bolt circle evenly
- Never tighten one bolt to full torque before the others are snugged; you will crack or warp the cover
- Final torque typically falls between 13 and 35 ft-lbs, depending on the platform (see table above)
- On angle-torque platforms, the initial Nm value plus the final degree turn is required, not optional
- Blue Loctite on pressure plate bolts is acceptable on most platforms; avoid red here as future serviceability matters
For platforms using a dual-mass flywheel, always replace the flywheel bolts; they are torque-to-yield and not reusable. This is a step that catches first-timers off guard. The same rule applies to many angle-torque flywheel bolts on European platforms.
Single-Mass vs Dual-Mass Flywheel Torque Differences
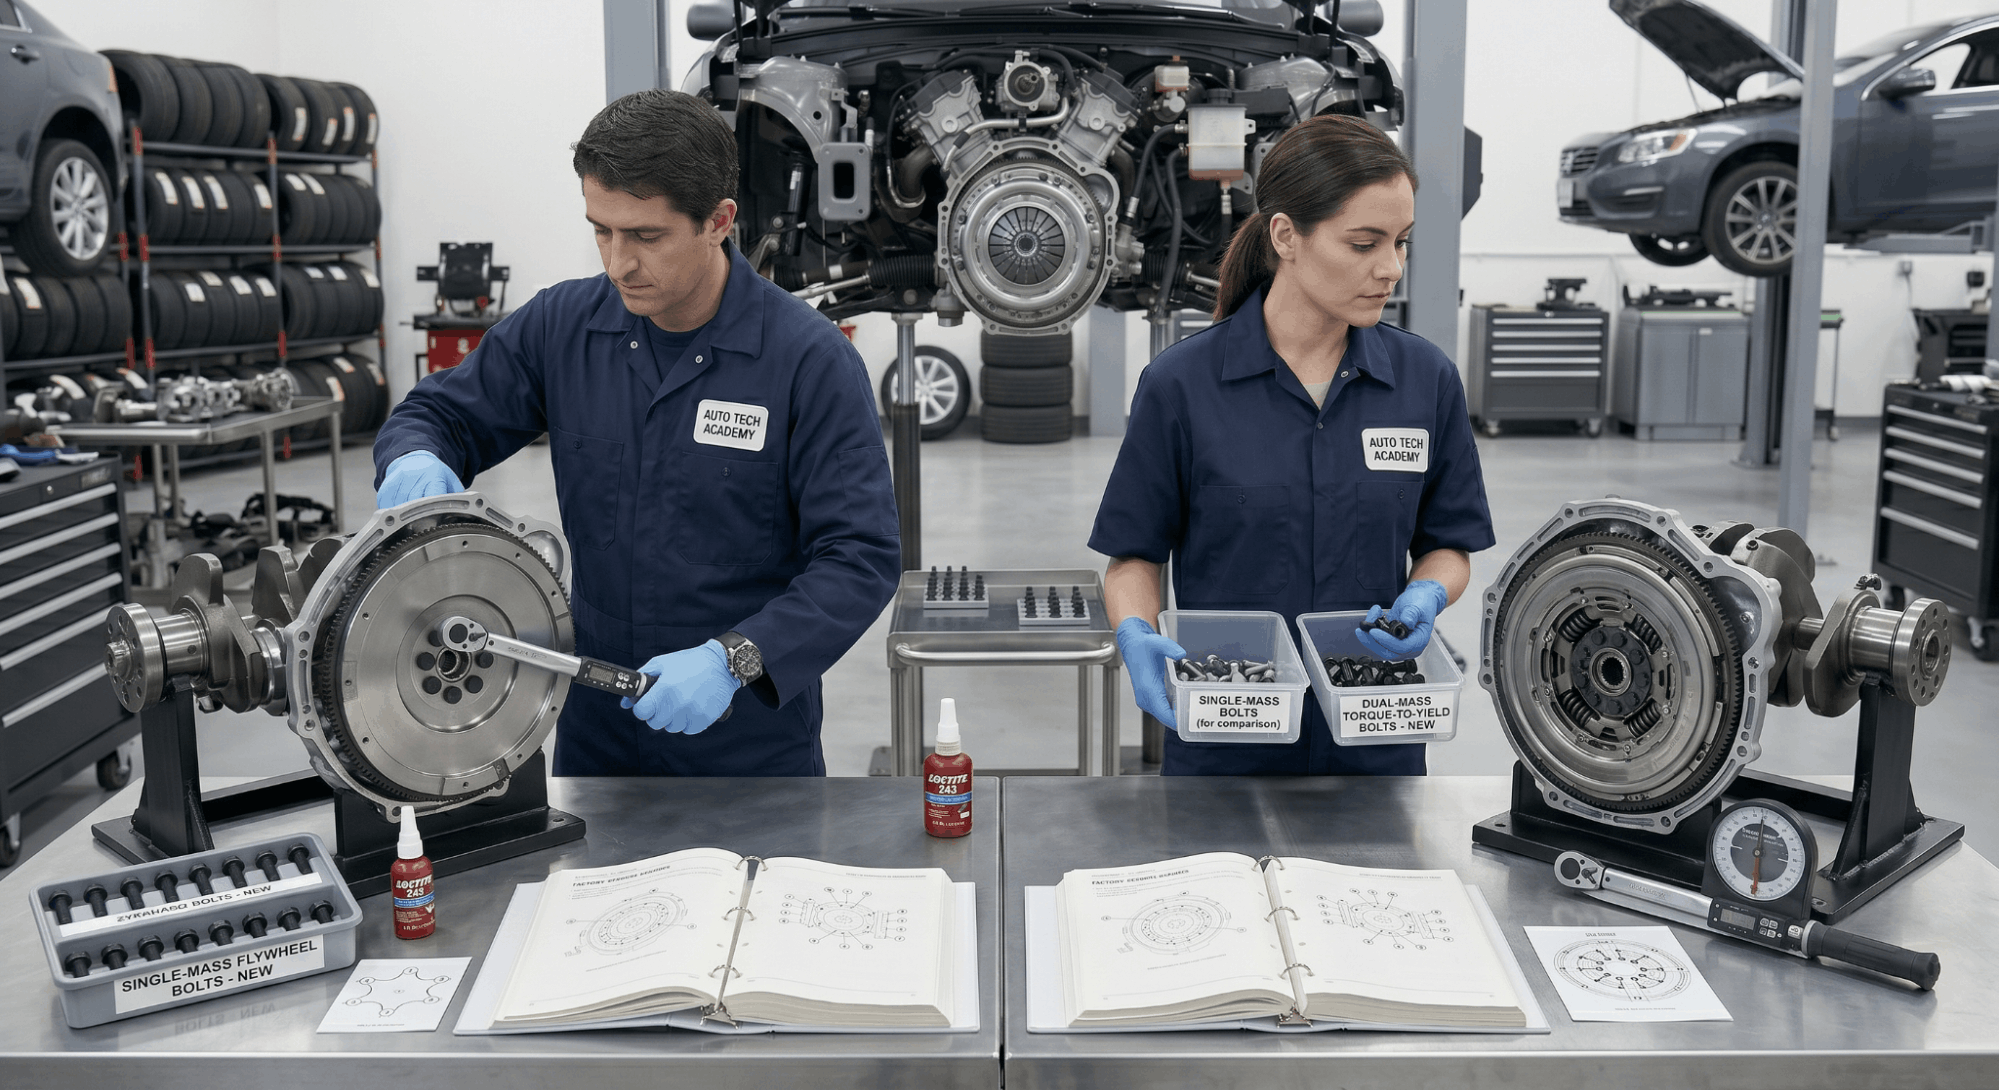
The flywheel type in your vehicle affects more than just NVH. It changes how you torque the assembly.
Single-mass flywheels use a straightforward torque-to-value spec. You torque the bolts to a number, verify in the star pattern, and done. Most domestic and older import platforms use this setup.
Dual-mass flywheels are common on modern European vehicles and many turbo applications. Key differences include:
- Bolts are torque-to-yield and must be replaced every time
- Torque specs often combine an initial Nm value plus an angle turn (e.g., 60 Nm + 90°)
- The assembly is more sensitive to uneven torquing due to internal damper springs
- Mixing single-mass and dual-mass specs is one of the fastest ways to cause a failure
If your vehicle came with a dual-mass flywheel and you are converting to a single-mass unit for performance reasons, confirm the bolt spec with your clutch kit manufacturer directly. The specs will often differ from OEM.
For reference on how torque values relate across drivetrain components, the guide on engine torque specs for cylinder heads follows the same multi-pass logic used here. It is worth reading alongside this one.
Common Flywheel and Clutch Torque Mistakes
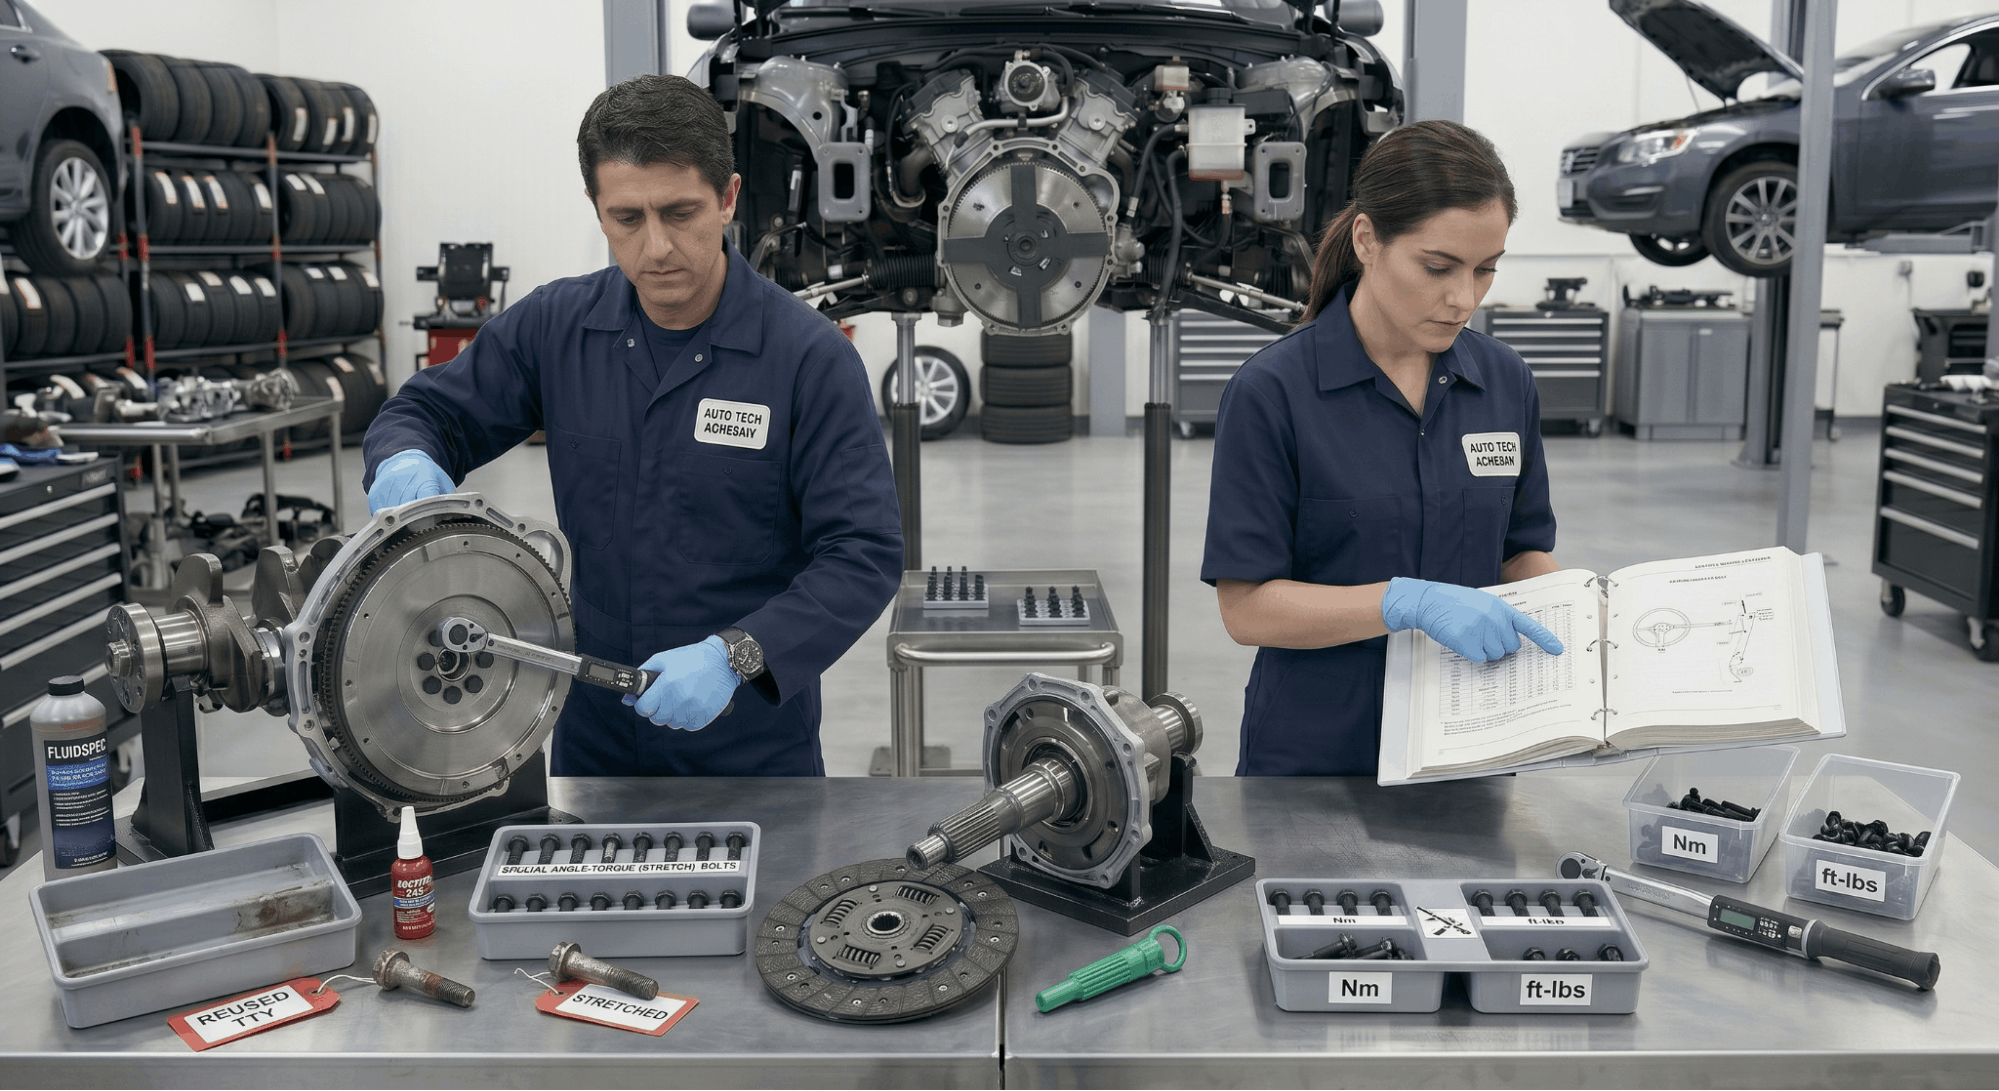
These are the errors most often seen in service bays after a DIY clutch job goes wrong.
- Using internet forum numbers without verifying against OEM specs, always double-check with your genuine OEM workshop manual
- Applying Loctite to angle-torque bolts can create a false torque reading by reducing thread friction
- Reusing torque-to-yield bolts, they stretch on first use and cannot be relied on a second time
- Skipping the clutch alignment tool, the disc will shift during pressure plate torquing and cause binding on installation
- Torquing the flywheel without locking the crankshaft leads to inconsistent readings and false torque values
- Confusing ft-lbs with Nm, 60 Nm is only 44 ft-lbs; treating them as the same number is a serious over-torque on smaller bolts
Also, if you replaced the transmission recently, double-check the transmission fluid capacities in the manual before finishing the job. Low fluid after a clutch replacement is a common oversight.
Tools Required for Accurate Torque
Getting the specs right only matters if your tool is accurate.
- Calibrated click-type torque wrench, borrow or buy one, do not use an impact gun for final torque
- Angle gauge adapter required for any angle-torque specification
- The flywheel locking tool prevents the crank from rotating during torquing
- The clutch alignment tool must match the disc spline count for your transmission input shaft
- Thread prep tools: wire brush, thread chaser, brake cleaner for cleaning bolt holes
A torque wrench that has never been calibrated is not meaningfully better than a breaker bar. If you are serious about this job, verify your wrench or rent a calibrated unit from a parts store.
Torque Spec Summary Visual
|
Component |
Low End |
High End |
Pattern |
|
Flywheel-to-Crank Bolts |
44 ft-lbs |
101 ft-lbs |
Star / Multi-pass |
|
Pressure Plate Bolts |
13 ft-lbs |
52 ft-lbs |
Star / Incremental |
|
Angle-Torque Add-on |
+60° |
+90° |
After initial Nm |
When done correctly, a clutch replacement paired with precise flywheel torque specs will give you smooth, reliable power transfer for the full life of the parts. Cut corners here, and you will be pulling the transmission again sooner than expected.
If your vehicle had timing-related work done alongside this job, the guide on timing belt replacement assembly sequencing is a useful companion resource for keeping the full drivetrain assembly correct.
Frequently Asked Questions
It depends on the platform. For most domestic engines, such as GM and Ford applications, red Loctite on flywheel-to-crankshaft bolts is recommended because the bolt holes pass through to the crankcase, and the thread sealant doubles as a leak-prevention measure.
On European vehicles with angle-torque specifications, Loctite can affect friction coefficients, leading to inaccurate torque readings. Always check your OEM service manual first. Some factory bolts come pre-coated with a yellow or silver thread-locking compound, meaning additional Loctite is not required.
When in doubt, use the OEM-specified fastener and follow the spec as written. Reusing old bolts without fresh thread treatment is one of the most common causes of early flywheel bolt loosening after a clutch job.
On many modern vehicles, flywheel bolts are torque-to-yield fasteners, meaning they stretch permanently during initial installation and cannot safely be reused. This is especially true on European platforms like BMW, Audi, and Volvo with angle-torque specifications.
Using a stretched bolt a second time risks under-clamping or outright failure at speed. Domestic platforms with standard hex bolts are generally reusable if the bolts show no deformation, but replacing them remains the safer practice.
Always check your vehicle-specific service data. The cost of new flywheel bolts is minimal compared to the labor cost of a repeat clutch job caused by a backed-out bolt.
Overtorquing flywheel bolts can stretch or snap the bolt, strip the crankshaft threads, or crack the flywheel flange. On smaller-displacement engines using 14mm bolts, the margin between correct torque and failure is surprisingly small.
A snapped bolt inside the crankshaft requires either a bolt extractor or full engine disassembly in severe cases. Overtorquing is more common when mechanics skip multi-pass procedures and go straight to the final torque in one shot. Always use a calibrated torque wrench and follow the correct sequence.
If you suspect a bolt has been overtorqued, inspect it for visible stretch or thread distortion before reassembly.
Yes, significantly. ARP bolts are made from higher-grade material than OEM fasteners and are typically torqued 15 to 20 percent higher than stock specifications.
For example, a Chevy 350 OEM flywheel spec of 60 ft-lbs becomes 75 ft-lbs with ARP hardware. ARP also recommends using their Ultra-Torque moly lubricant on the threads and under the bolt head, which changes the friction coefficient and affects how torque translates to clamping force.
Do not apply ARP specs to OEM bolts or vice versa. Always follow the spec sheet included with your ARP fastener kit, as values can vary by application, engine family, and whether the holes are blind or through-holes.
The most common symptoms of uneven pressure plate torque are clutch shudder on engagement, vibration felt through the pedal at low speed, and premature disc wear on one side.
In some cases, a warped pressure plate diaphragm produces a pulsing feel when pressing the clutch pedal, almost like a slight catch or release variation at the same pedal position every time.
If you notice these symptoms shortly after a clutch replacement, the cause is often an uneven torque sequence or missing the quarter-turn incremental tightening step.
A visual inspection may show that one side of the disc has more contact wear than the other, confirming uneven clamping pressure across the assembly.